I’ve noted a recent surge of tarot and oracle decks.
I know it is not everyone’s cup of tea, but as someone who is learning to read tarot, I love it (side note: talking about tea, have you seen my masala chaa post? Check it out here).
As much as I love the decks, the packaging they come in sometimes isn’t the best. I’ve seen it range from bulky to flimsy packaging, which I don’t think are always ideal for card storage (it really depends on the deck though).
There is also the issue of where to read the cards if you are doing a spread reading. Carrying an extra mat/cloth may not always be an option.
Well, never fear, because I have an easy solution for you!
Today, I am sharing a quick sewing project for you, a tarot/oracle card holder with a mat! There is a pouch large enough for a tarot deck* (and a crystal should you wish to slip a small one in), and a small mat enough to do a 3 card reading.
Should you wish to store your cards in it, or use it just when you transport your cards, this is an easy sewing project that will also help you put some creative energy into your relationship with your cards.
Without further ado, here are all the details for this project!
*Based on the Rider Waite Smith Deck
Tarot Cards Fabric Pouch + mat
Items I used for this project
Sewing Machine
Coordinating thread
Pins
Iron
Ironing surface
Scissors
Blunt Pencil
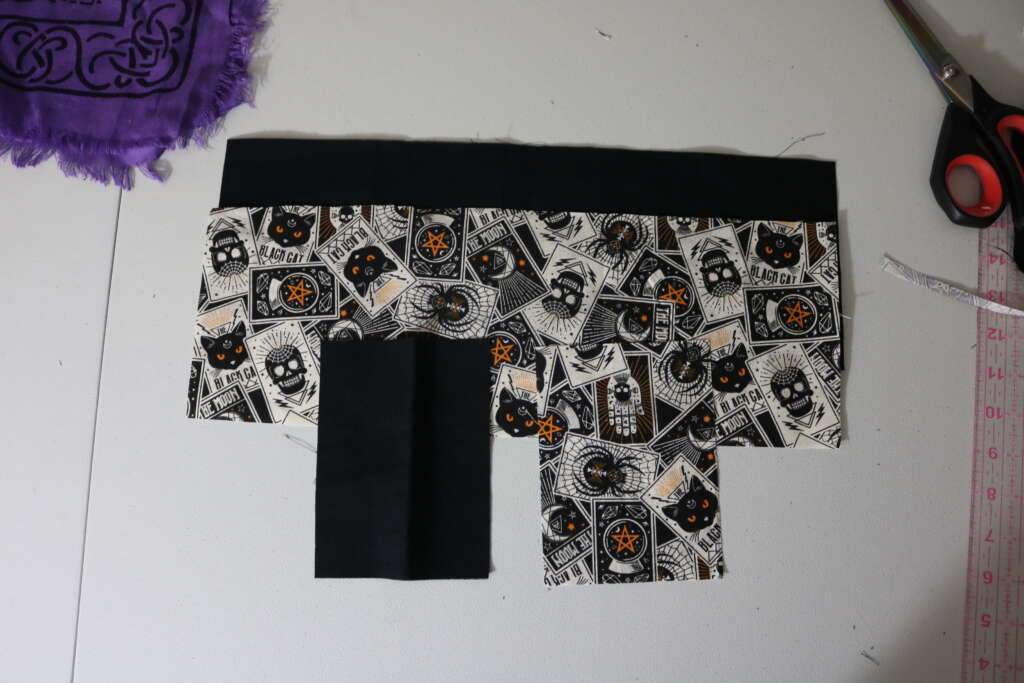
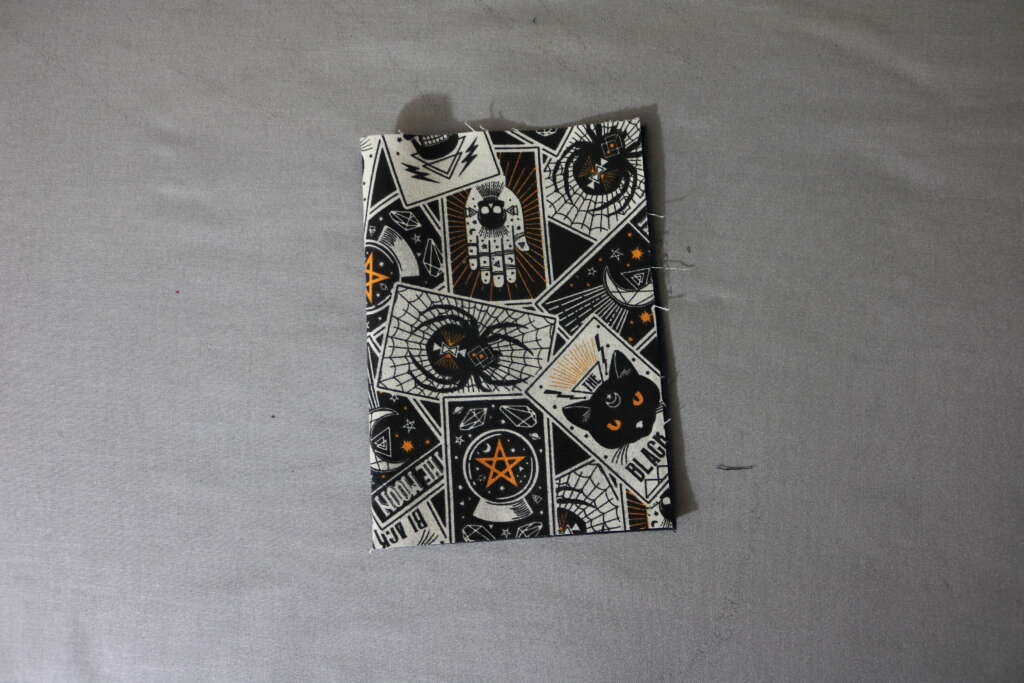
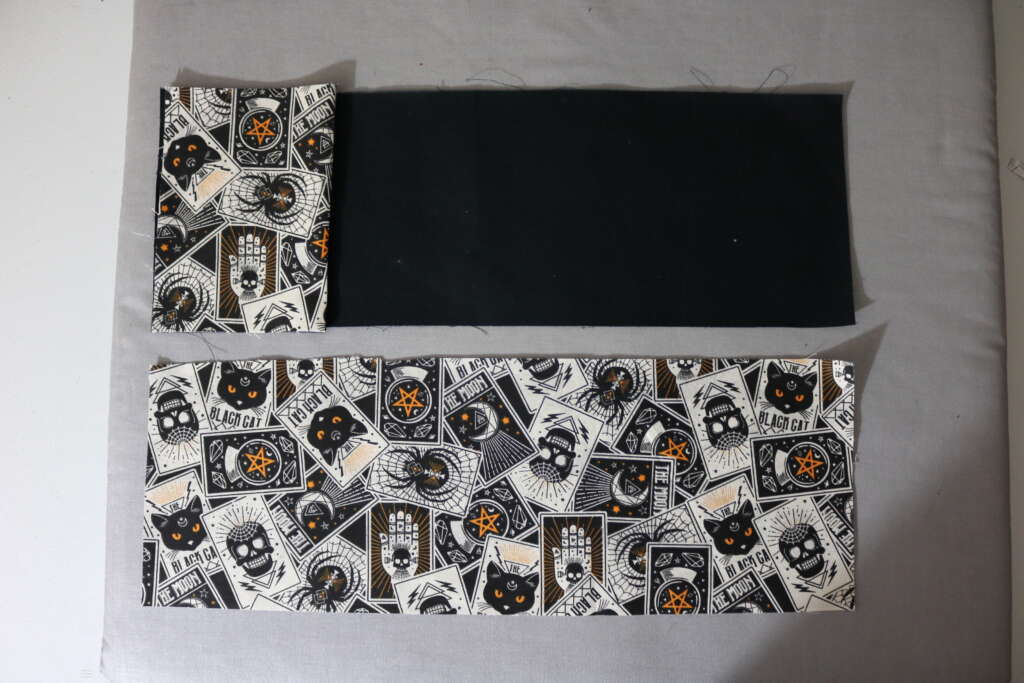
Quilting Cotton – Pouch outer fabric 16in by 7 inch (x1)
Quilting Cotton – Pocket outer fabric 4in by 7 inch (x1)
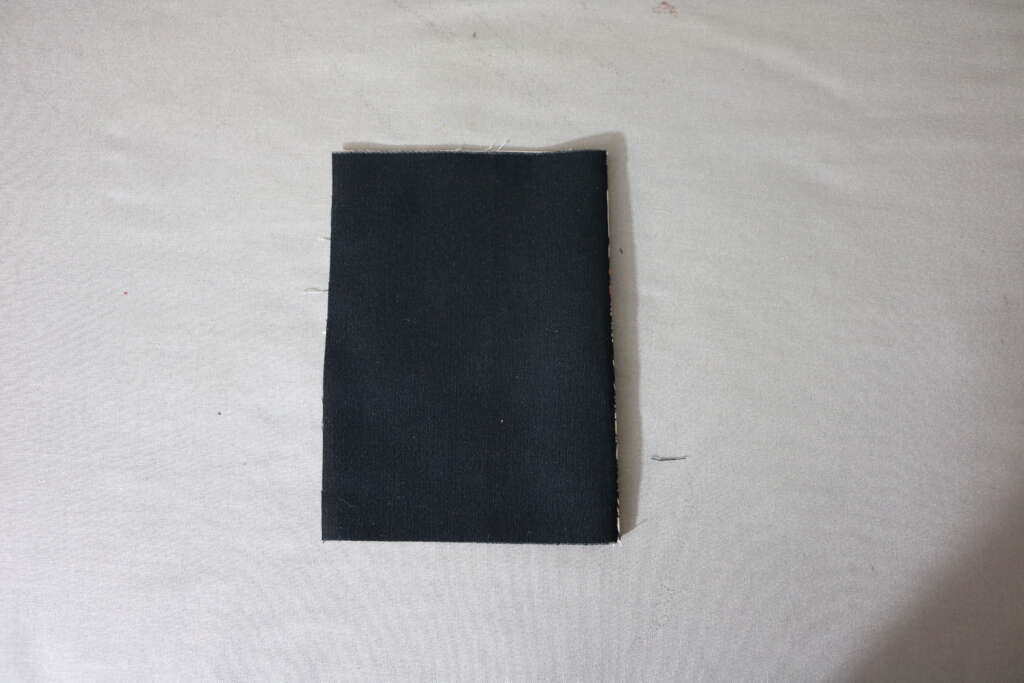
Quilting Cotton – Pouch lining fabric 16in by 7 in (x1)
Quilting Cotton – Pocket lining fabric 4in by 7 in (x1)
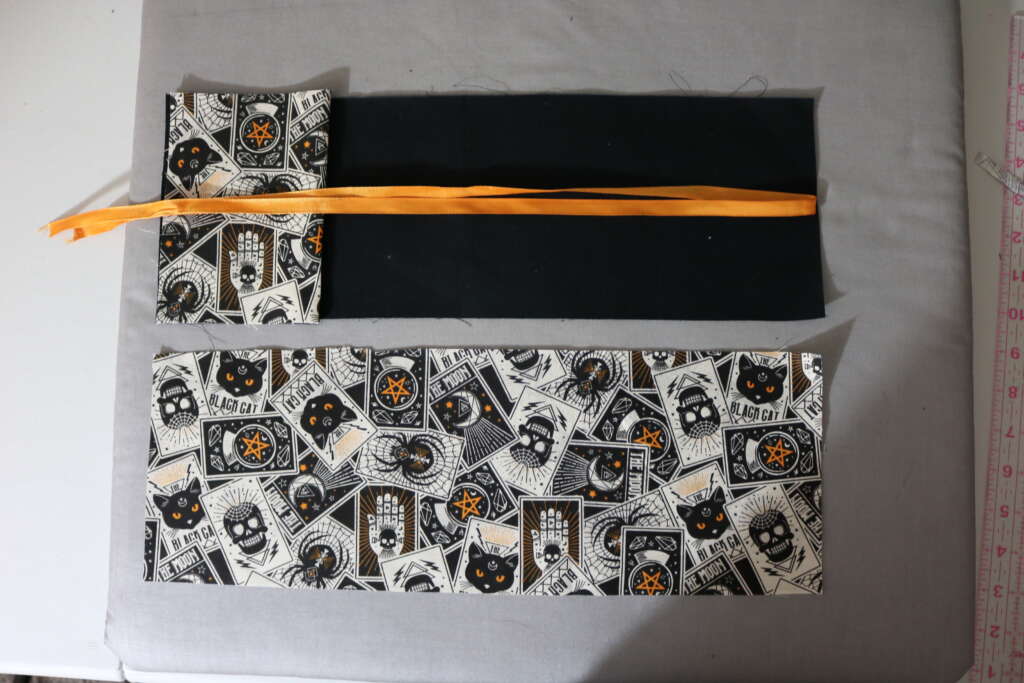
Ribbon 38 inch (I used a 0.25in width ribbon)
Charm (optional)
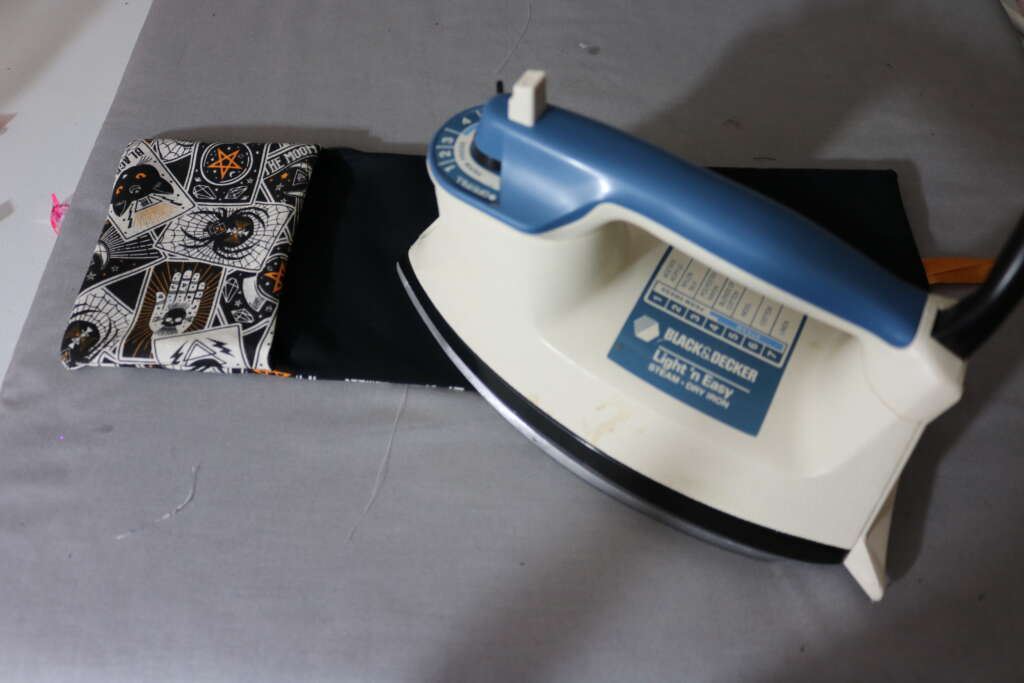
Place the outer and lining fabrics for the pocket (the 2 smaller pieces) right sides together, and sew one of the longer ends.
Iron out the seams.
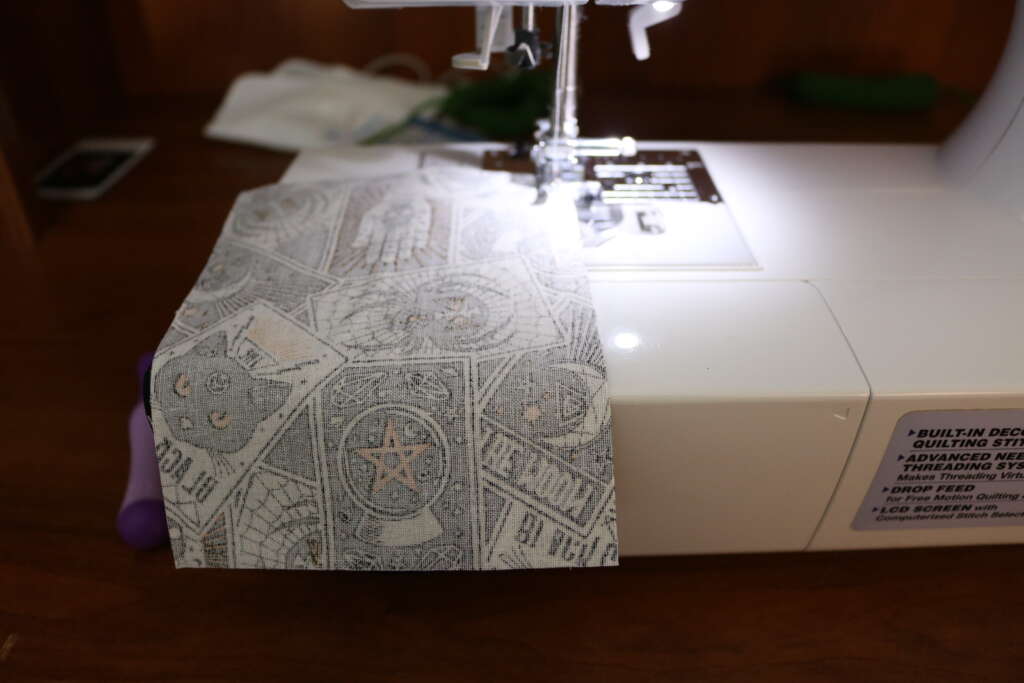
Fold the fabric so now the wrong sides are together and top stitch the folded side.
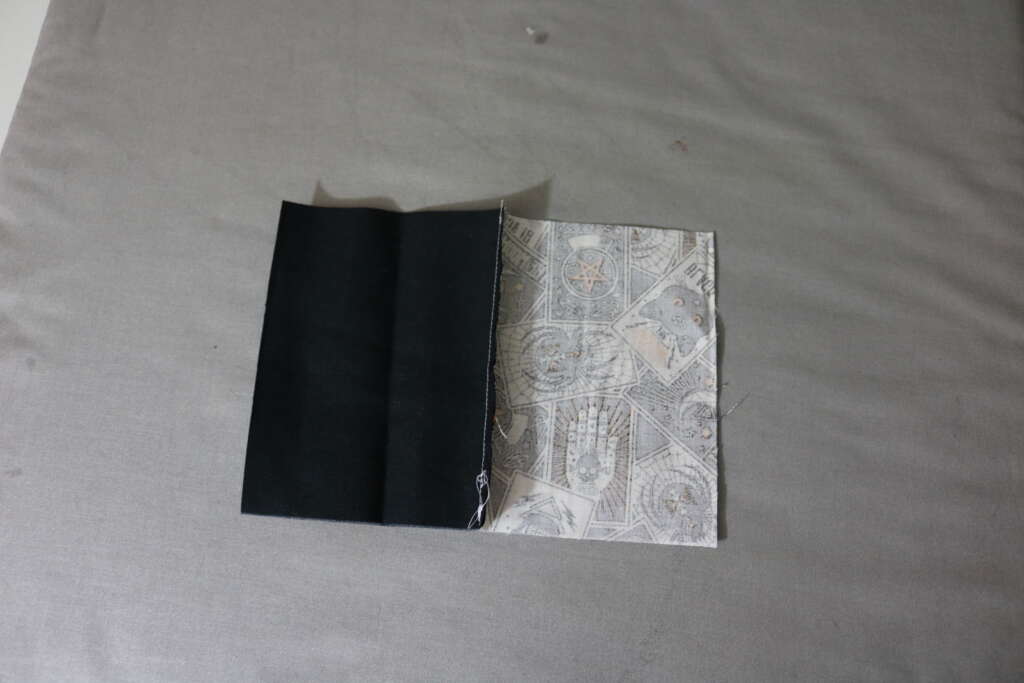
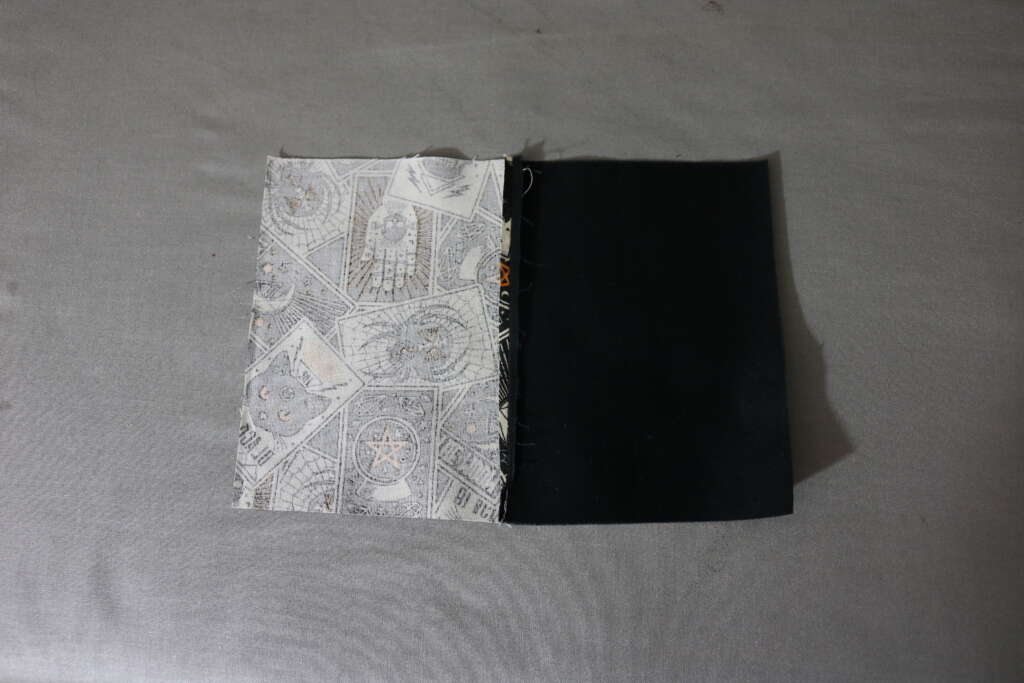
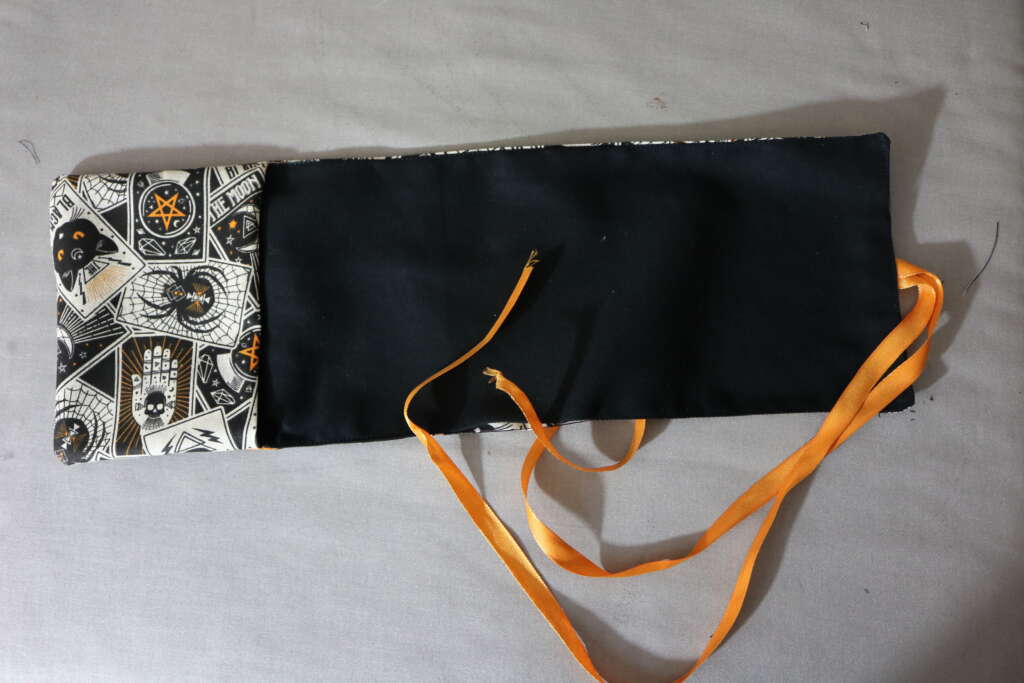
Place the lining side of the pocket on right side of the lining pouch fabric. Ensure the open side lined up with the edge of the fabric.
On the opposite end of the lining fabric, place the ribbon approximately half way down.
Place the right side of the outer fabric on top of this. The wrong sides should be facing out.
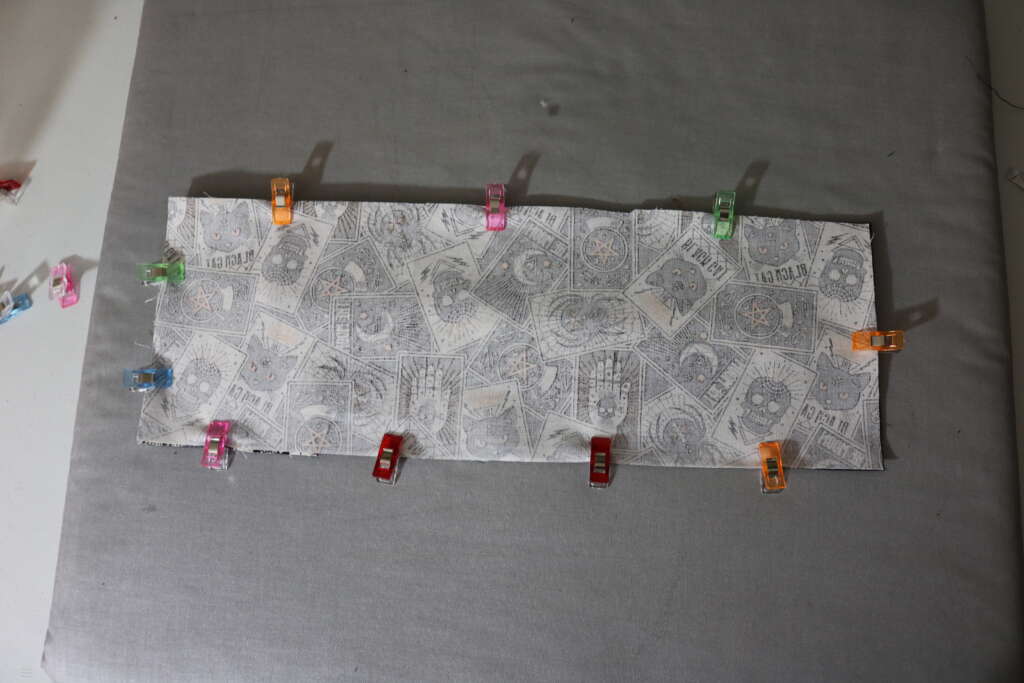
Using a ¼ in seam, sew all the way around, leaving a (approximately) 3 inch gap.
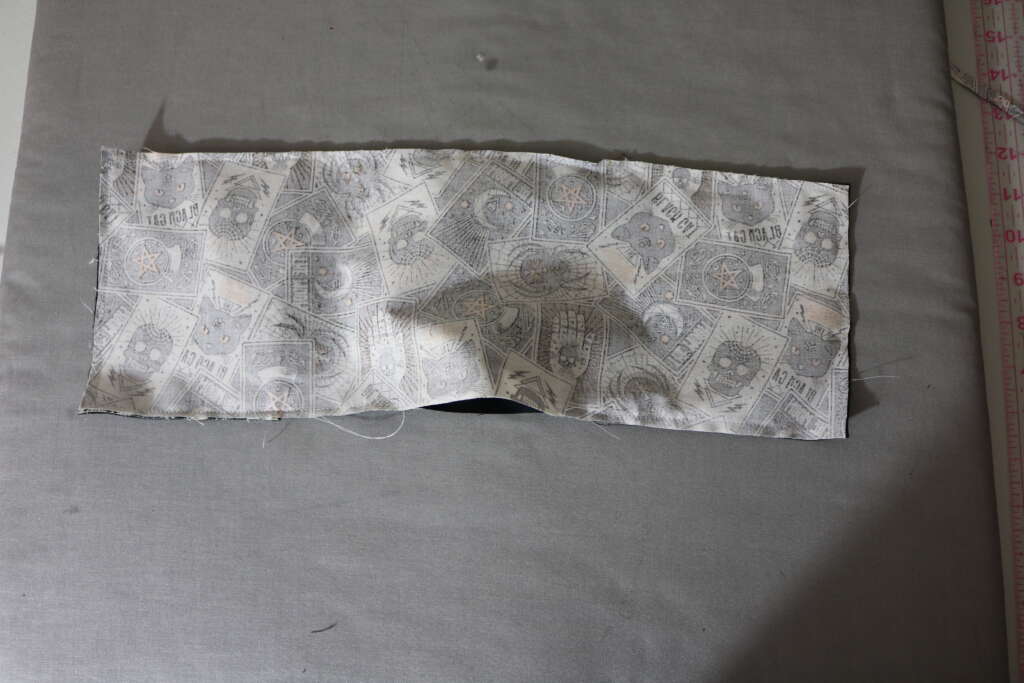
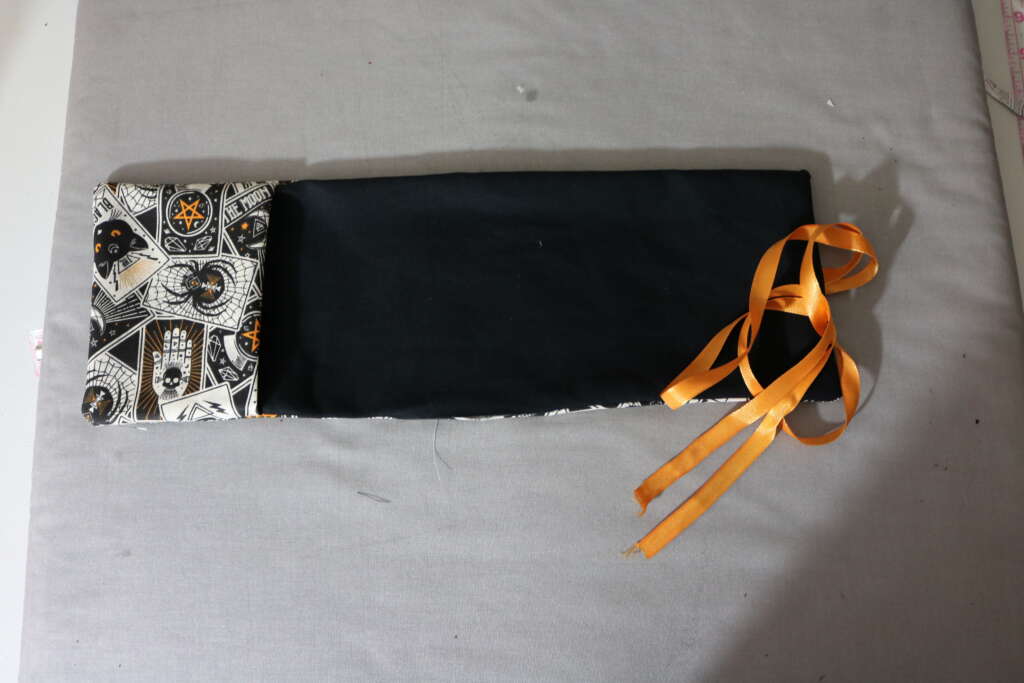
Turn the fabric the right way around through the gap (the ribbon to aid the mat come out the right way around may help here).
Use a chopstick or a blunt pencil to push out corners.
Tuck in the edge of the fabric at the gap, and iron to help keep seam in place.
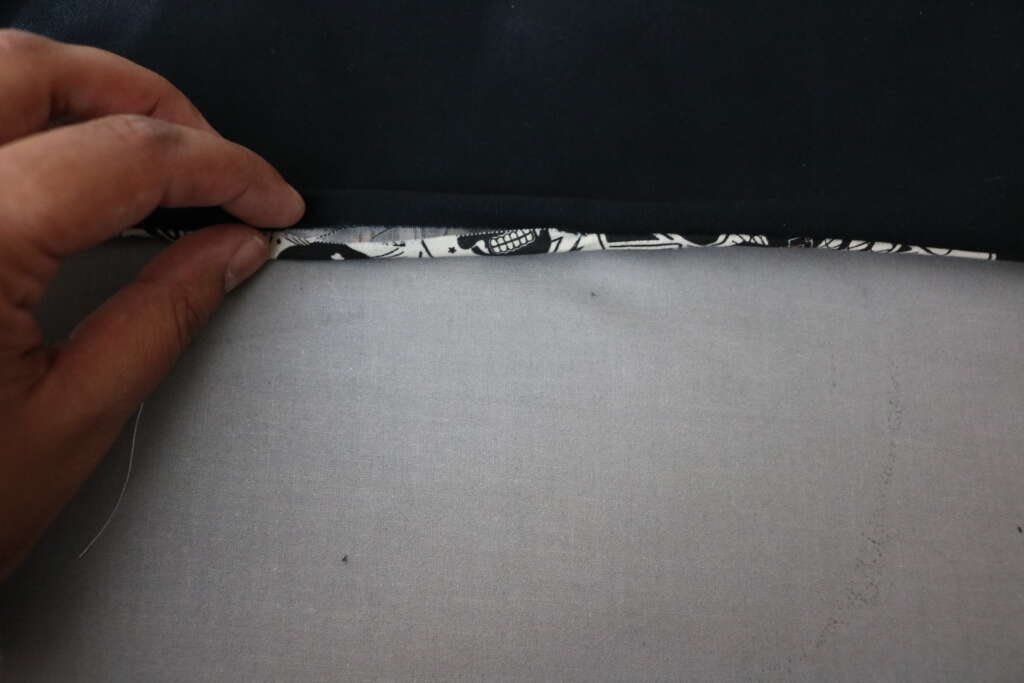
Top stitch all the way around.
Slip a charm on one side of the ribbon if using.
Pop your cards into their new home, and tie it shut!
And that is it! You have made your very own tarot pouch + mat!
If you would like to watch a video of this project, follow at the following places:
Incidentally, you can also share your version of this project with me on there! Just use my tag @cozymagichome and use the tag #cozymagichome.
I can’t wait to see your version of this project!
Until next time!
Blessed Be!
Amrita