My raised beds have arrived, and my seeds have been patiently been waiting in the pantry. The only thing left to do is set up my garden! However, the looming storms in the Midwest are making the conditions to set up my garden less than ideal. So while I wait for Mother Nature to do her thing, I am making myself a gardening apron!

This is my favorite kind of project. It is beginner friendly sewing project, (it is essentially 4 variously sized rectangles) and has a practical use!
Read on if you would like to see how you can make one too!
Notes:
Fabric Choice
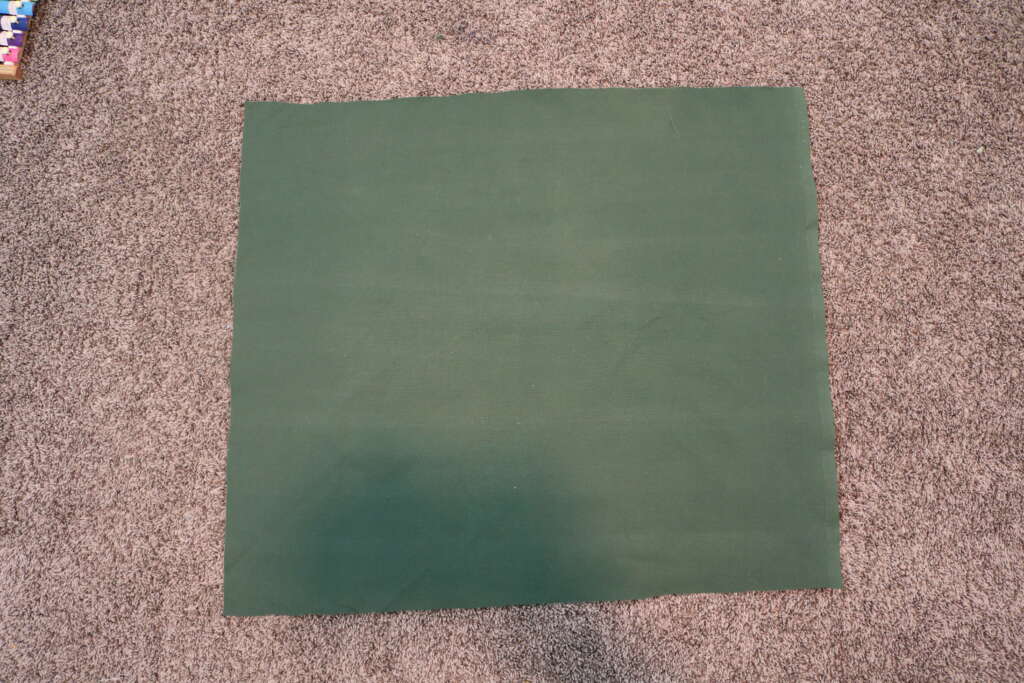
I used duck canvas from Joann.
I’ve had these fabrics for a while and wanted to use them up.
I think heavy denim would work really well for this project. If I make it again, I would consider upcycling a pair of jeans.
As long as the fabric you use is heavy duty, or holds up well with multiple washes, it would work well for a gardening apron.
Measurements
The measurements for the main body of the apron are customized for my body. Feel free to use it, but it is easy to customize for yourself!
This apron will cover ¾ of your waist, so measure all the way around the point on your torso where you would like to apron to sit, and use ¾ of that measurement.
For the length of your apron, decide where you would like your apron to fall on your body, and add 3inches to that measurement (those extra inches will be used to encase the tiebacks).
For the pocket placement, I wore my finished apron, and placed my hands where I felt would be comfortable. I then placed the pocket there, and made a mark with chalk, so I had an idea of the placement position.
After eyeballing it for straightness, I pinned in place.
Items Used
All the fabric used is duck canvas from Joann
One piece of 25in by 30in* of duck canvas
(* see above ‘measurements’ for more information)
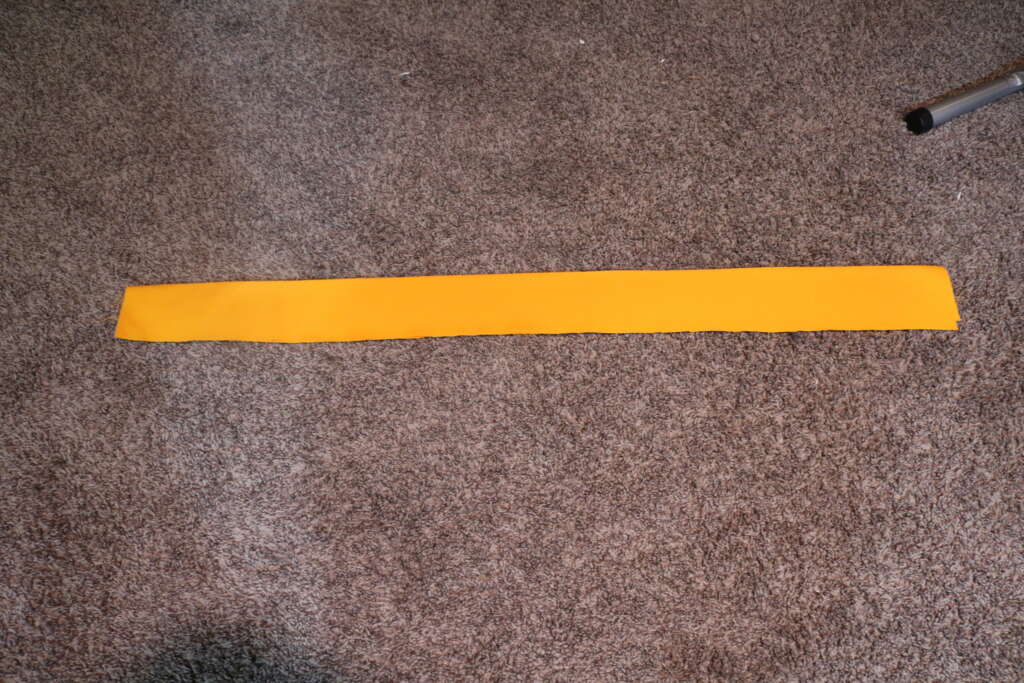
Two pieces of 40in by 6in
One piece of 11in by 7in
Fabric Measuring Tape
Sewing Machine
Coordinating Thread
Scissors
Paintbrush/Pen/Chopstick
Iron
Ironing Board
Chalk (optional)
Sewing Gauge Ruler (optional)
Instructions
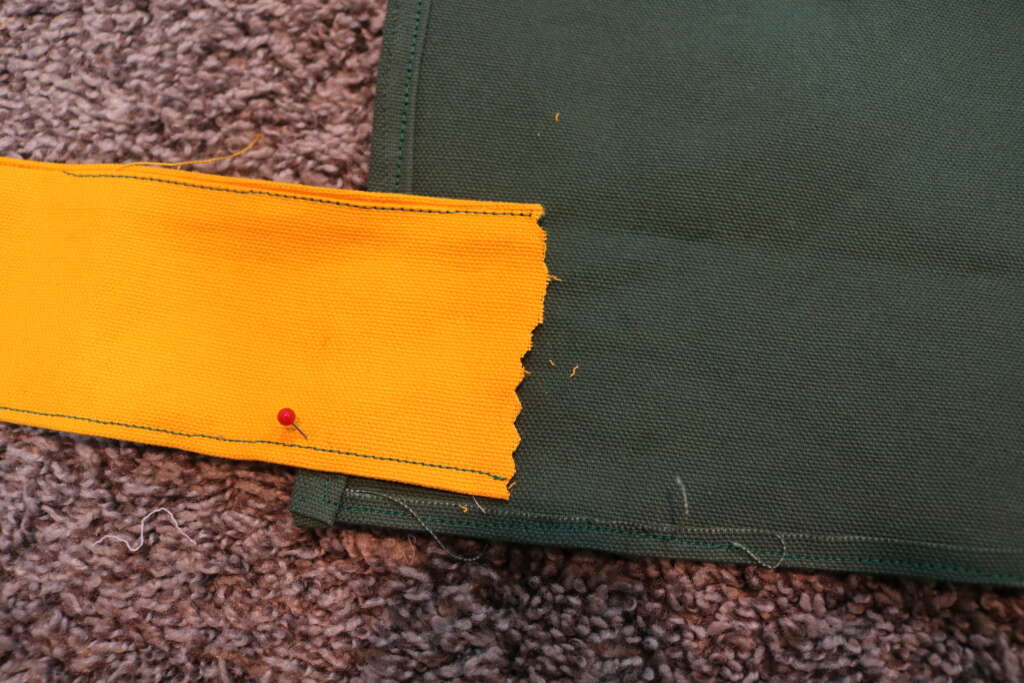
Preparing Tiebacks
Iron fabric in half, lengthwise right sides together.
Sew one of the shorter edges, and the open longer edge
Clip corners, and trim excess seam allowance (if desired)

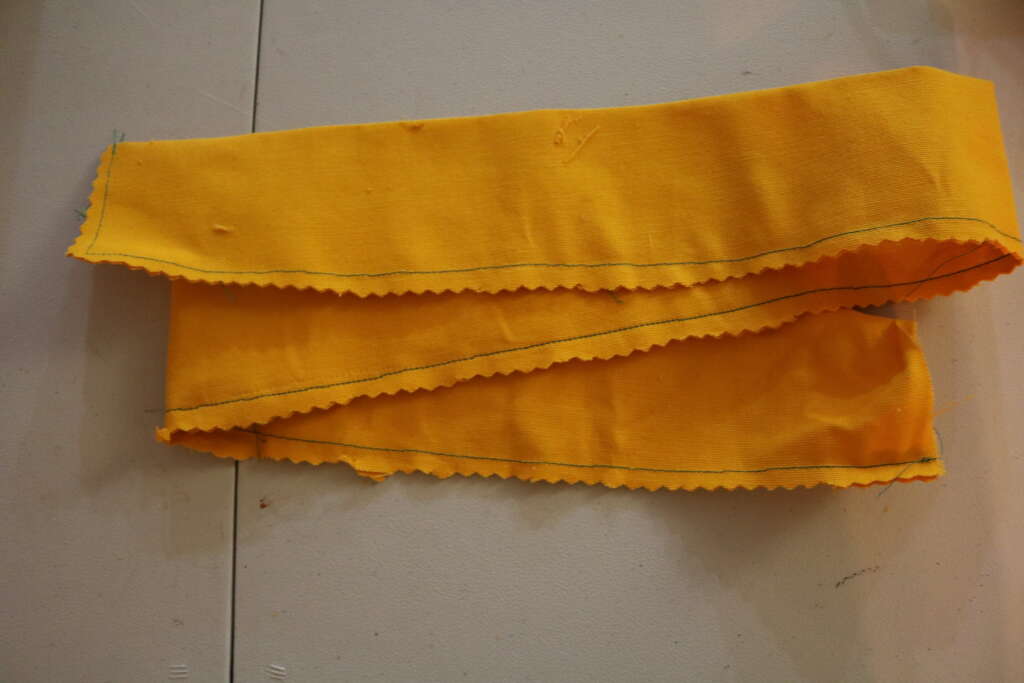
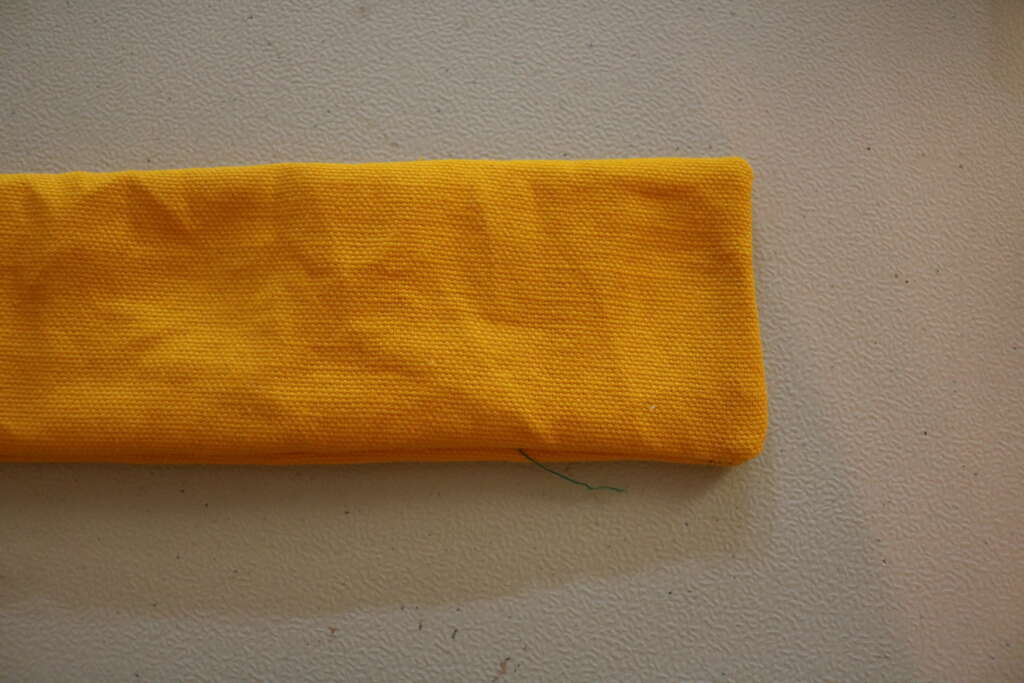
Turn right way round, and push out corners with end of paintbrush/chopstick
Iron, and topstitch
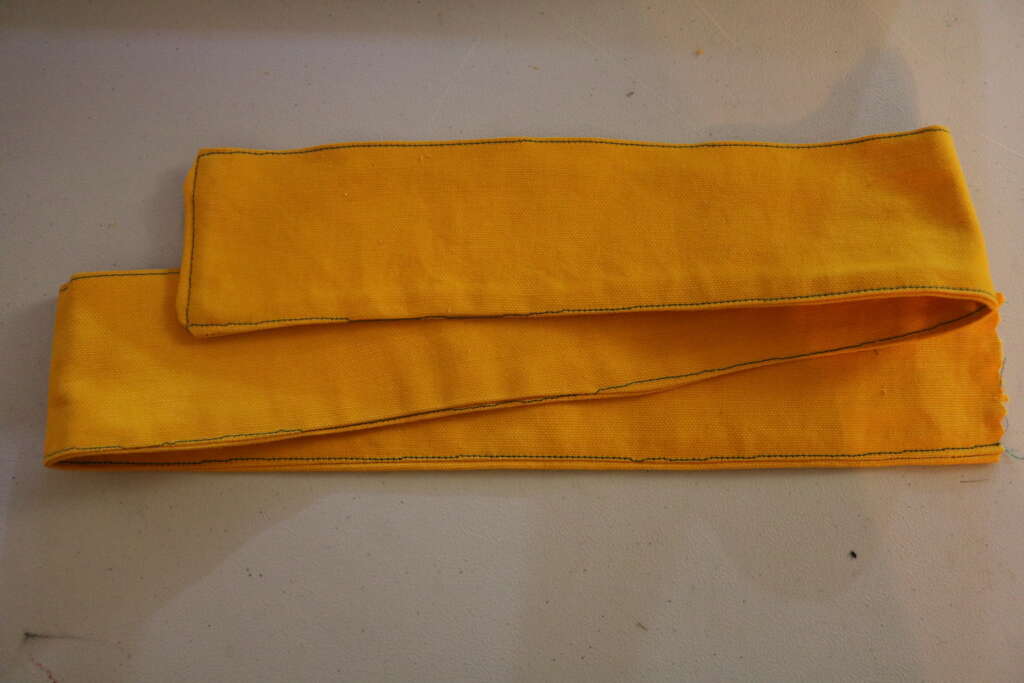
Set aside
Preparing apron
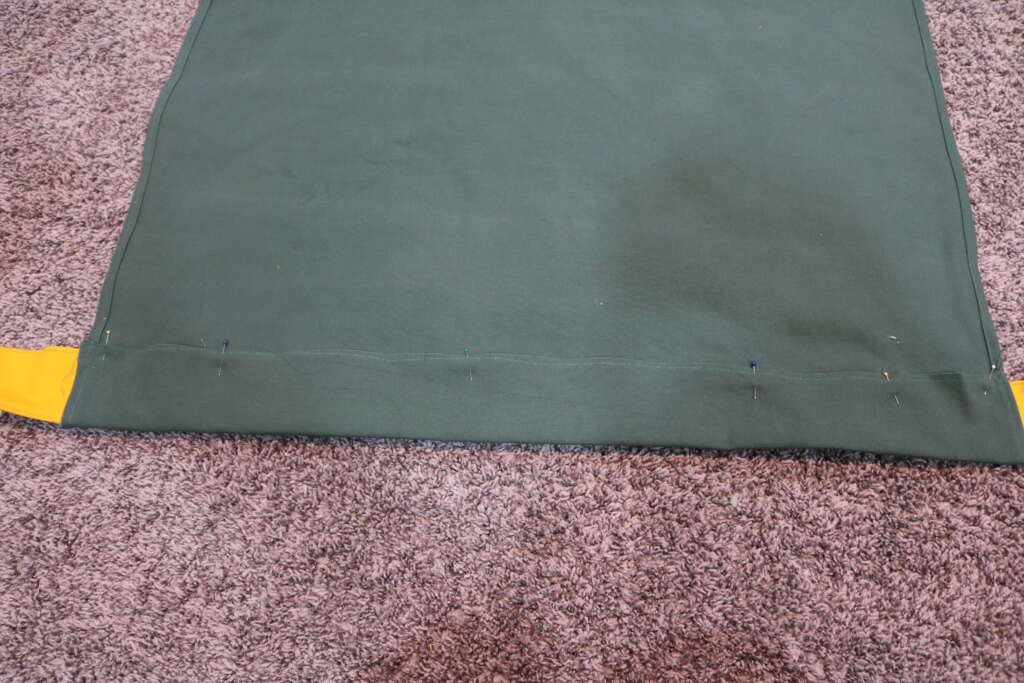
Press a single hem on the top edge, and a double hem on the two sides and the bottom of the apron.
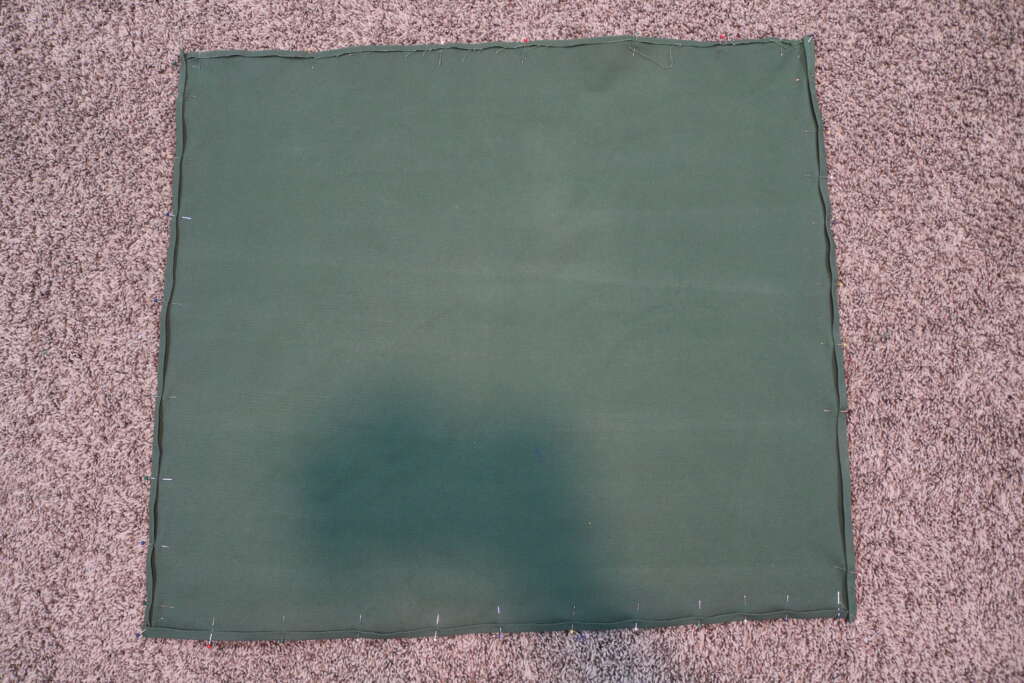
Top stitch in place with a 0.25in seam allowance.
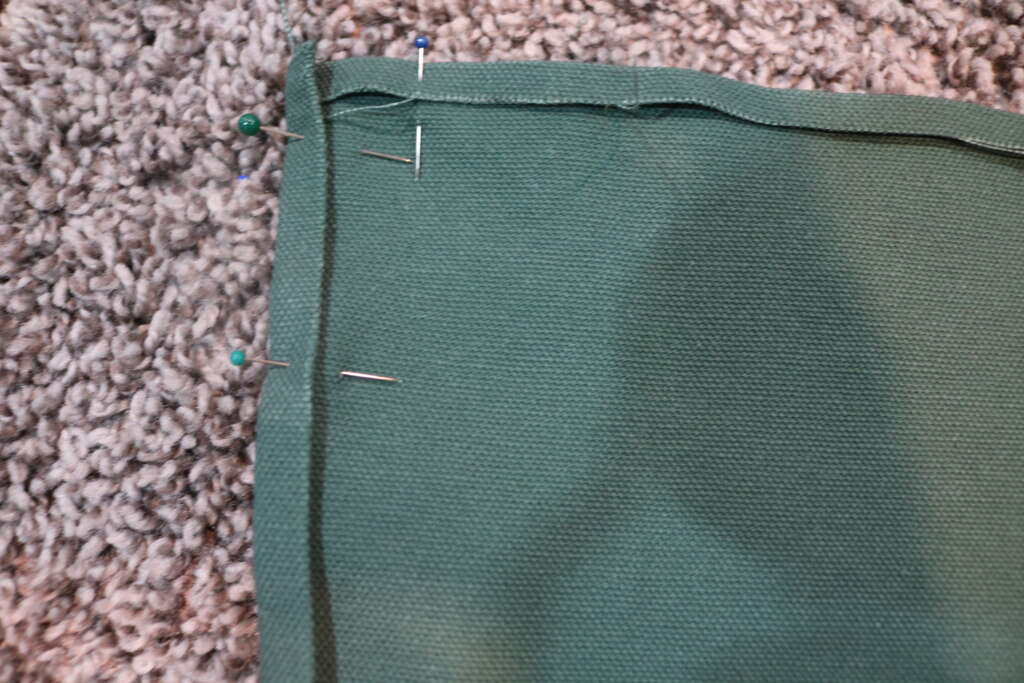
Attaching Tiebacks to Apron
Place the tieback edge so approximately 2inches overlaps the inside top of apron, and is sitting flush with the single raw edge. Ensure you are using the open edge side of the tieback!
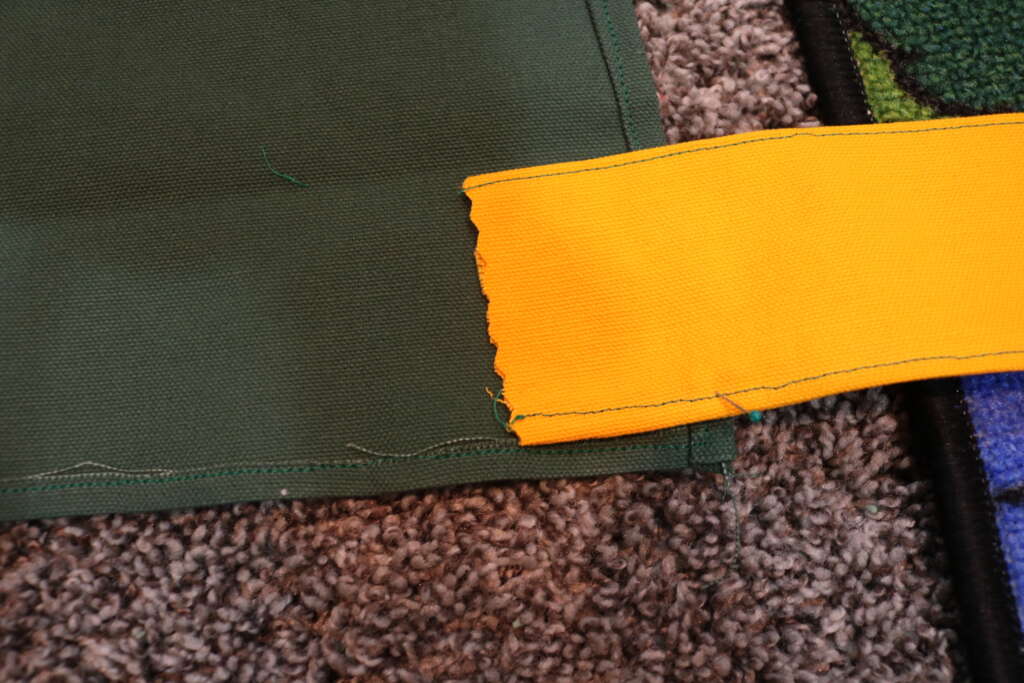
Pin to secure position.
Fold over towards the back of the apron, so that the tie backs are now encased.
Sew the width of the tiebacks, and the open edge of the top of the apron in place using a 0.25in seam allowance.
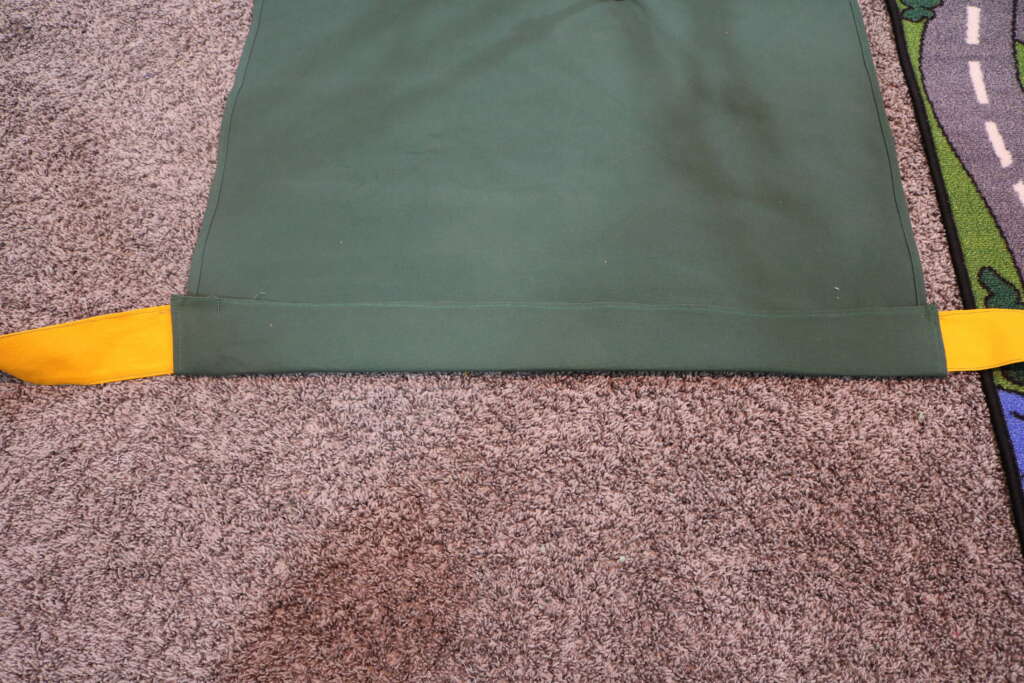
Set aside
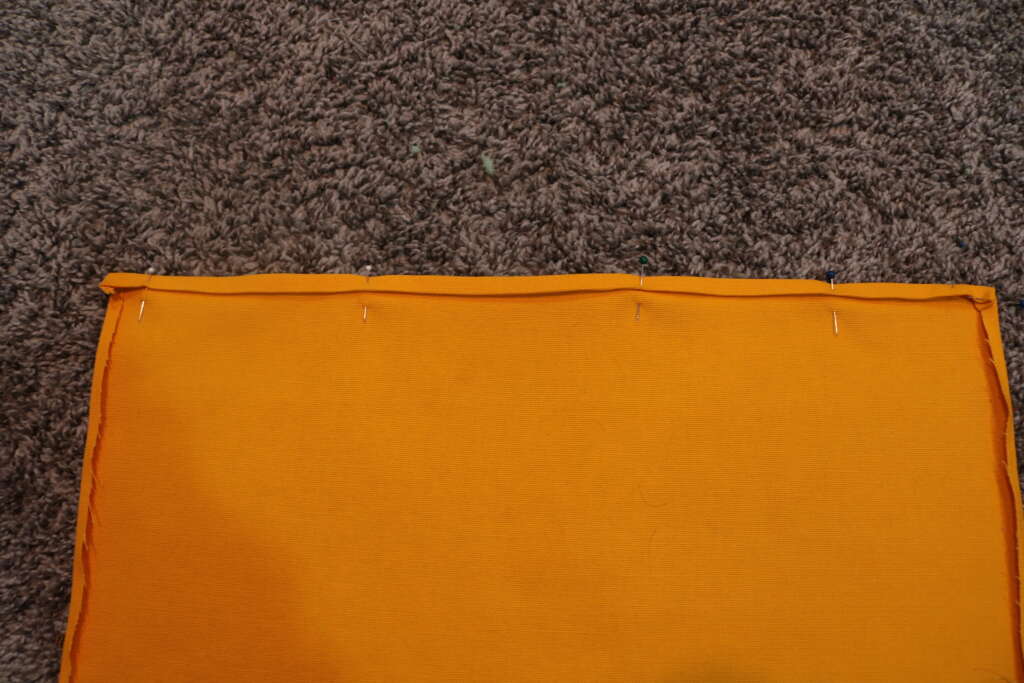
Preparing Pocket
Press a double hem on the top edge of your pocket, and top stitch with a 0.25in seam allowance
Press a single hem on the other three edges.
Pin pocket in desired position on front of apron.
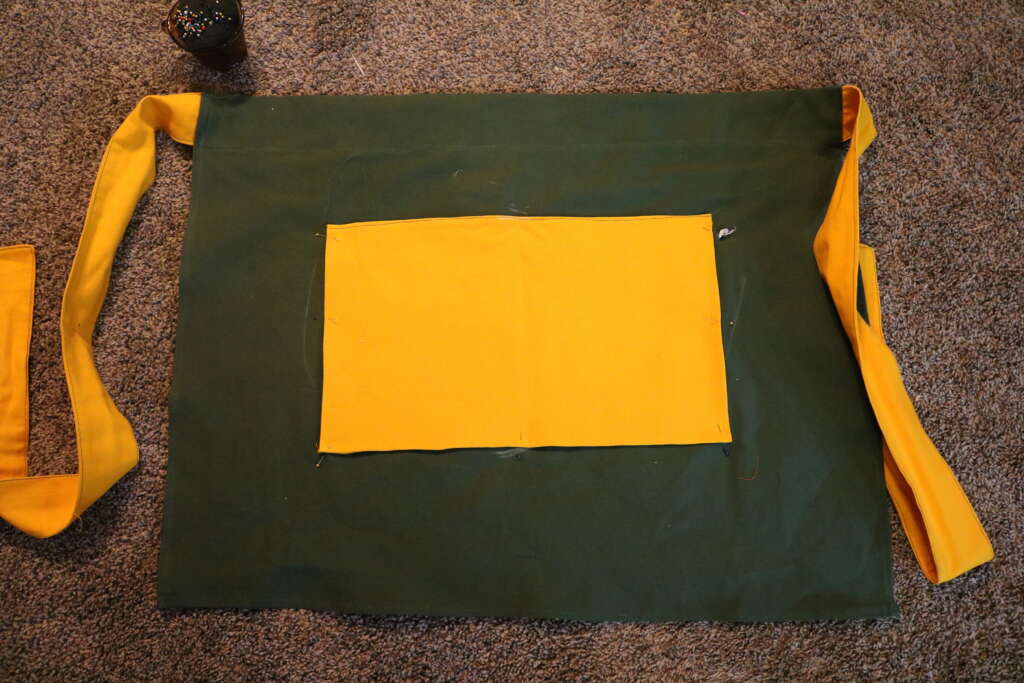
Top stitch place with a 0.25 inch seam allowance
If desired, sew in the middle of the pocket to create two pockets.
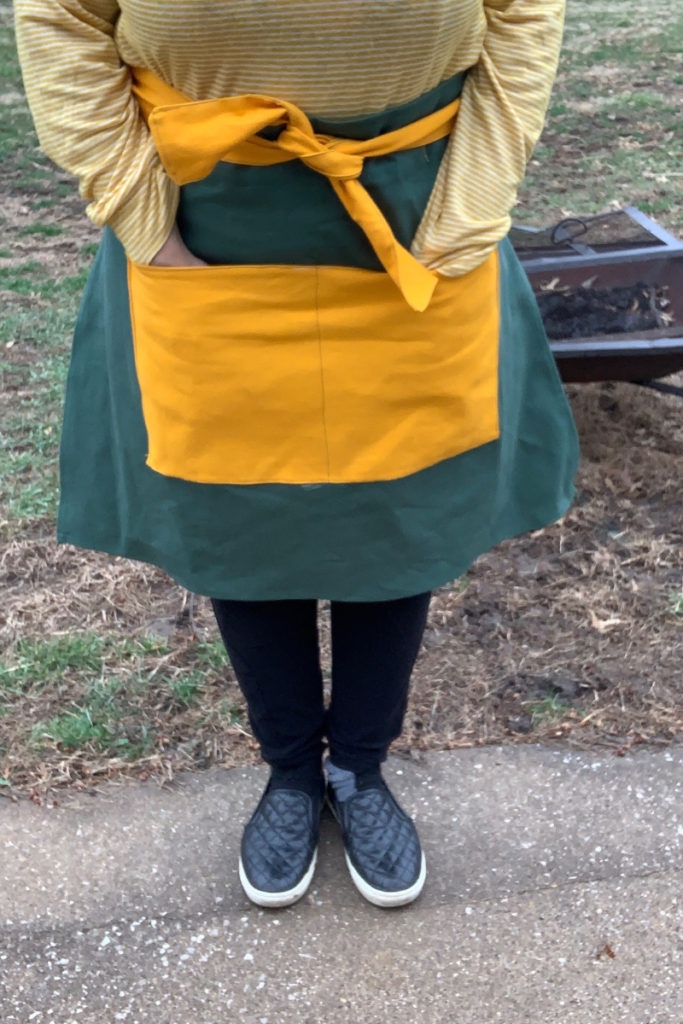
Congratulations! We just sewed a gardening apron!
Thoughts
Overall, I am pleased with this project.
I’m glad I chose this fabric, as it is quite sturdy.
I think if I was to make this again, I would like to work a bit more on the tiebacks. The stitching to secure the tiebacks is visible from the front. Though I doubt anyone would be looking too closely, and especially as the apron ties in the front, I would prefer that the stitching wasn’t visible.
For now however, I am really happy with it! All I need now is for Mother Nature to stop sending stormy weather to where I am living, and I can get my raised beds set up!
Until this rain clears up, I’m off to make some masala cha…
I would love to see your version of this project. You can find me at Facebook, Instagram, TikTok, and YouTube. Feel free to use the tag #cozymagichome so I can see it too!
As always, I hope you day is filled cozy magic.
Blessed Be,
Amrita
xo