Our current front doormat has seen better days.
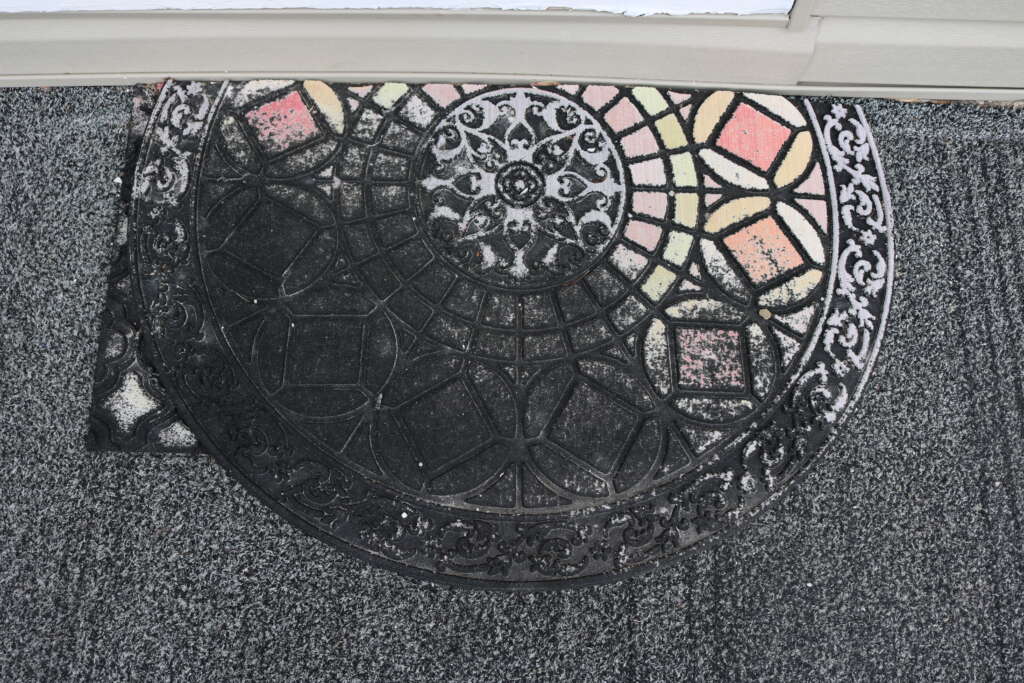
It actually belonged to the previous owners, and as I am slowly getting around to putting a personal touch all around our home, I decided to update our doormat.
And as I couldn’t find one in the stores I liked, I figured I would just make one!
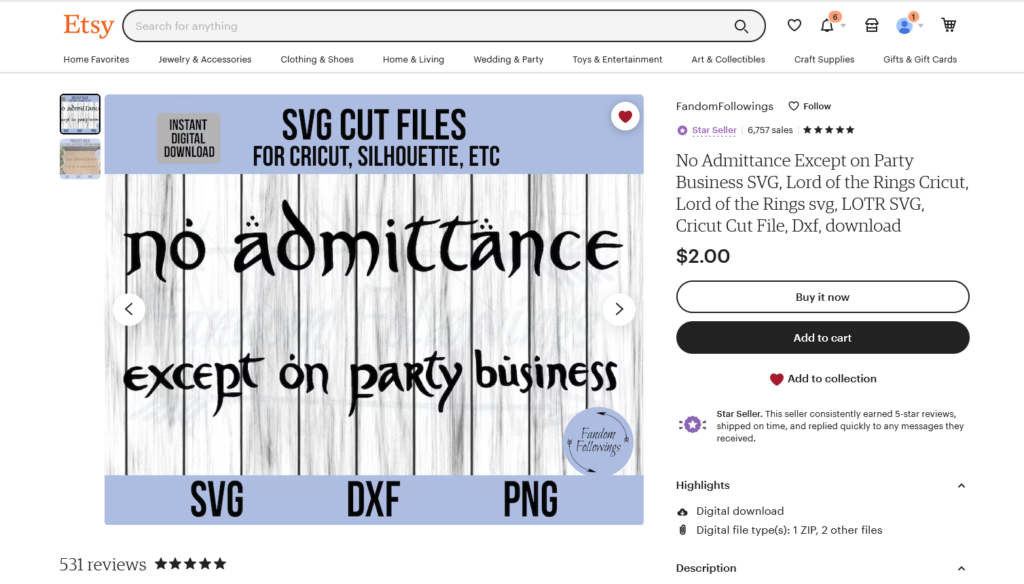
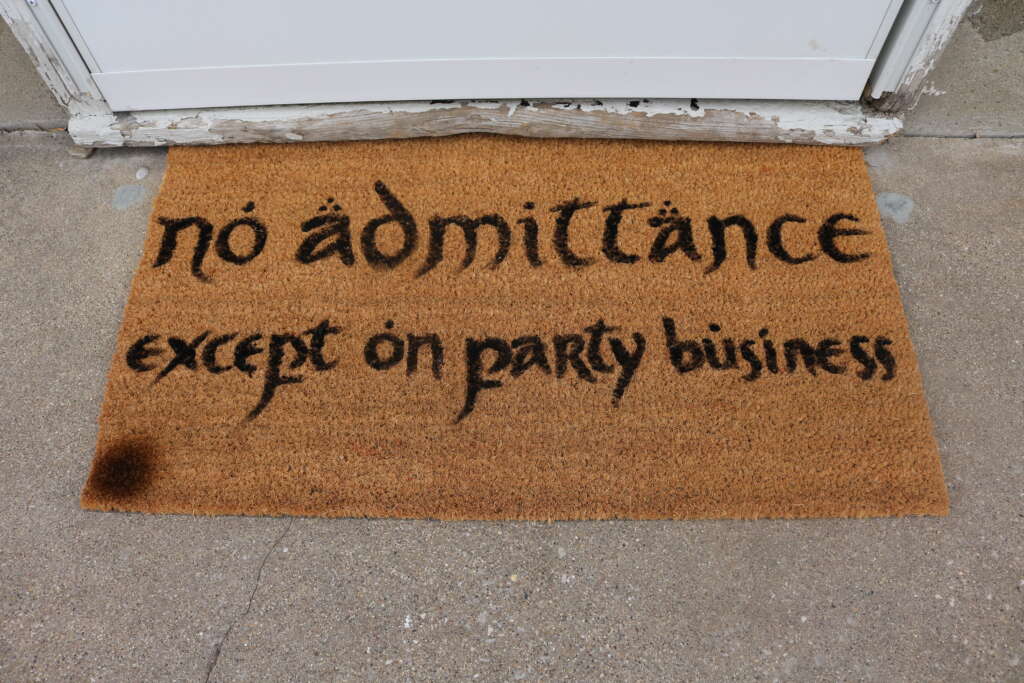
After finding this SVG file on Etsy, I knew I had found the perfect design for us. We love fantasy novels, and are trying to incorporate all the things we love into our home, no matter how small the nod to it may be.
Keep on reading if you would like to make a personalized door mat too!
Notes
Design
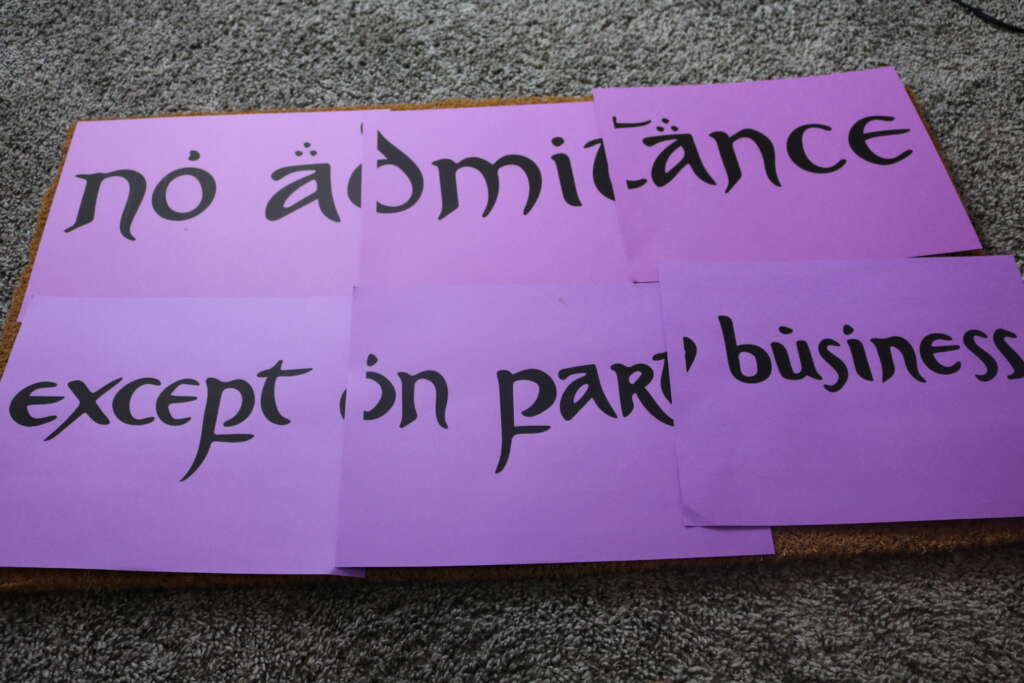
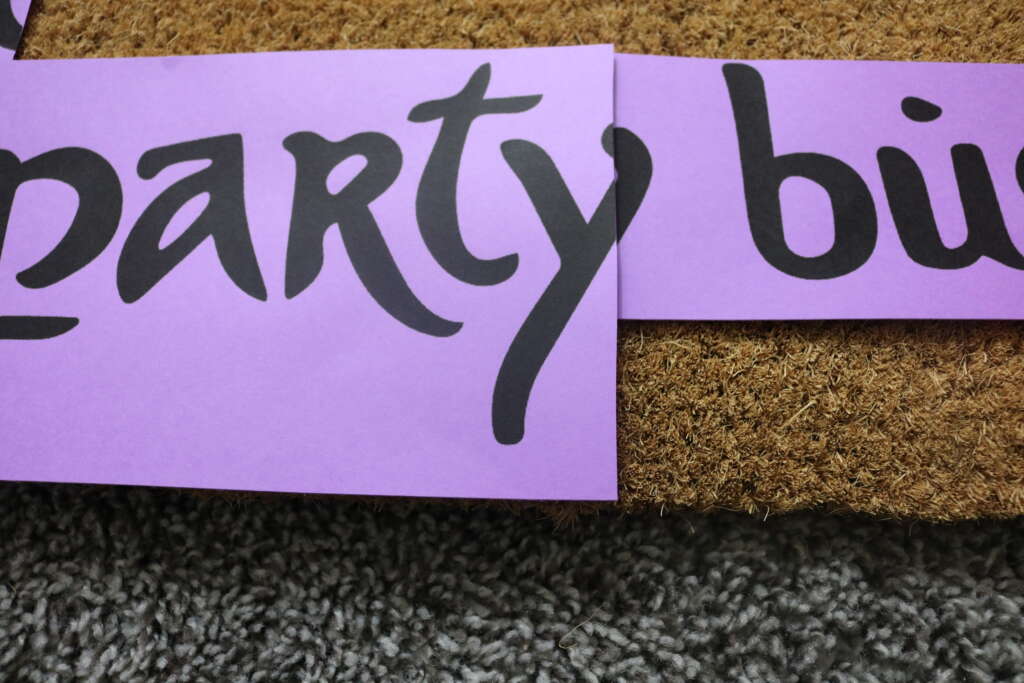
My design was too large to cut in Cricut, so I made my stencil but printing it on a regular inkjet printer, and cutting it out by hand.
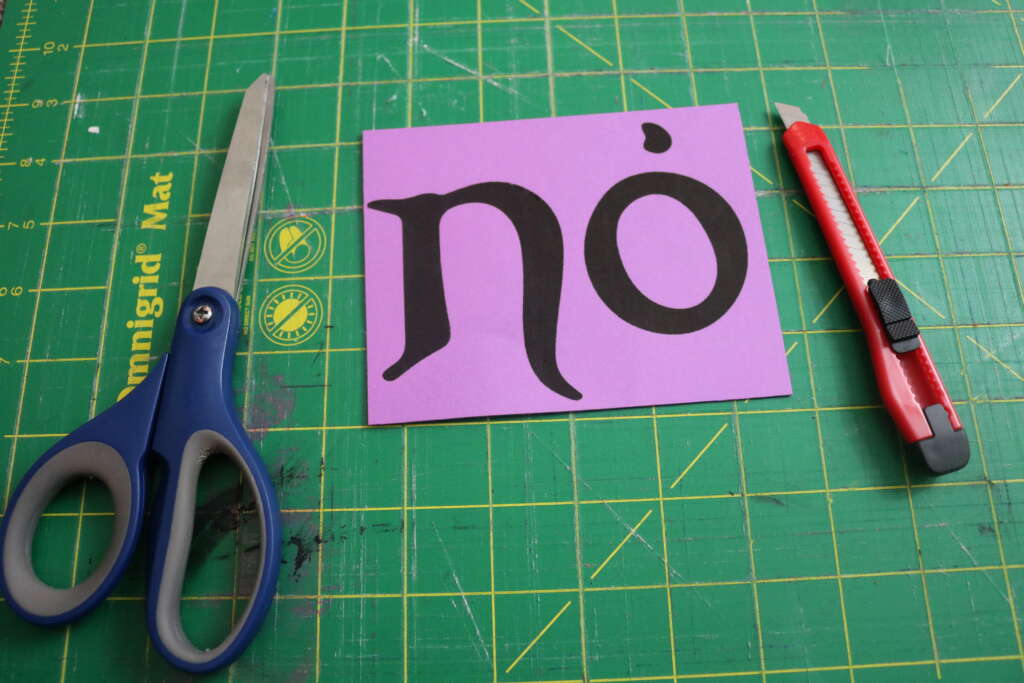
The only thing I feel you need is sturdy paper/card and an Exacto knife.
I didn’t have an Exacto knife, so I used a utility knife and scissors. It took longer to cut out my stencil than I would liked, but it did the job.
Paint
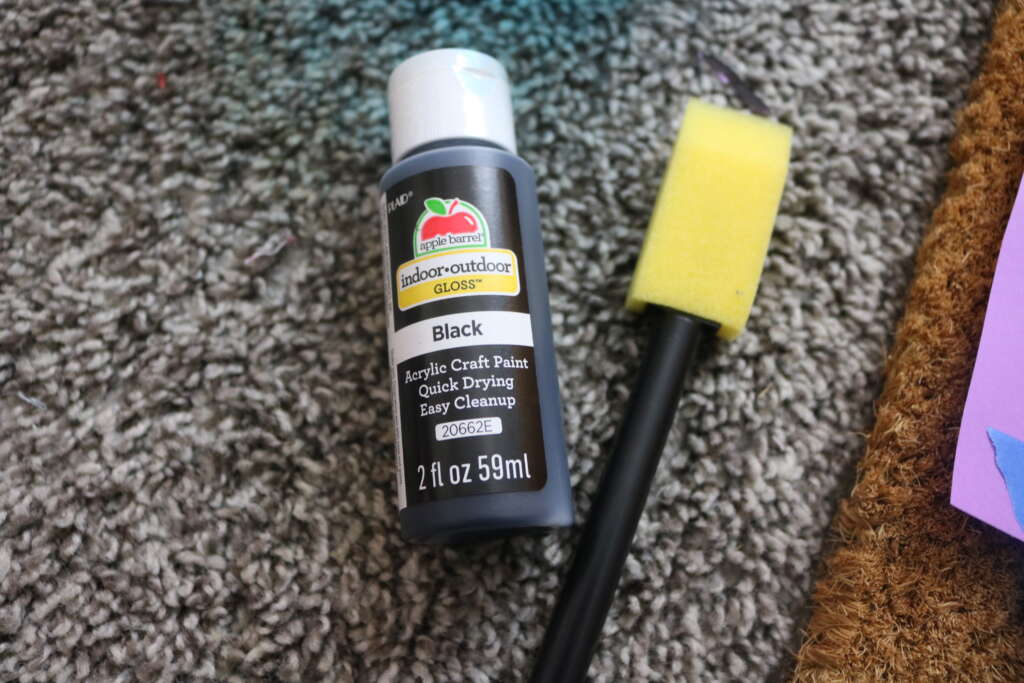
I almost spray painted this project, but decided to go with acrylic painting it instead. I was afraid the spray paint might bleed, and I wanted the lines to look clear and sharp on this project.
Outdoor acrylic paint offered more control, so I decided to go with that.
Sealant
From my understanding, acrylic paint is pretty weather resistant. But I live in the US Midwest, and I feel like the weather here is just…
So while you probably won’t need the sealant, I don’t trust the weather here. So at some point I will seal mine.
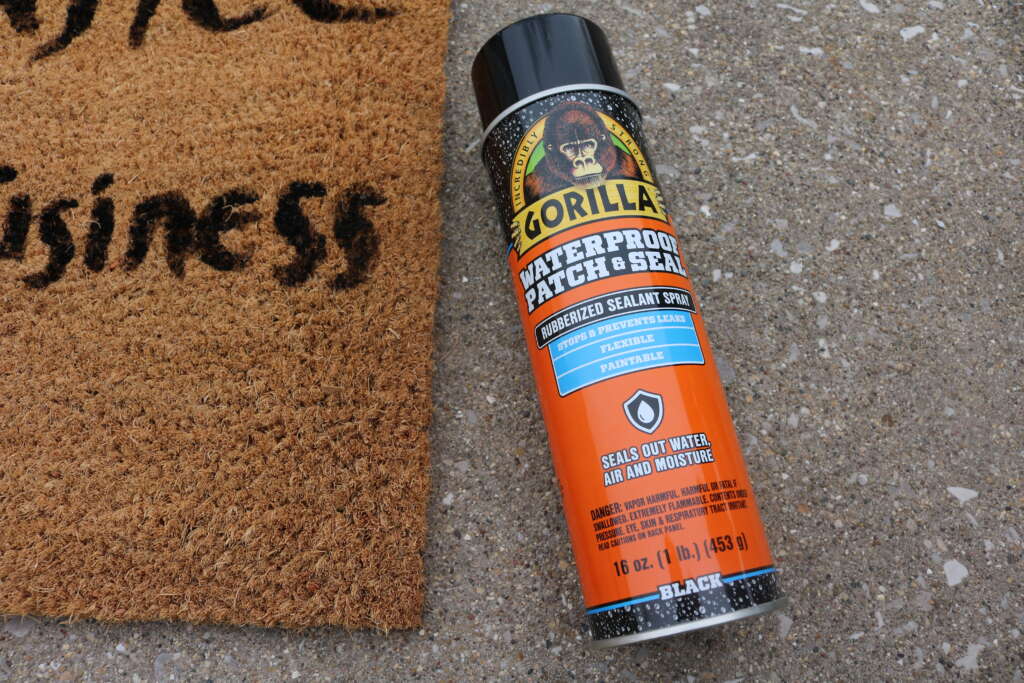
However, I didn’t realize until it was a bit too late that I didn’t buy the clear sealent like I thought. The black one I bought would have worked if I had left the stencil on, but (at the time of writing anyway) I didn’t want to mess with that.
If you do end up using the spray sealant, please use a mask and spray in a well ventilated area!
Items and Equipment Needed
- Coir Hair Doormat
- Card to make stencil
- Painters Tape
- Exacto Knife/Scissors/Utility Knife
- Desired design*
- Outdoor Acrylic Paint
- Brushes
- Clear Sealing Spray (optional)
- Mask
Instructions
If you using an inkjet printer, and your design is too large for one sheet of paper, I used the instructions on this website to help spread my design out over multiple pages.
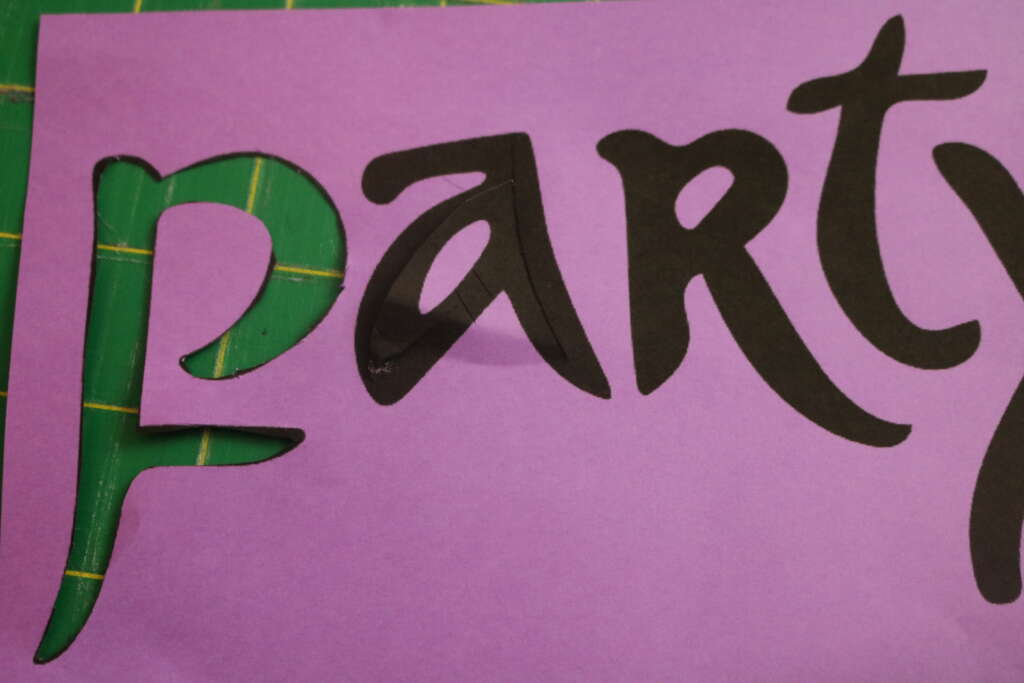
Assemble your stencil trimming and either gluing or taping separate pieces together.

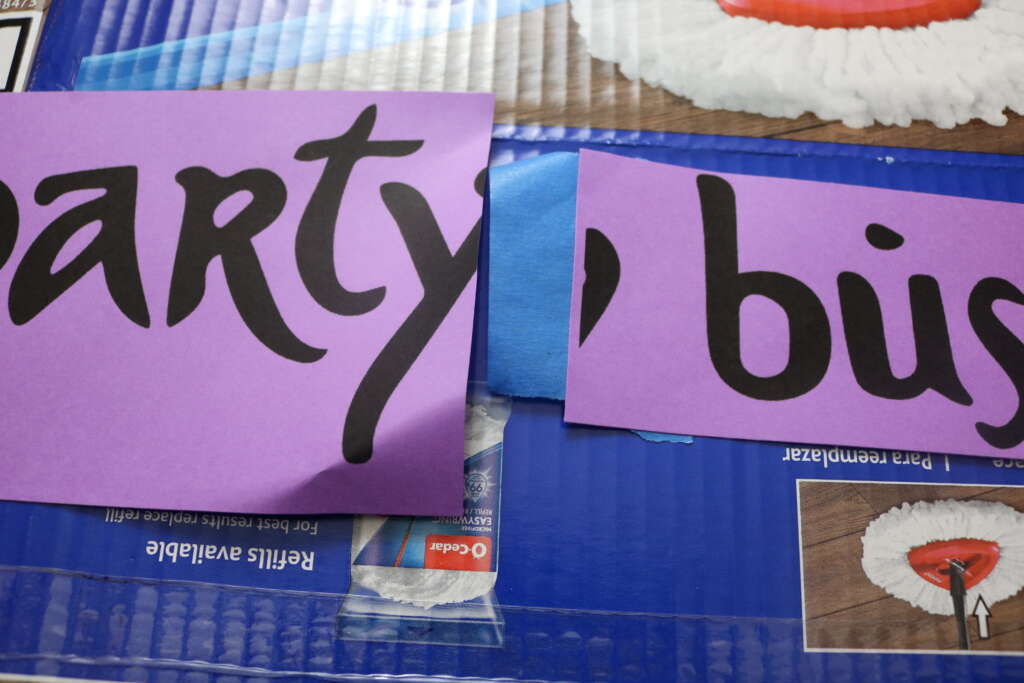
Cut your stencil as required. An Exacto knife would be ideal, but I used scissors and a utility knife and worked very slowly. It worked out okay.
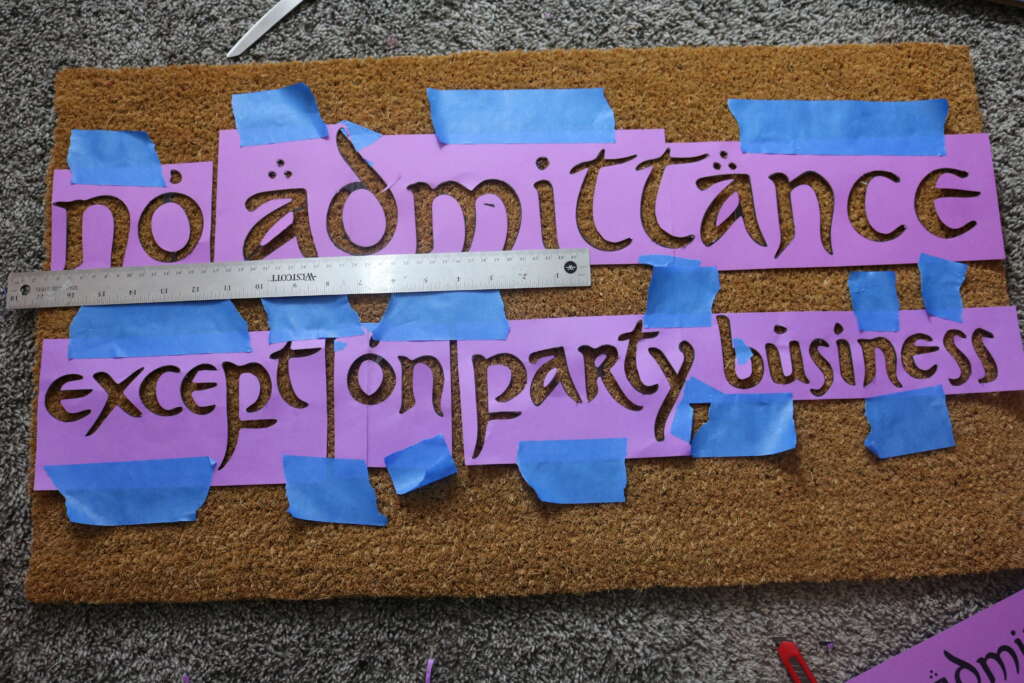
Lay design on your mat, and rearrange as required.
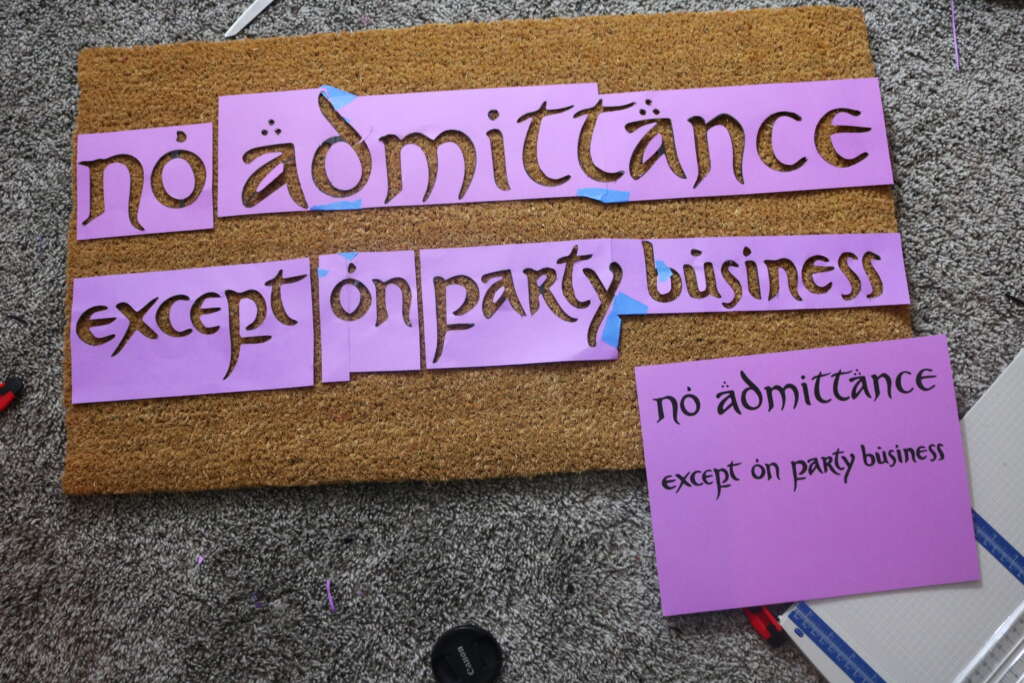
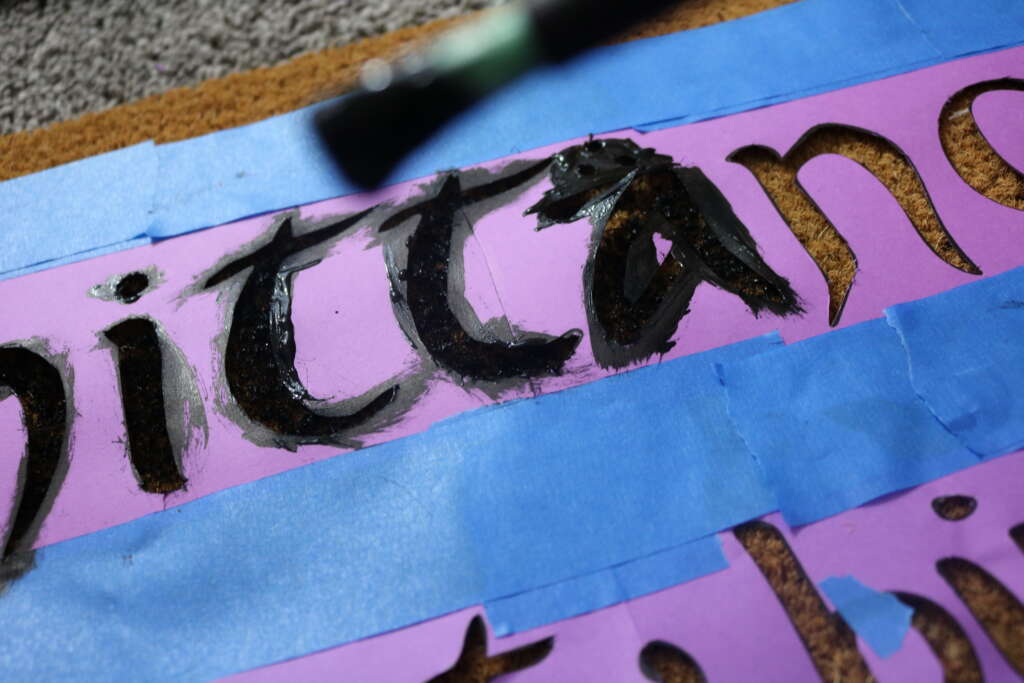
When happy with placement, use painters tape to secure design on mat (your should probably use more than I did). I used a ruler to attempt to keep it lined up accurately.
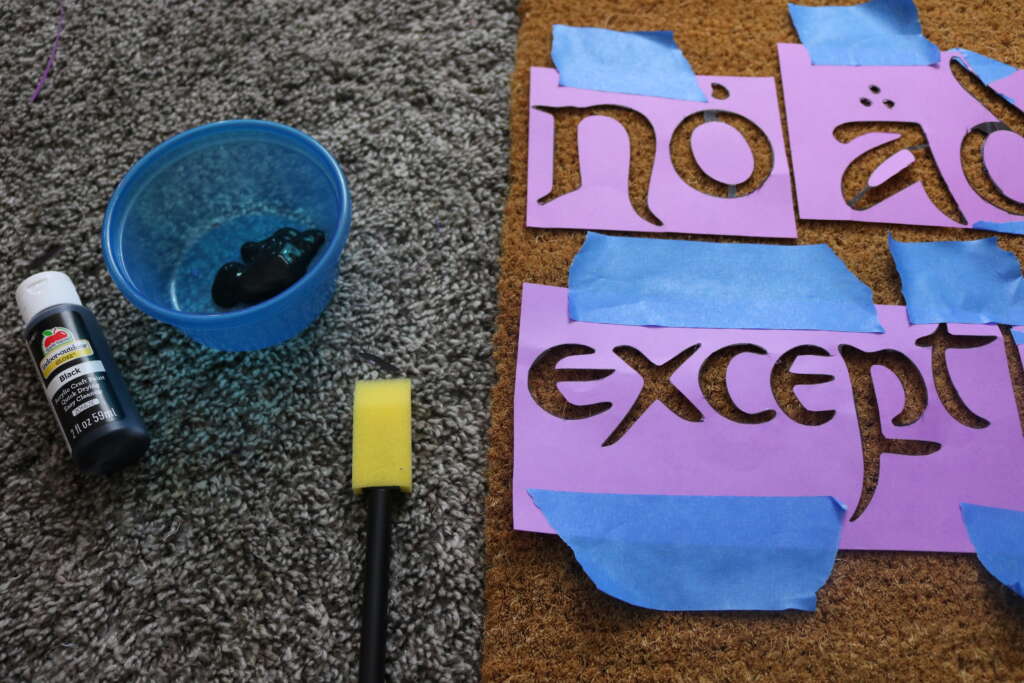
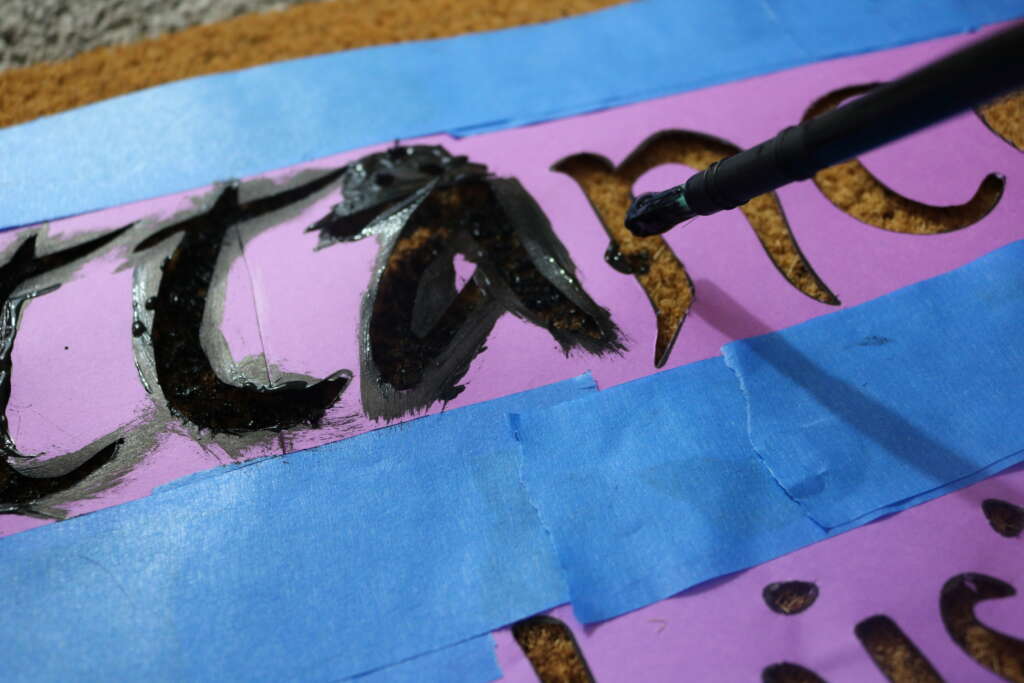
Using a foam and a round (?) brush (not sure of the name of the brush type), paint on your design
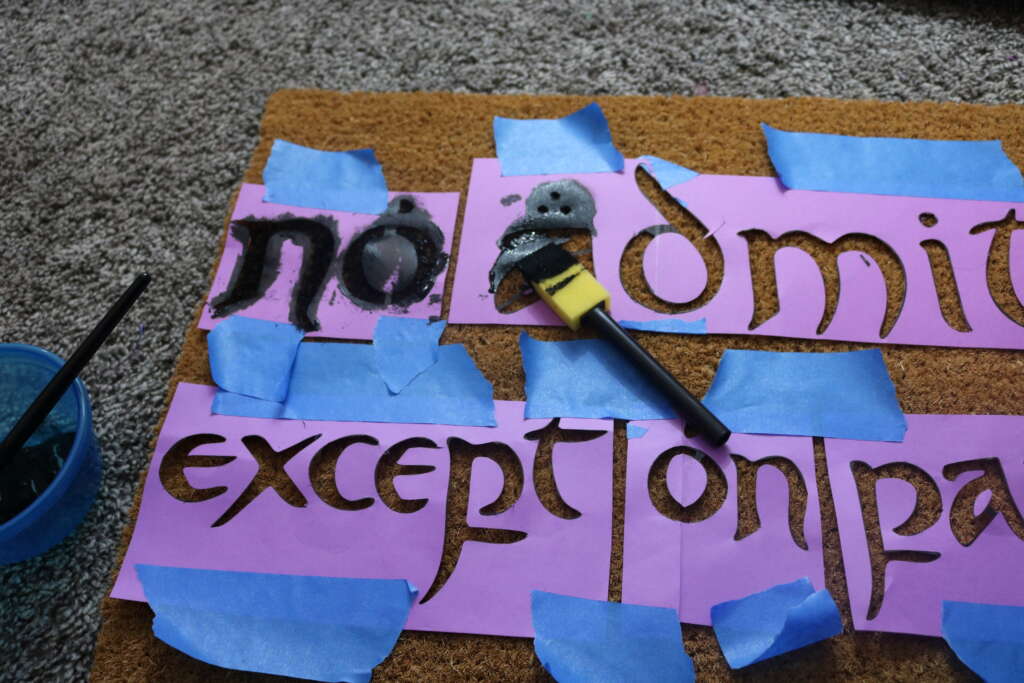
Wait for paint to dry
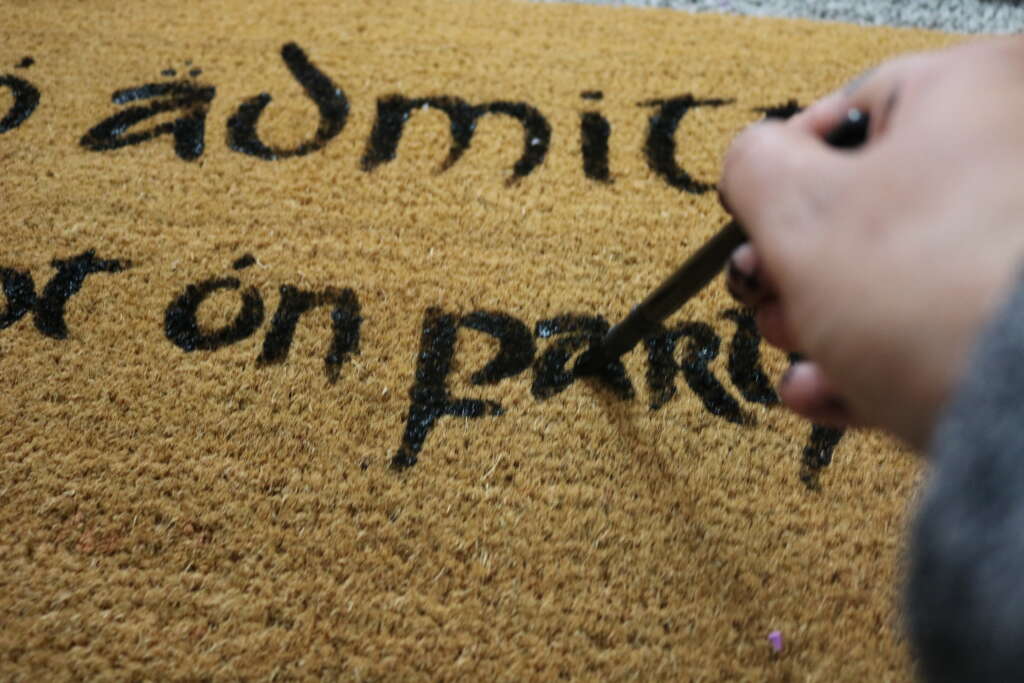
Remove stencil, and paint over with a smaller brush if necessary.
(optional step) Spray with sealent spray and let it dry (make sure it’s the clear one!).
Enjoy your new mat!
If you do decide to make this project, I would love to see your spin on it! You can email me at [email protected] or find me on Facebook, Instagram, TikTok or YouTube. Use hashtag #cozymagichome so I can find you easily!
Until next time, I hope the coziest, magical day.
Amrita
xo