
You’d be forgiven for thinking otherwise, but Spring is just around the corner…
I cannot wait for the change of seasons!
So to celebrate, I decided to try my hand at making a wreath!
I love the cottagecore aesthetic, so have attempted to make a cottagecore themed one. While researching cottagecore themed, I came across this YouTube tutorial, and decided to make a moss themed one.
While the end product is beautiful (in my opinion), moss is really messy to work with! I kind of wished I had made this outdoors. Instead, I just ended up having a few vacuum breaks.
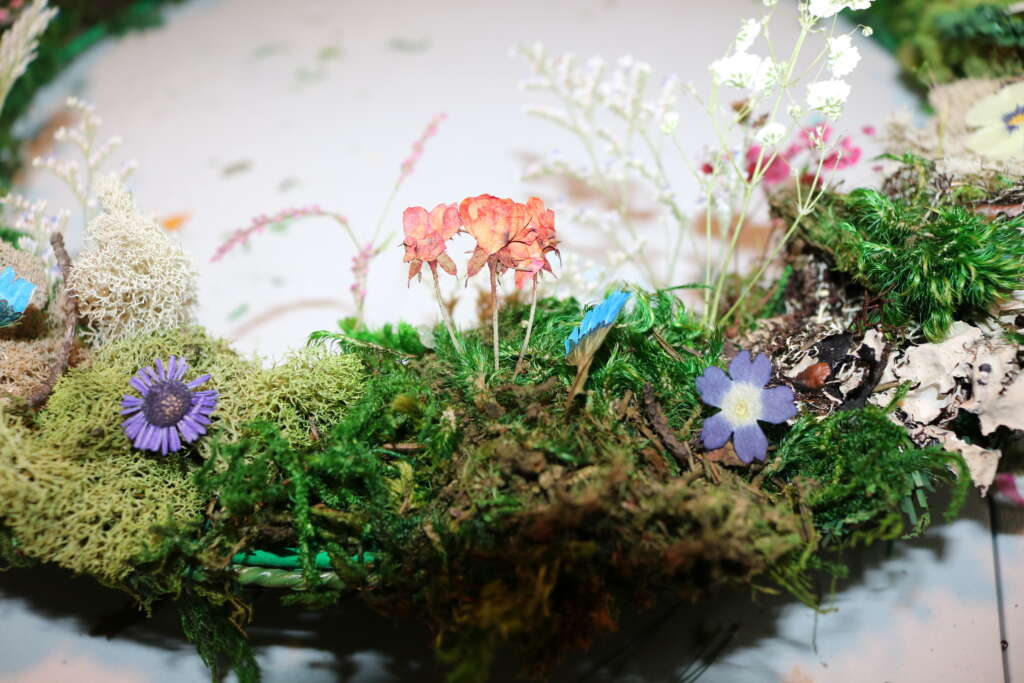
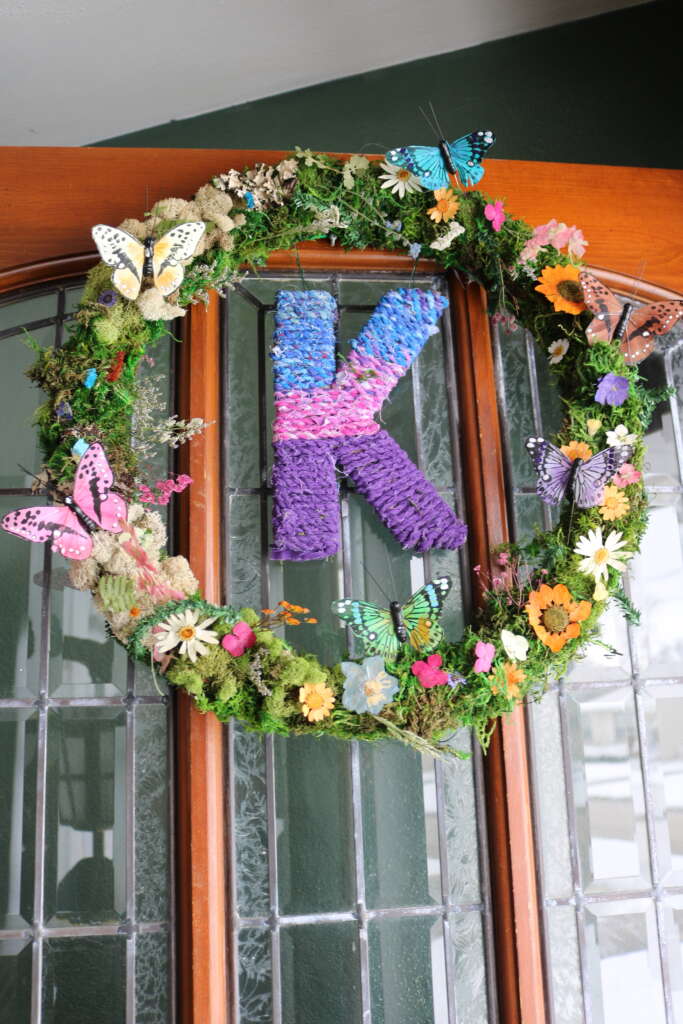
Overall, I’m happy with how it turned out. It is adding a pop of happiness and color to the dreary last few days of winter.
Notes
Cost
As people have been pointing out on my Facebook page recently, I could probably save money if I just bought store bought items.
But as someone who enjoys crafting and finds therapeutic value in it, I decided to make one.
And I love how mine turned out.
Cleaning
Moss is messy.
If you are making this indoors, have a vacuum handy, and be prepared to use it regularly.
This would have been a fun project to make outdoors. It is snowing here, so I decided against that!
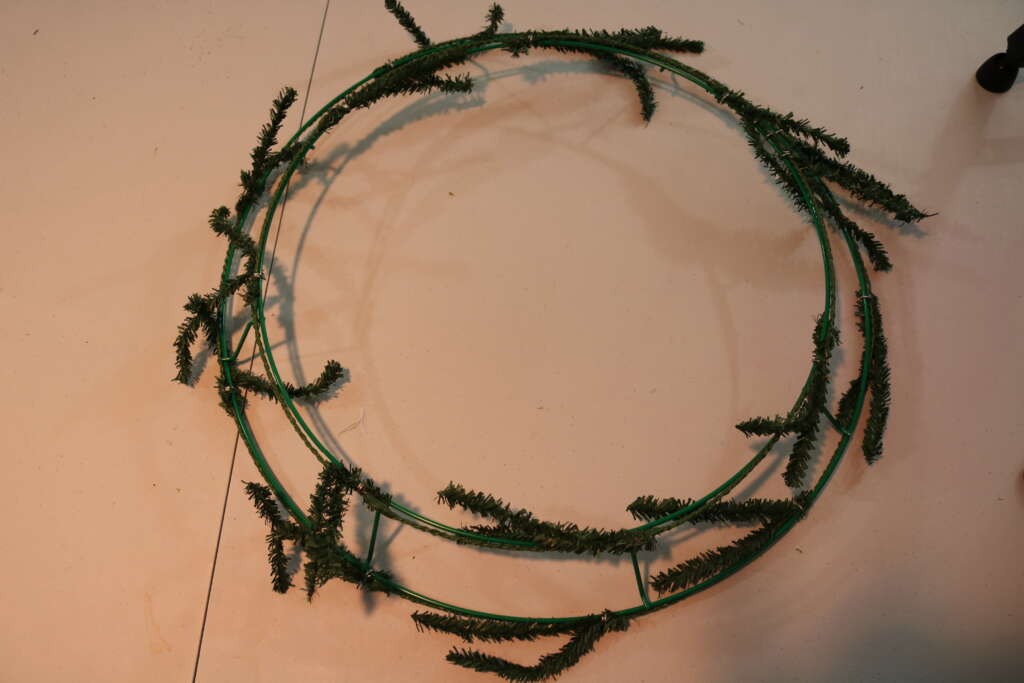
Wreath Form
I used a wire wreath form because I picked it up at Joann ‘s for US$6.99 in their sale.
I think other types of wreaths would work well too, though how you attach certain elements would be different.
Decoration
Even though I used dried flowers, you can use whatever you want!
These are some of the wreaths I saw that inspired me to try making my own.


I would love to see what you come up with!
Sealant
Most of the mess the moss made was when I moved the wreath. I haven’t seen any extra shedding since hanging it up.
I am considering using a clear sealant to see it that would help with any potential future shedding. When I do that, I will update this post.
Items and Equipment Needed
- Wreath Form (I used an 18 inch one)
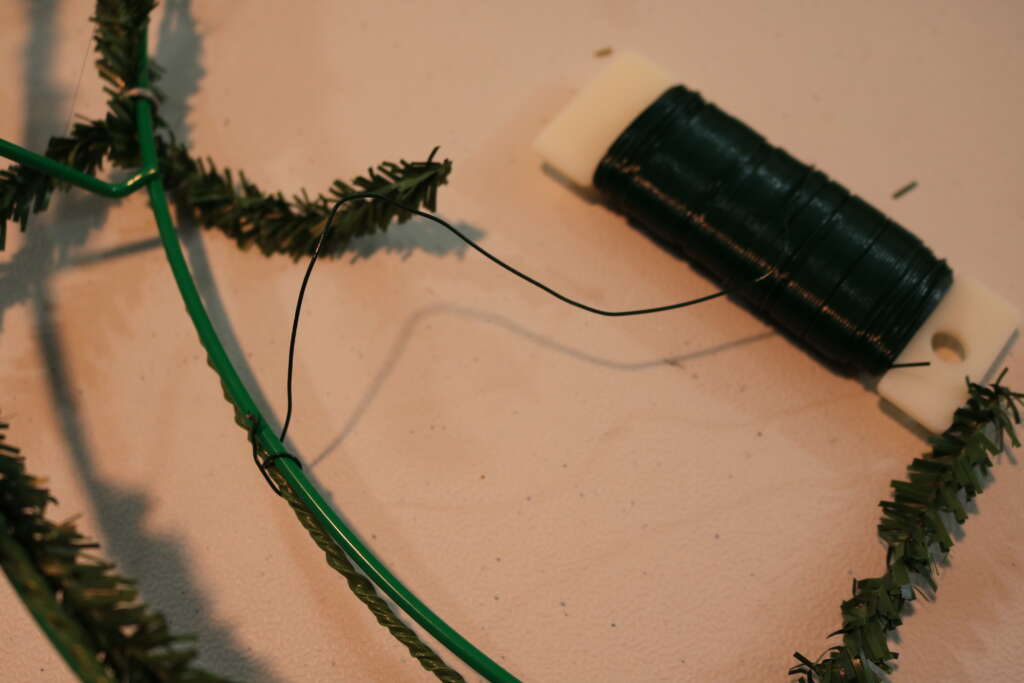
- Floral Wire
- Wire Cutter
- Moss
- Wreath door hanger (My front door had a screw affixed to it, so I didn’t need one)
- (optional) Dried Flowers
- (optional) hot glue
- (optional) Butterflies
- (optional) thick cardboard
- (optional) pen/pencil
- (optional) pencil
- (optional) fabric twine
Instructions
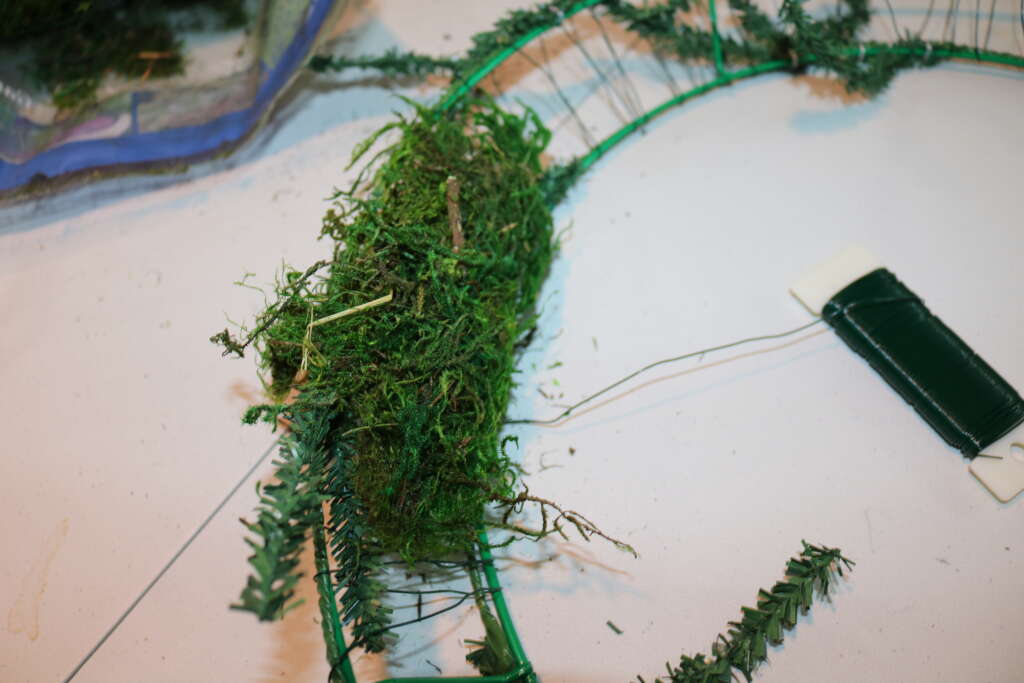
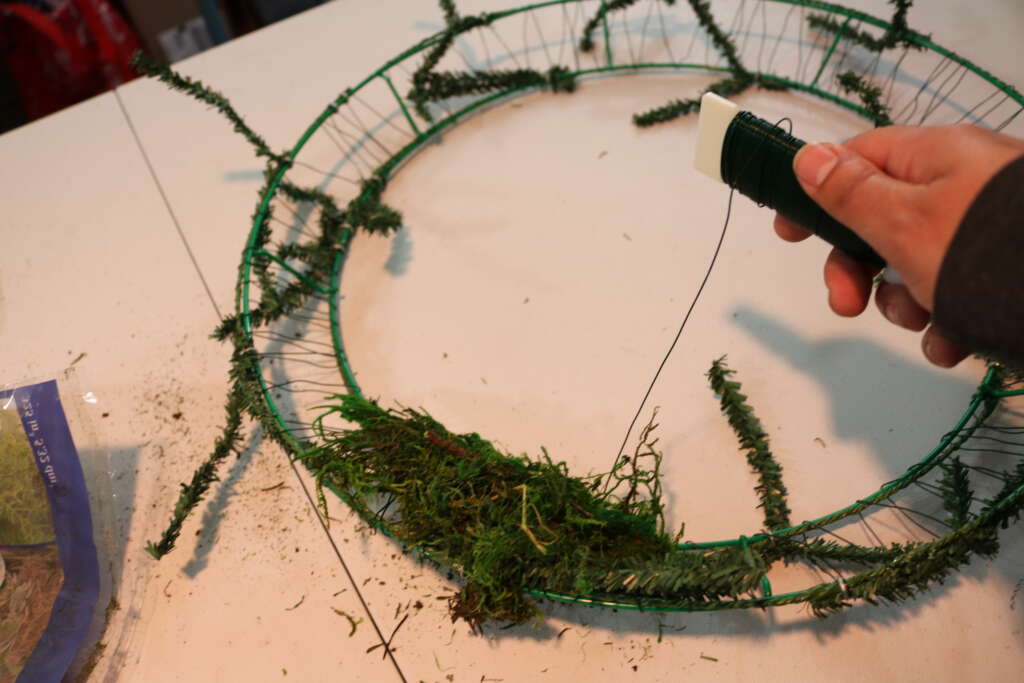
- Turn the wreath the wrong way around so that edge of the wreath form faces up
- Wrap floral wire around it
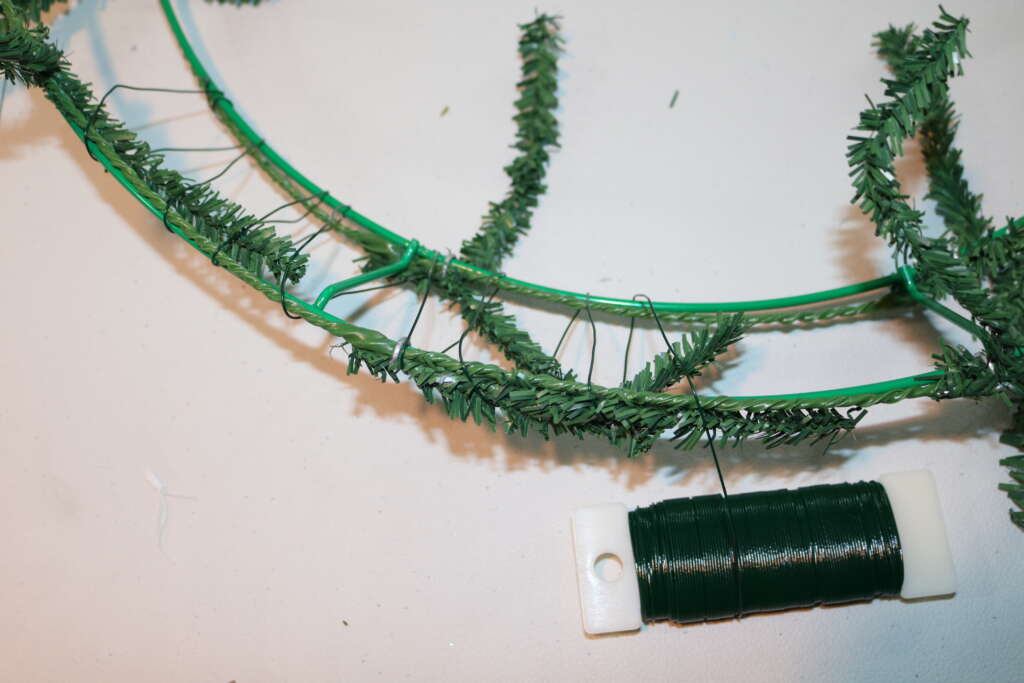
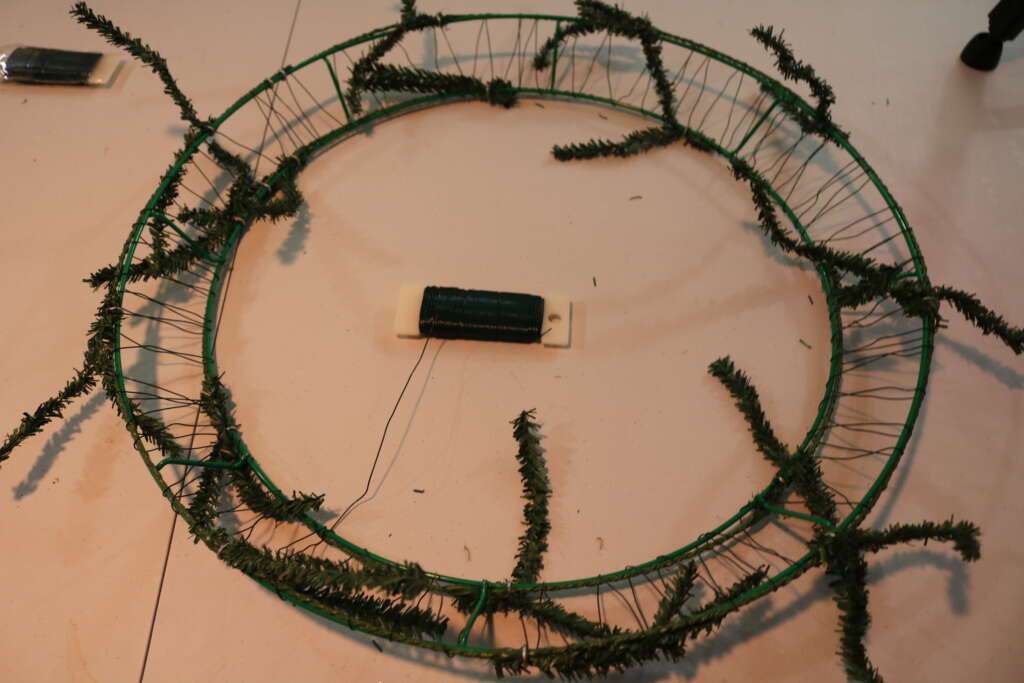
- Grab handfuls of moss, and secure it to the wreath form by wrapping it in the floral wire
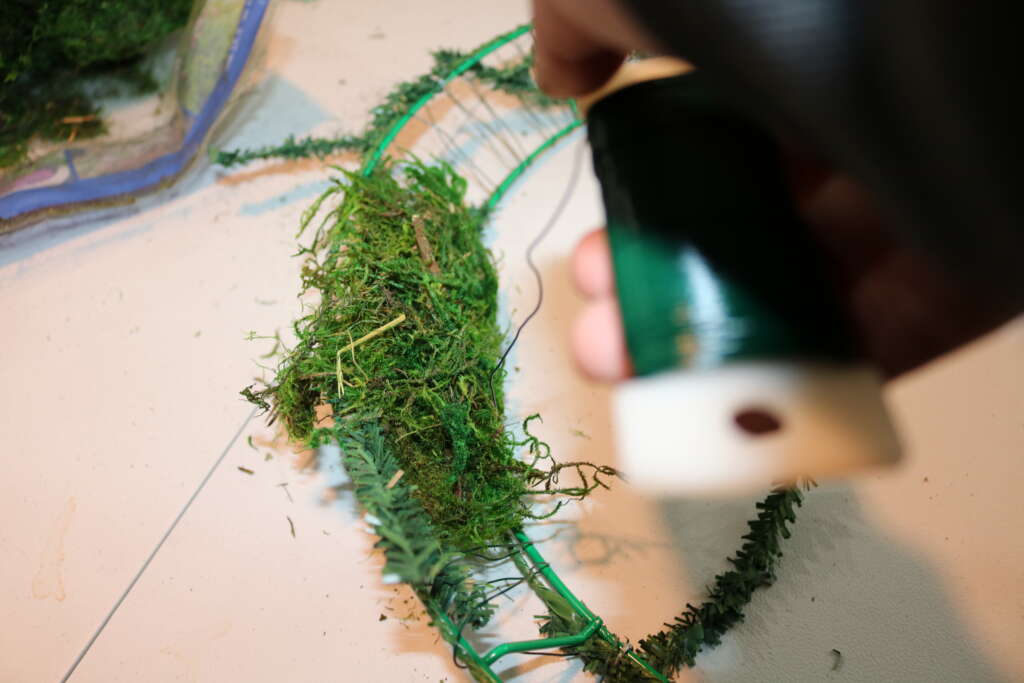
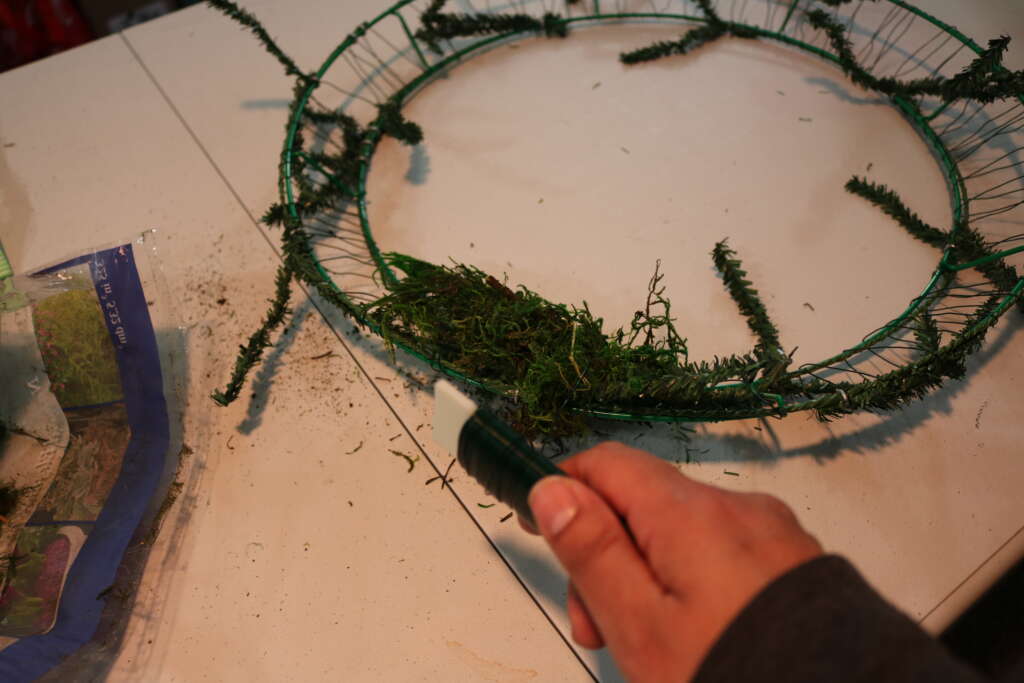
- When you are happy with the fullness of your wreath, cut the floral wire with wire cutters and tuck in/wrap around the wreath form
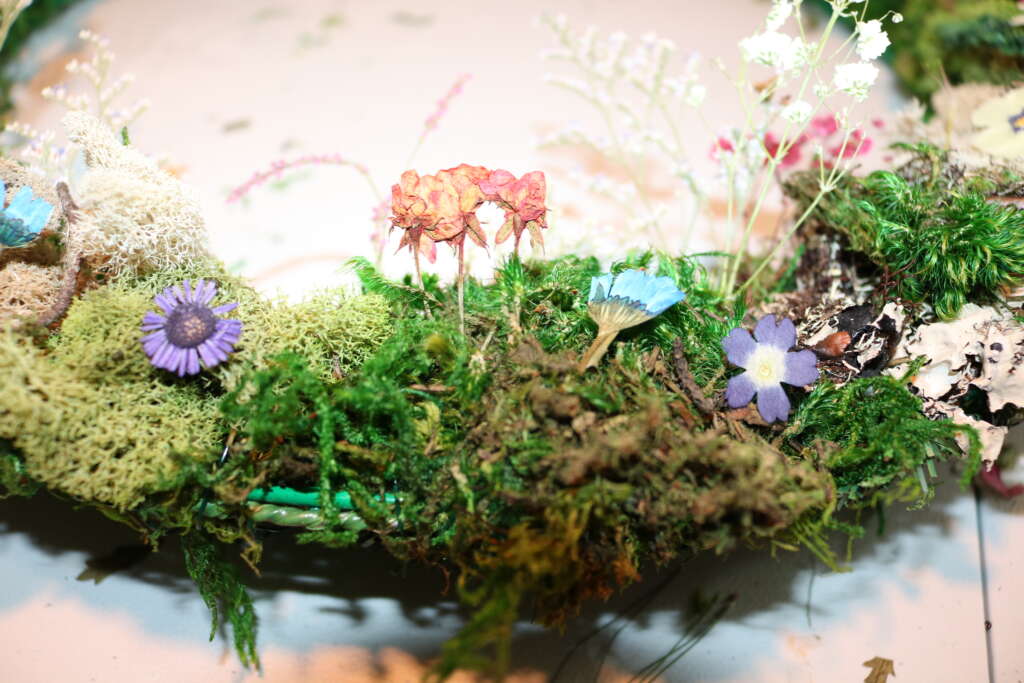
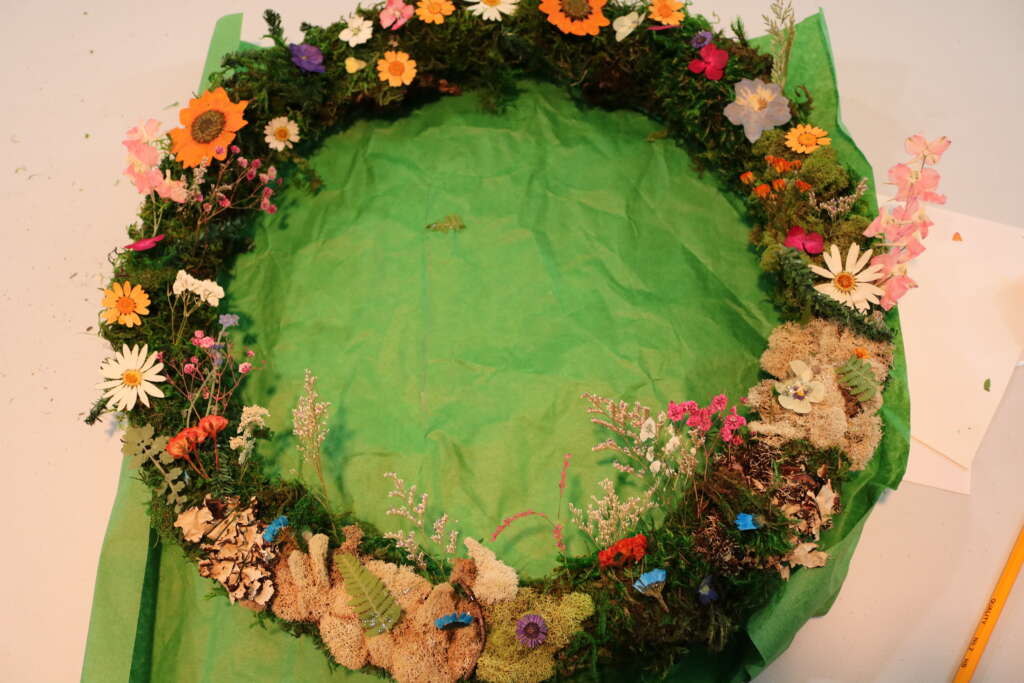
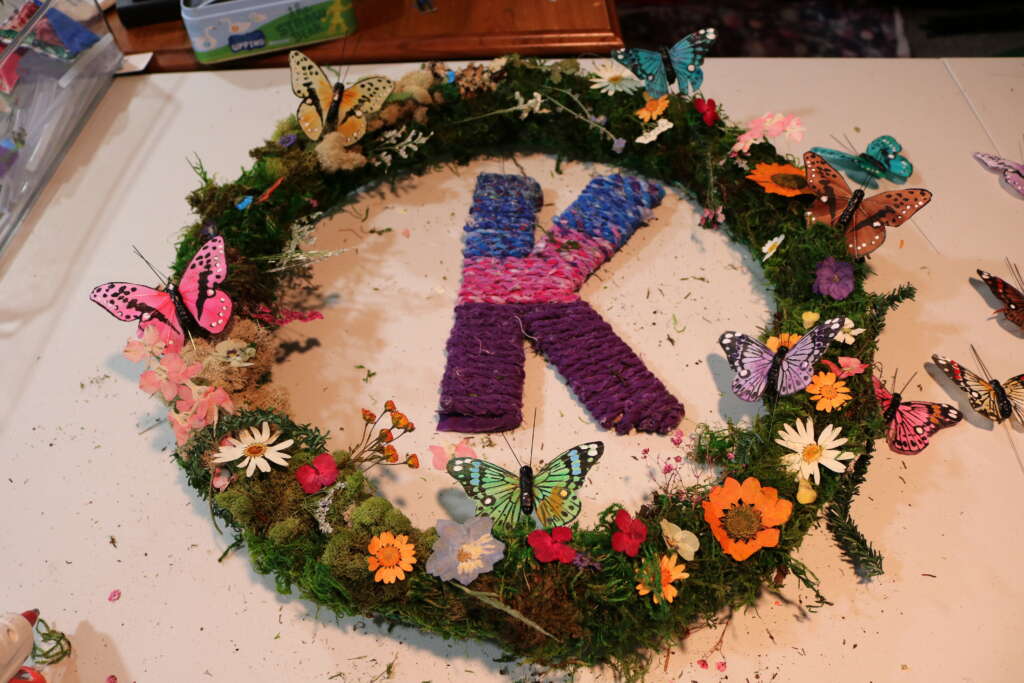
The base of your wreath form is ready, and now you can decorate it how you want! I used dried flowers and butterflies.
If you would like to decorate it in the same way, this is how I did it.
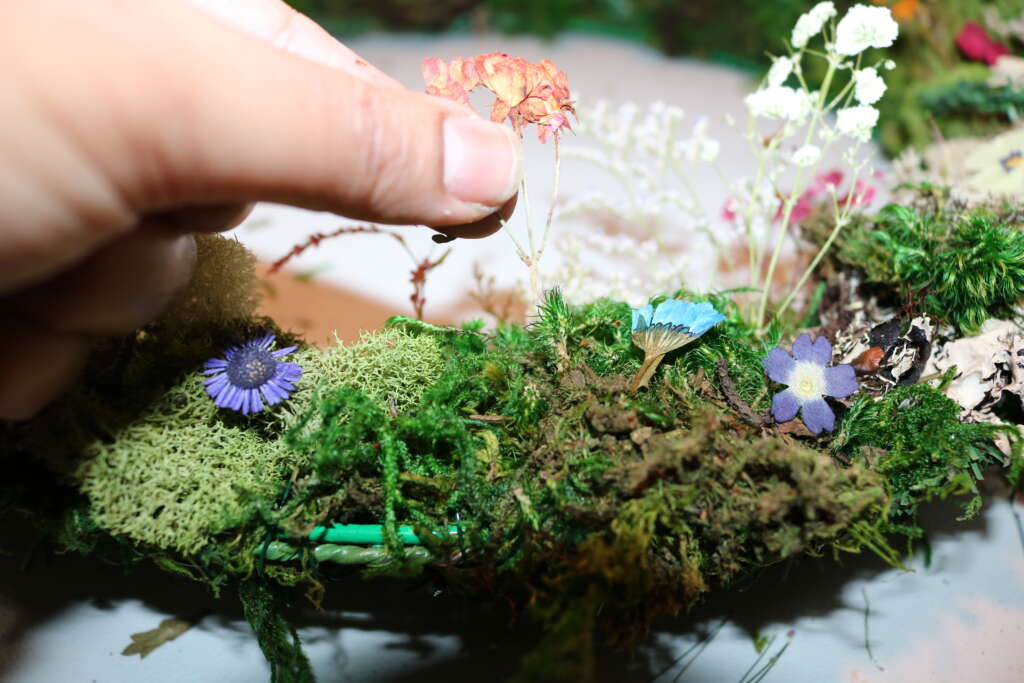
- Lay out the flowers to make sure you are happy with the placement.
- Once happy, glue in place. You can use hot glue, but I used Loclite for this part.
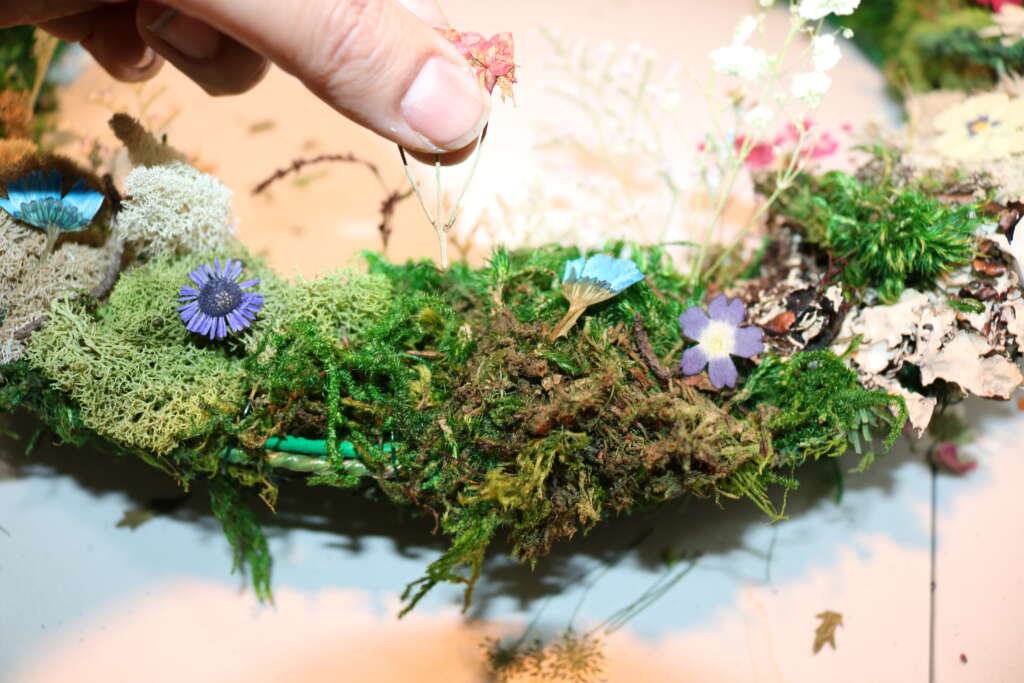
- I was able to tuck in flowers that had stems into place without glue.
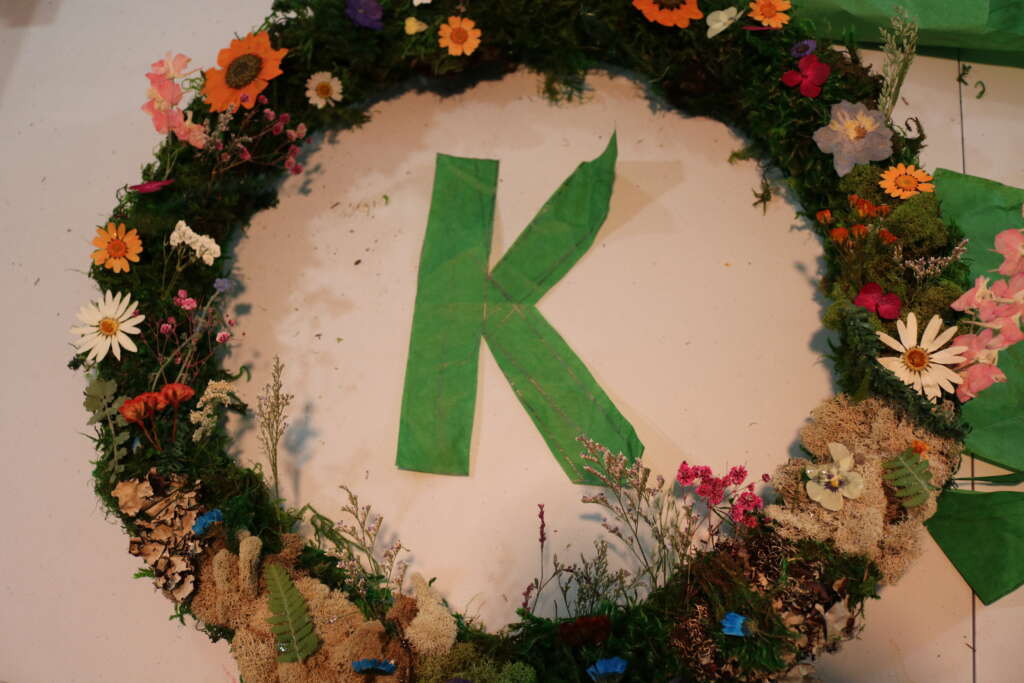
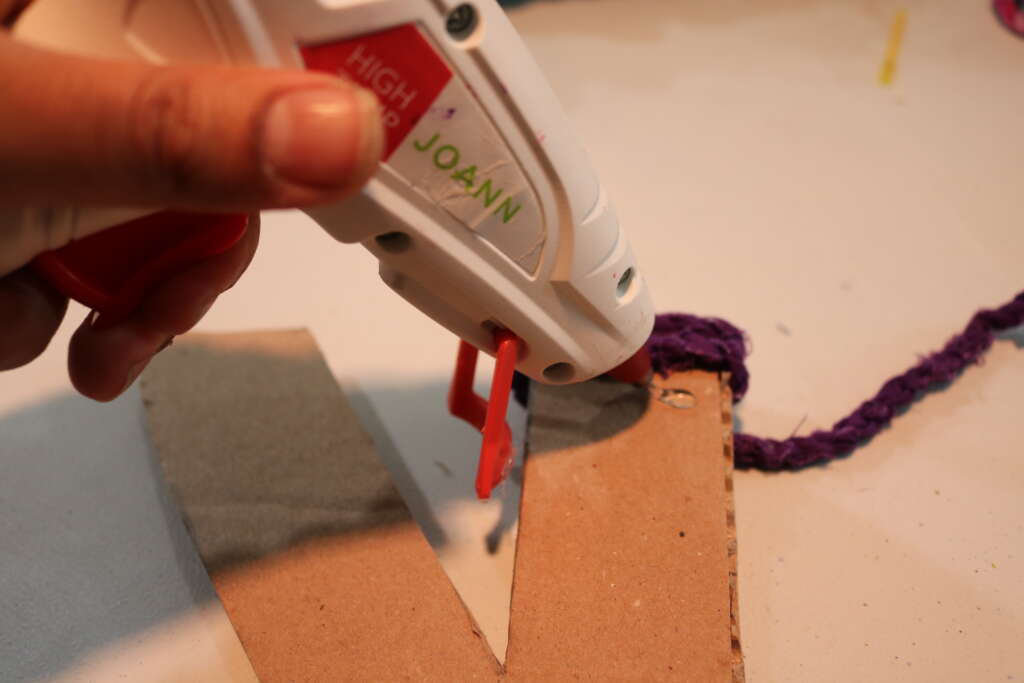
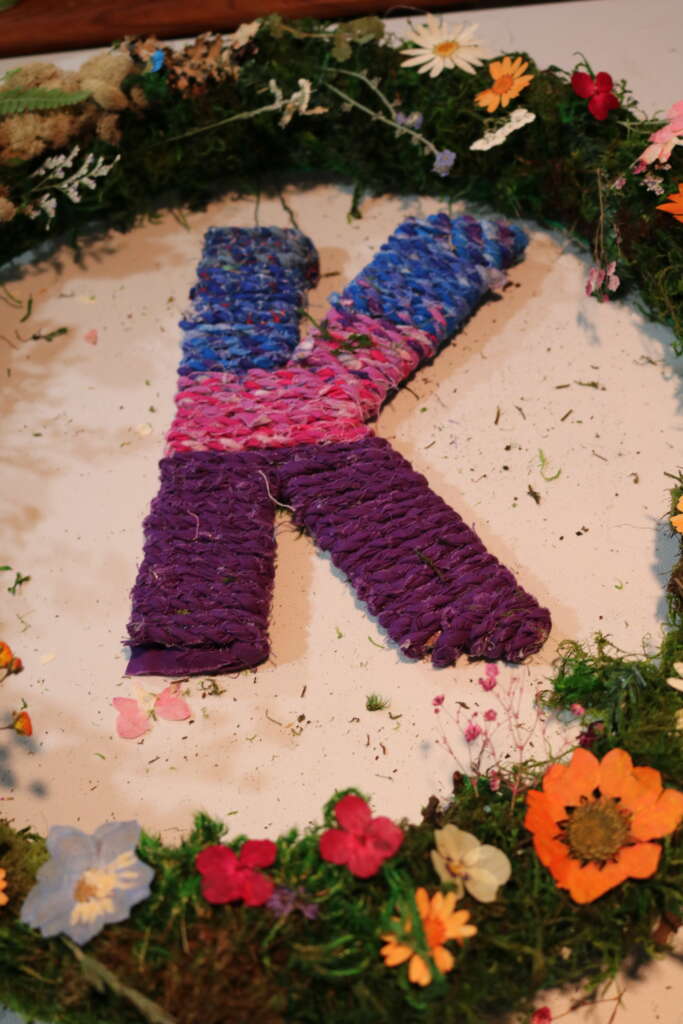
At this point, while I was happy with the wreath, I felt the middle looked too empty, so I decided to add a fabric twine wrapped letter. Here is how I made it.
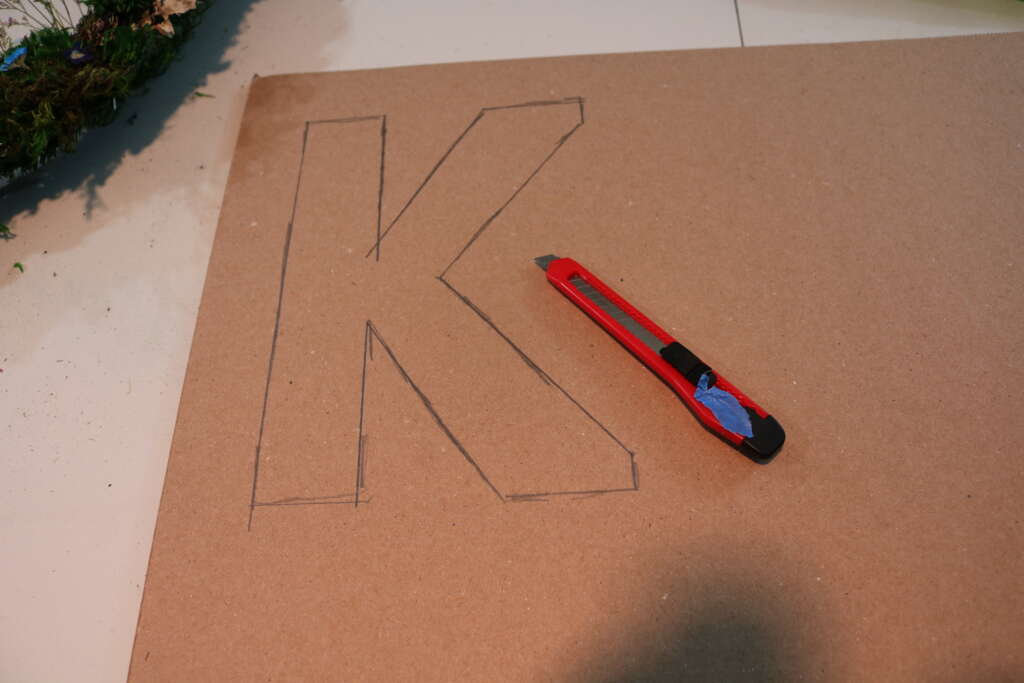
- Make a template using scrap paper to make sure it will be a size you are happy with.
- Cut out paper template.
- Transfer the template on to the cardboard, and cut it out.
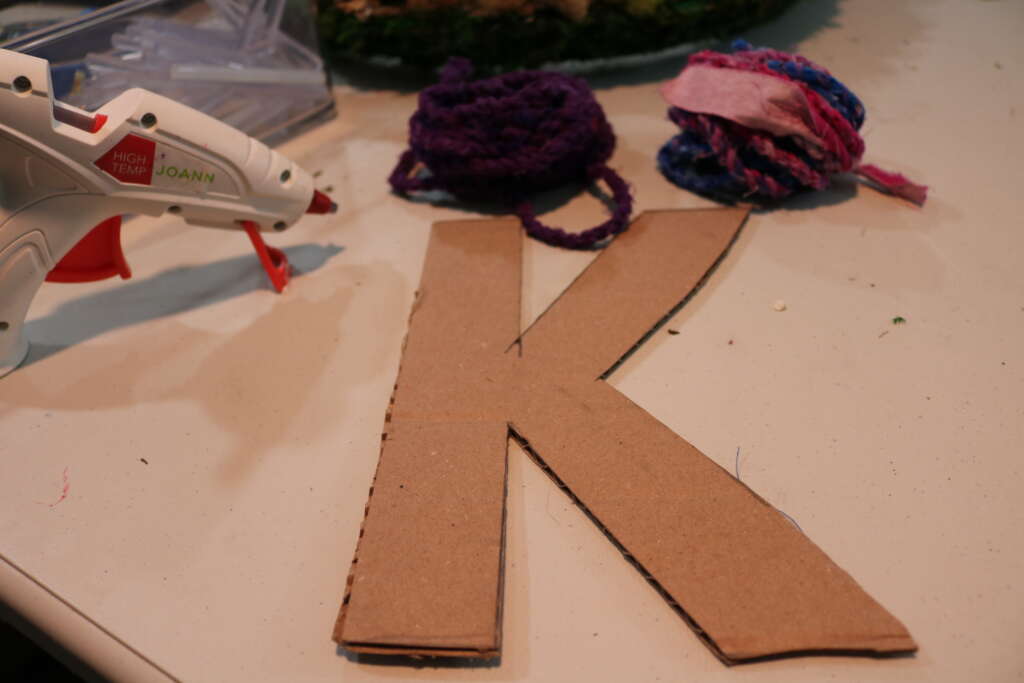
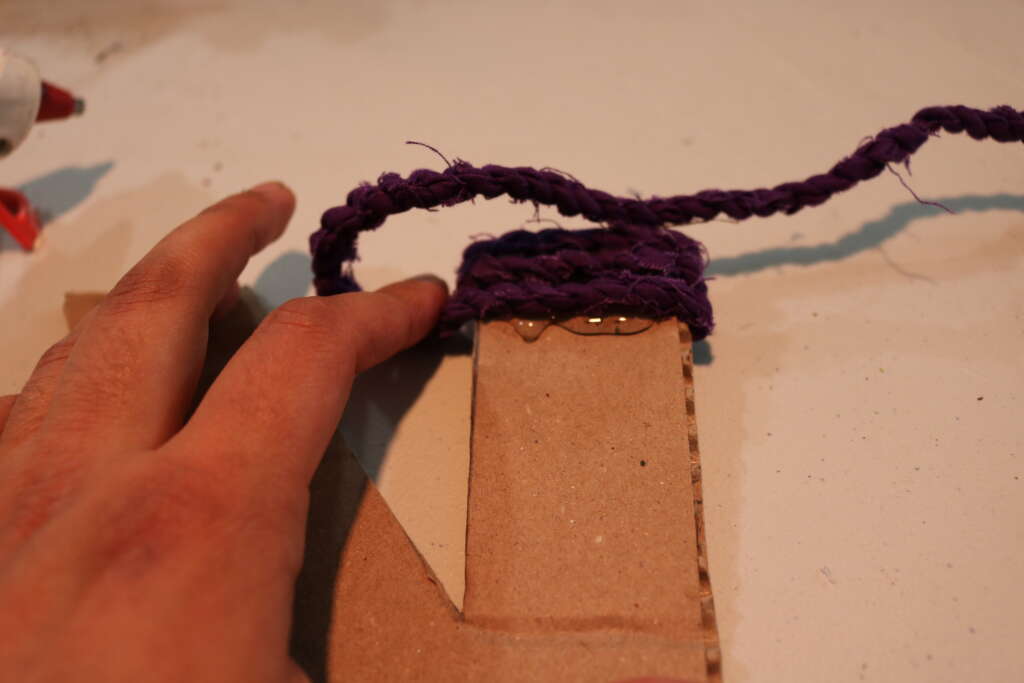
- Using hot glue, attach fabric twine on to cardboard, ensuring it is completely covered.
- Using the floral wire, wrap it around the twine on the back of your letter.
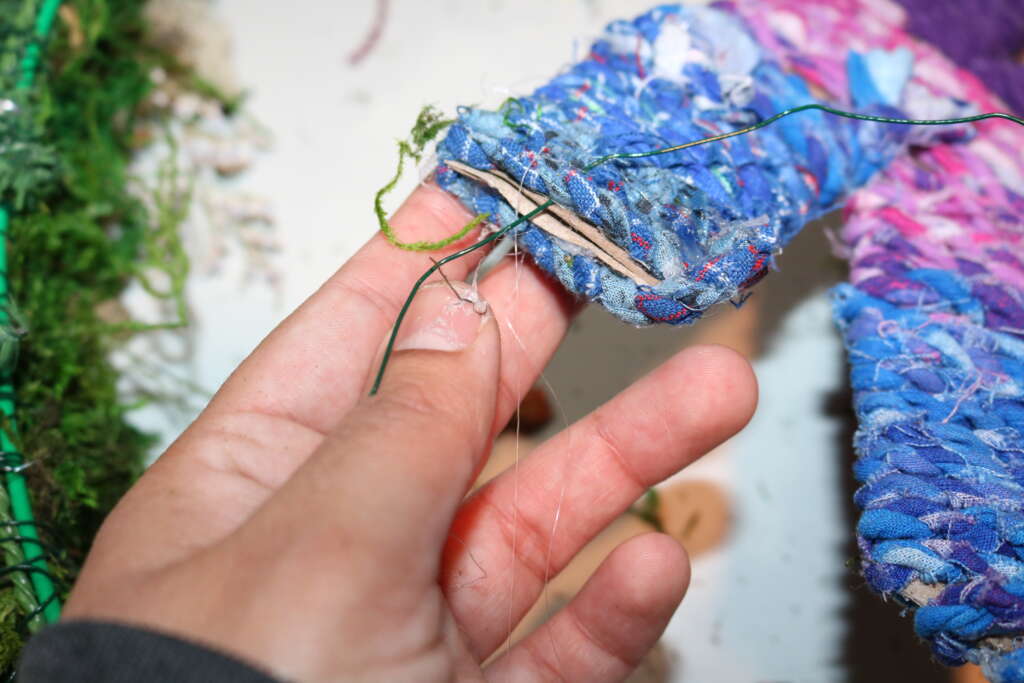
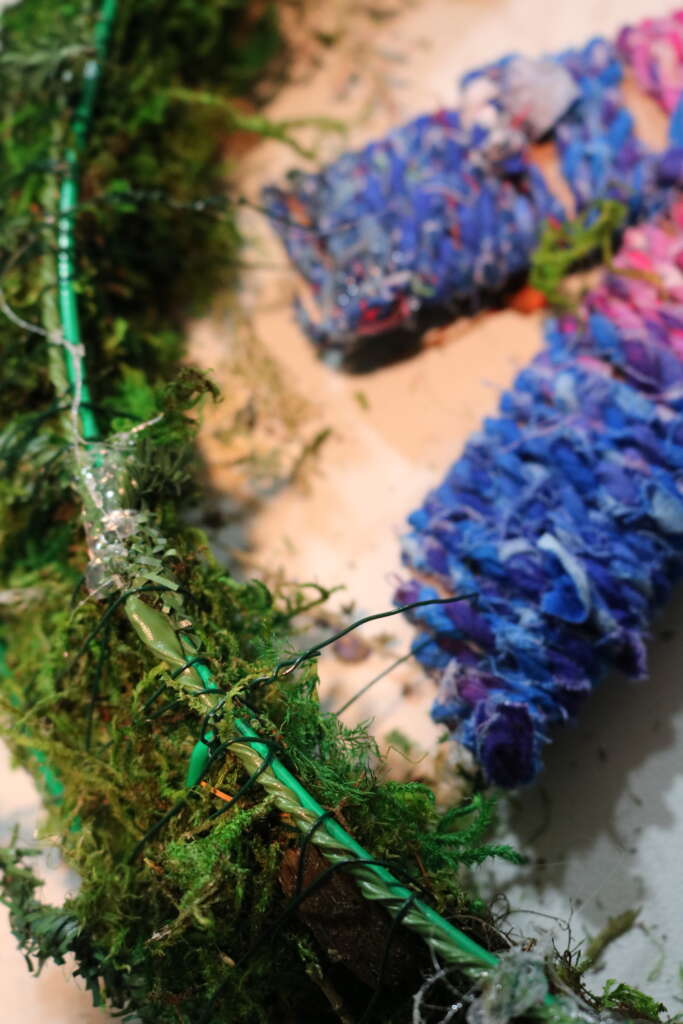
- Attach the other end of the floral wire to the wreath frame.
If you want, you can finish your wreath here, but I decided to slip in some of these butterflies I had (they had wire ends, so I was able to slip them in).
Congratulations! You have just made a cottagecore inspired spring wreath form.
If you do decide to make this project, I would love to see your spin on it! You can email me at [email protected] or find me on FB, Insta, TT or YT. Use hashtag #cozymagichome so I can find you easily!
Until next time, I hope the coziest, magical day.
Amrita
xo