Have you ever considered using adhesive shelf liners as wallpaper?
Luckily, I did it already, read on to learn from my experience!
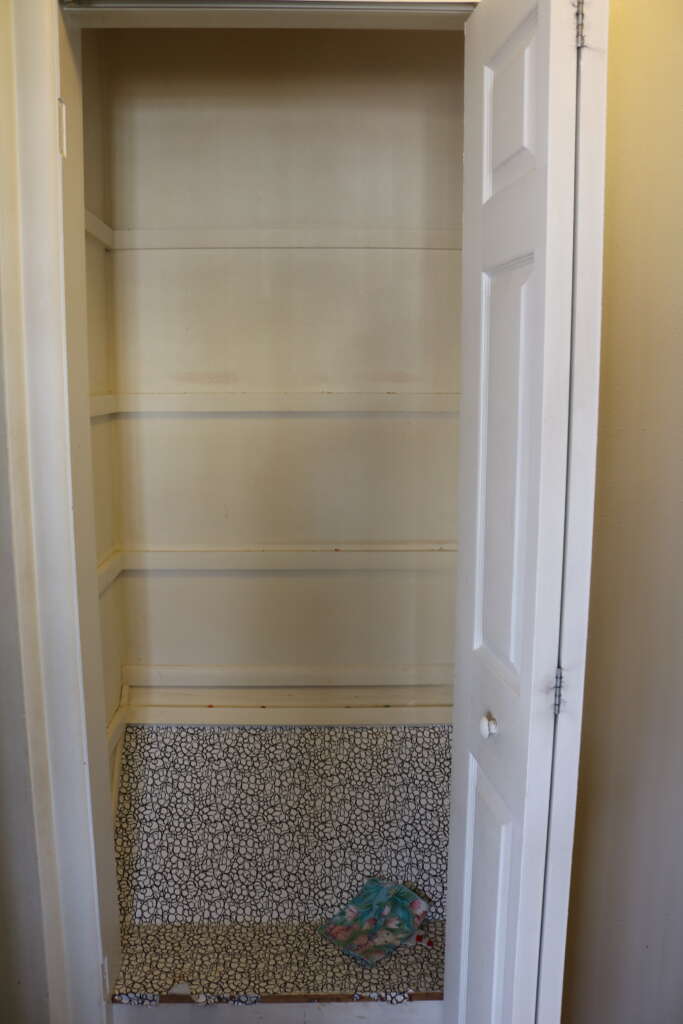
I’m not sure if this is an airing cupboard, but the previous owner of our new home used a hallway cupboard as a pantry, and so do I.
Here is what it looked like after spending most of November ill, as well hosting Thanksgiving and Christmas.

This… it did not feel good.
In lieu of an 80’s style montage, I decided to use the Walmart Gift Cards we were given as a housewarming gift (thanks Mother-in-Law!) and shop.
I didn’t really have a plan, just a small criteria for this project:
- Be as cheap as possible
- Look pretty
- Take a couple of hours to do
Painting was not an option as our pantry is in the main hallway in our home, and we have a cat and a 4 year old.
So, I decided to give adhesive shelf liners (essentially contact paper) a try.
Wal-Mart did have contact wallpaper, but at nearly three times the price, I decided to go ahead and try the adhesive shelf liners instead.
Understandably, there isn’t a huge range of patterns, but out of what they did have, I liked this one the best.
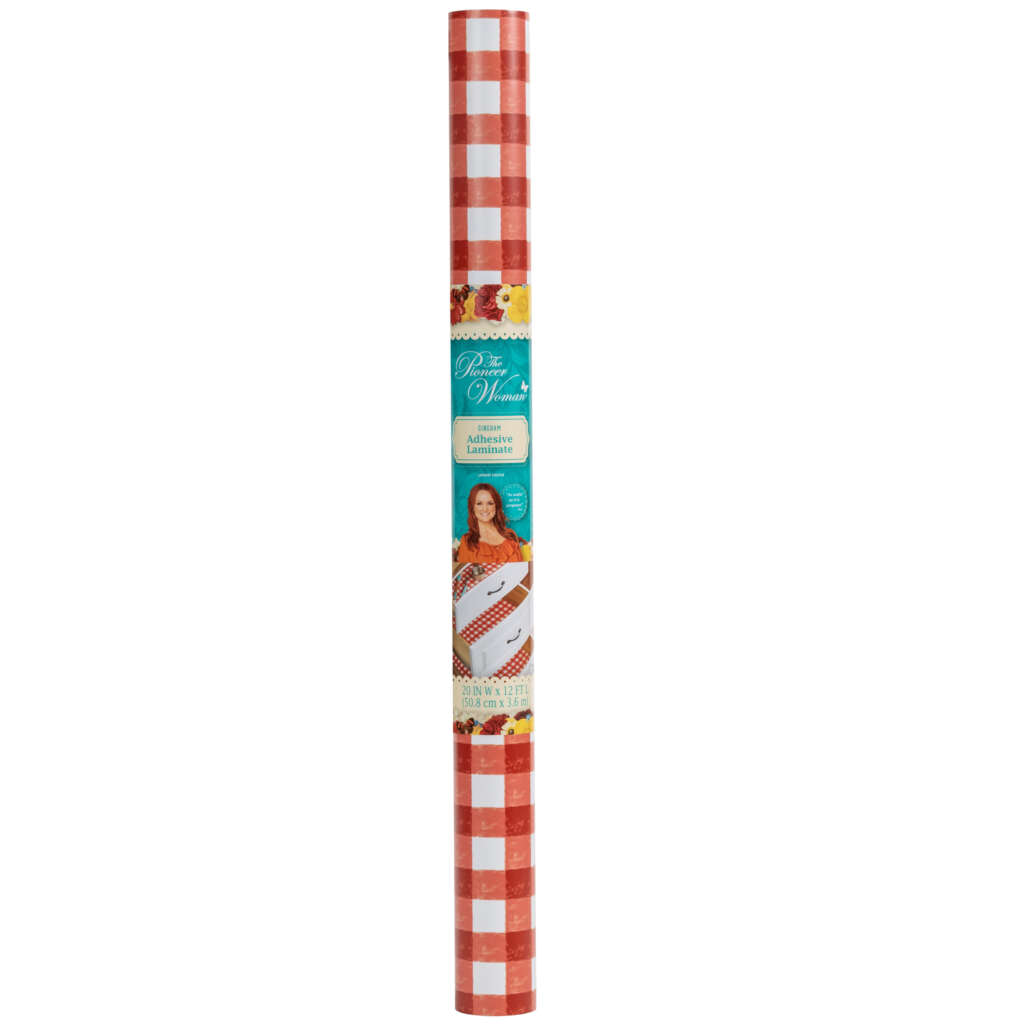
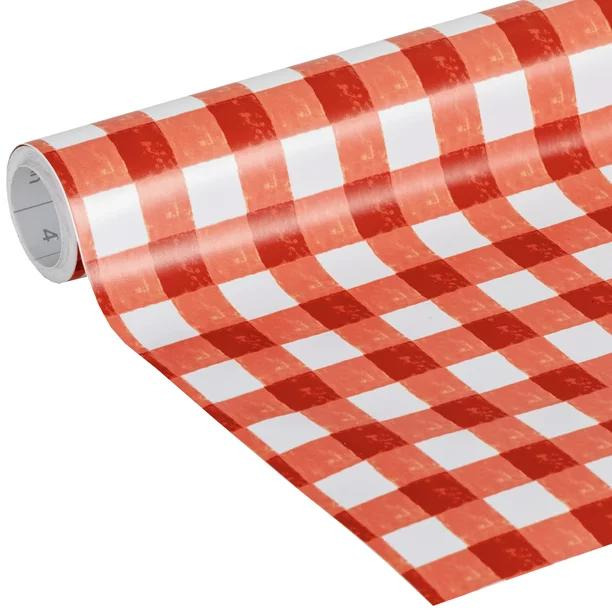
The instructions for this paper specifically states that they do not recommend putting this on a wall, but at that price, I think it was worth the risk.
They also recommend the surface area you apply this to is smooth, and my pantry walls are not. I decided not to sand the walls smooth purely out of laziness.
Application
In order to put the shelf liners on, I removed the contents of the pantry and the shelving, removed the old contact paper, and gave the pantry a well deserved dusting and clean up.
I used a general household cleaner and a microfibre cloth for a general clean, and used mild dish soap and a scouring pad for some tougher stains. I then let the area air dry.
The application of the paper is actually pretty easy.
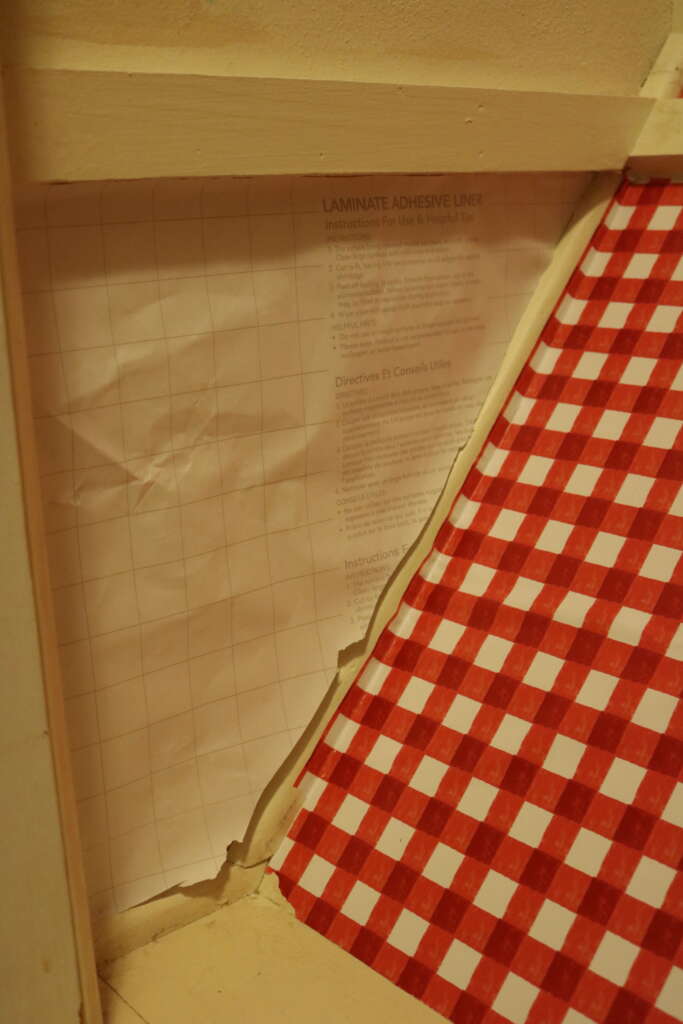
I found it easier to cut out a slightly larger than needed piece and then apply it on the wall. This was much easier than trying to apply the paper and manage the roll.
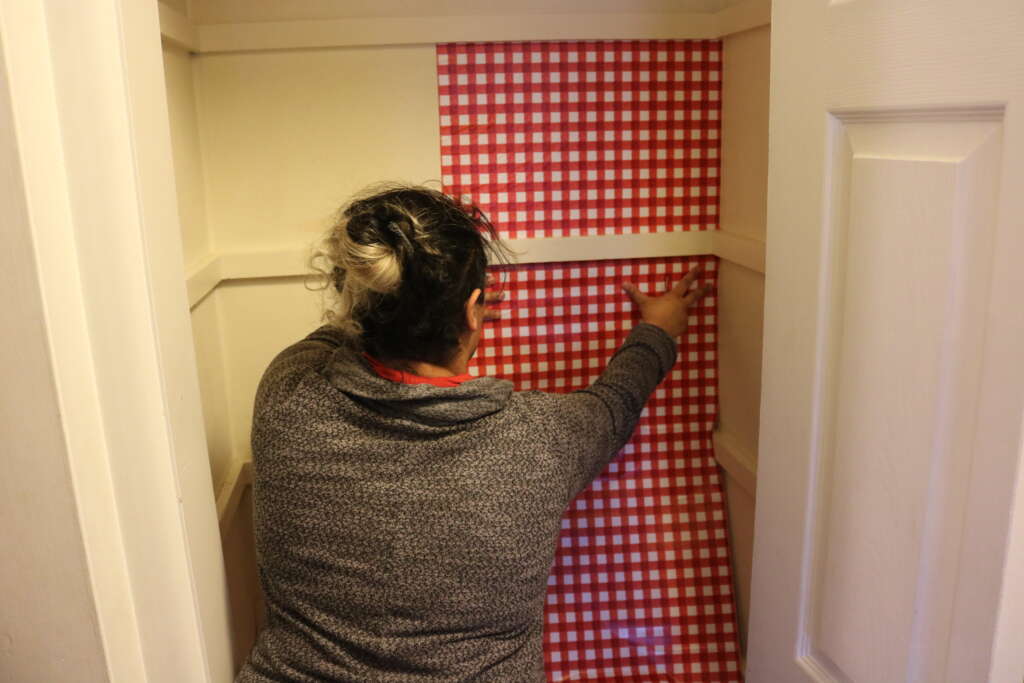
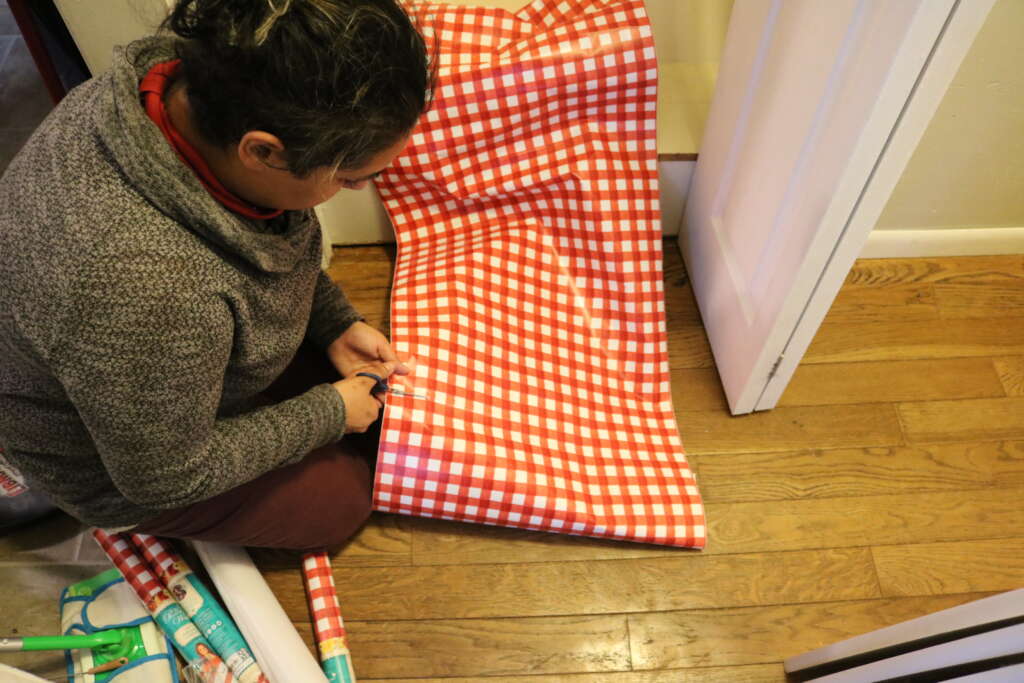
After deciding the placement of the paper, I peeled a small part of the backing off, and smoothed it down with a wallpaper scraper.

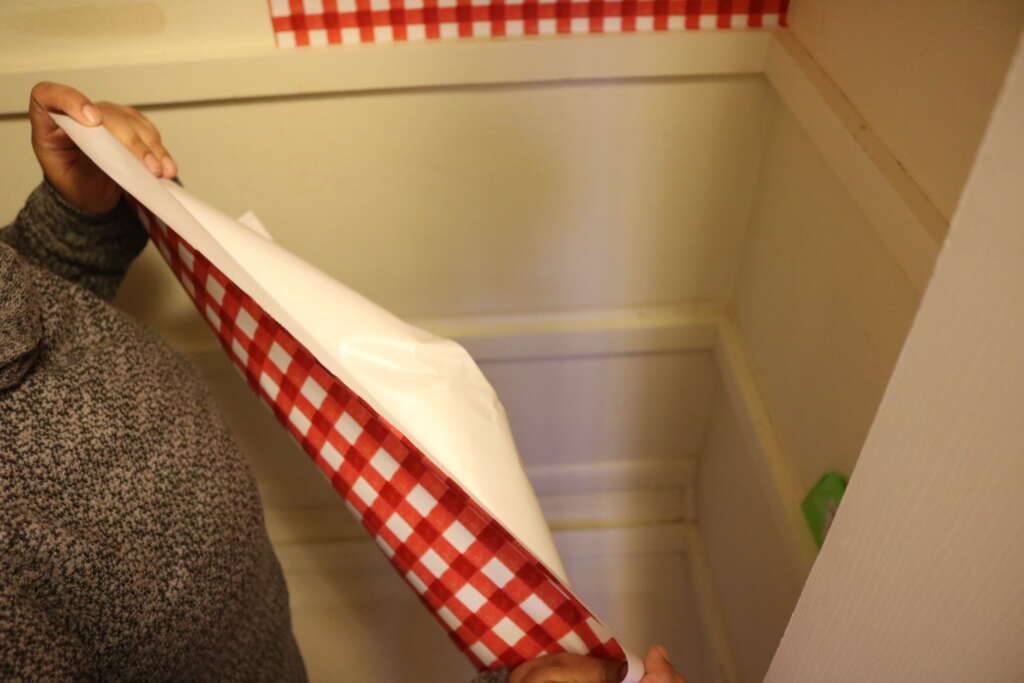
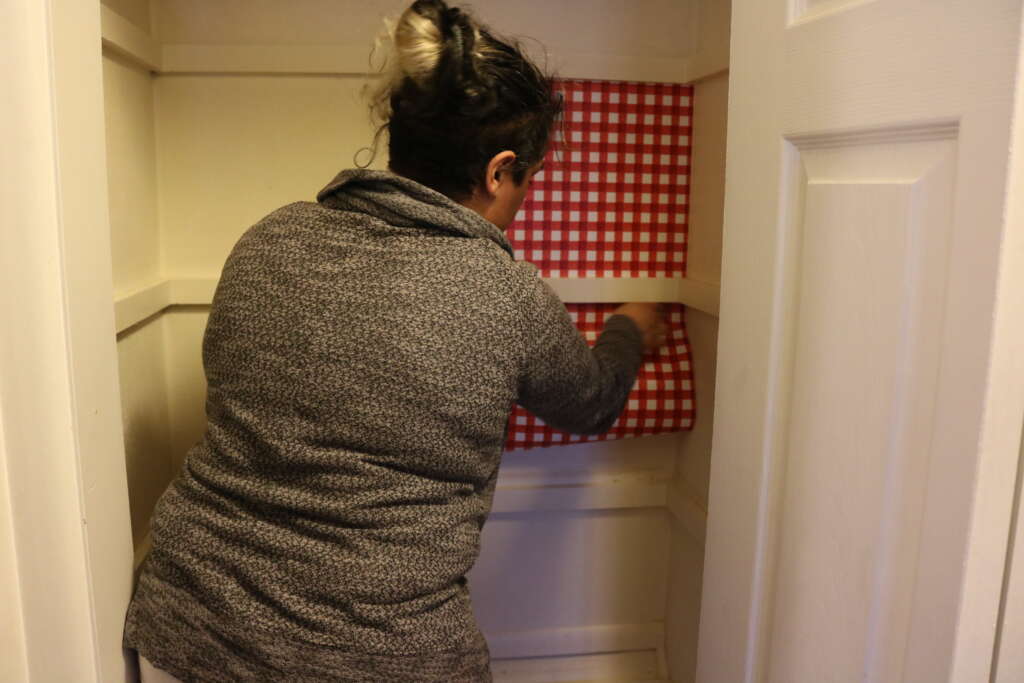
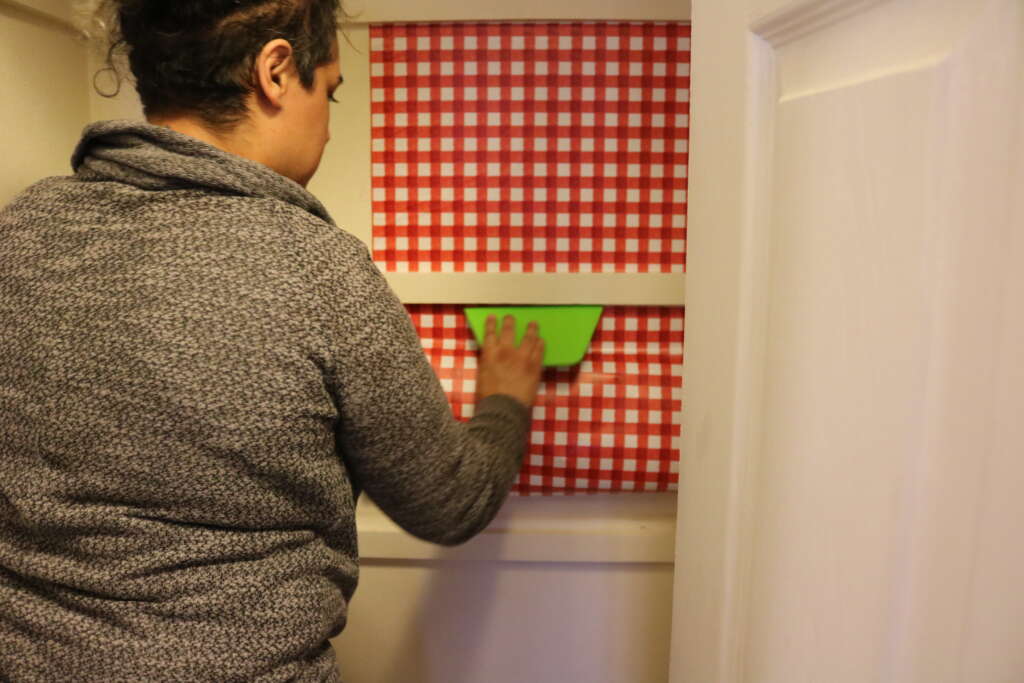
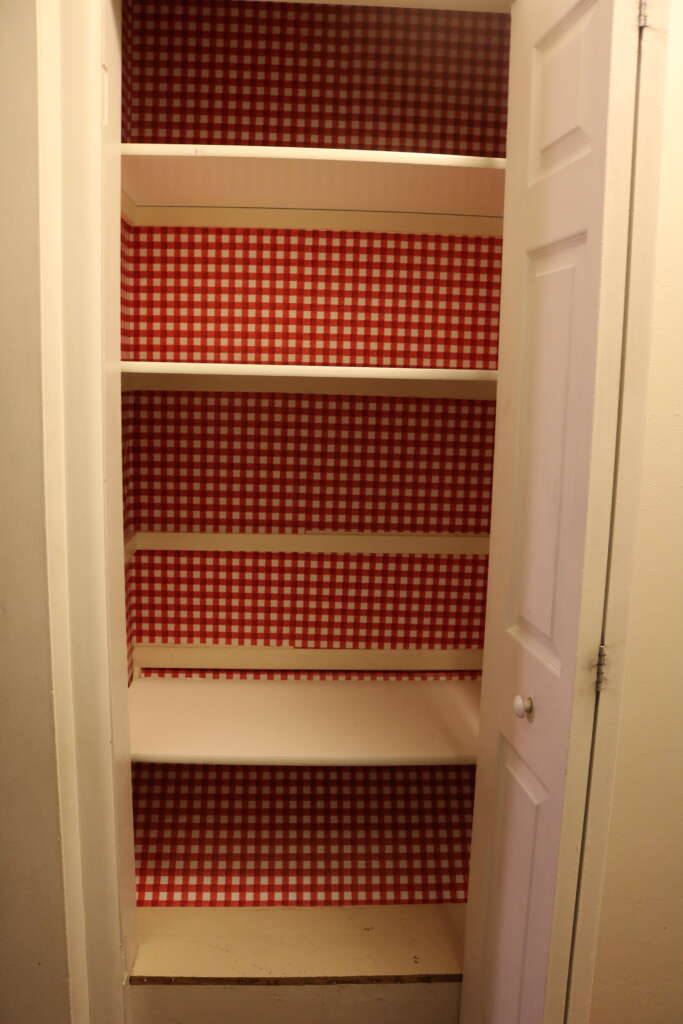
I then continued to do this until all the backing paper was off, and the desired area was covered.
If I did misalign anything, I found the paper really easy to remove and reposition. It did not appear to lose any stickiness.
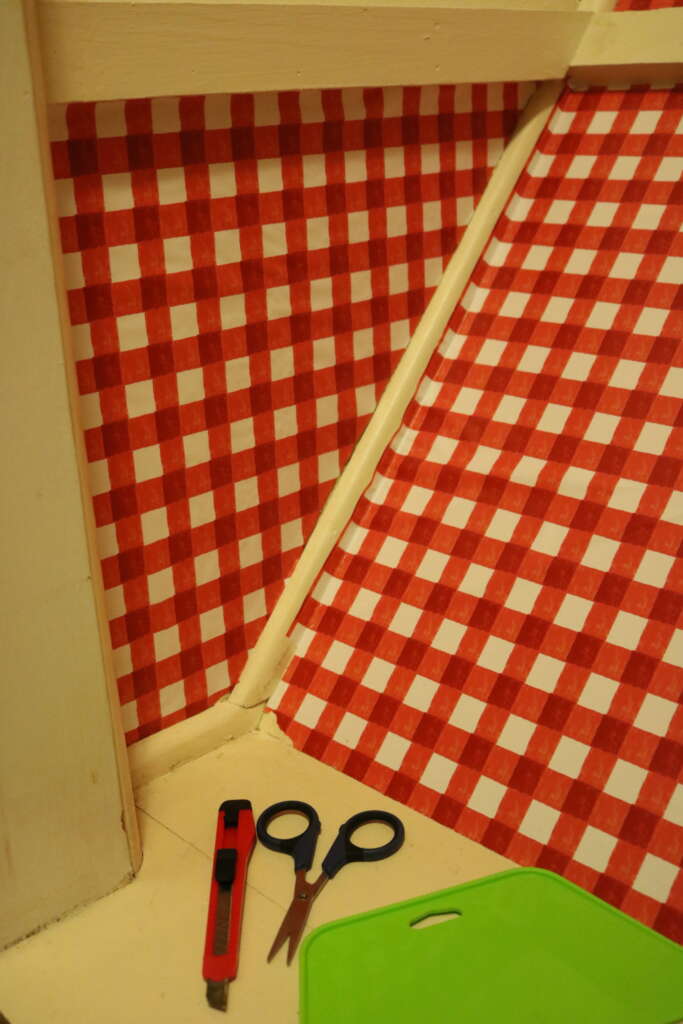
The liner recommends having a 0.25in overlap, but in order to match the pattern, I had to overlap a lot more. I wasn’t terribly mad about this, as I wasn’t using the product as recommended.
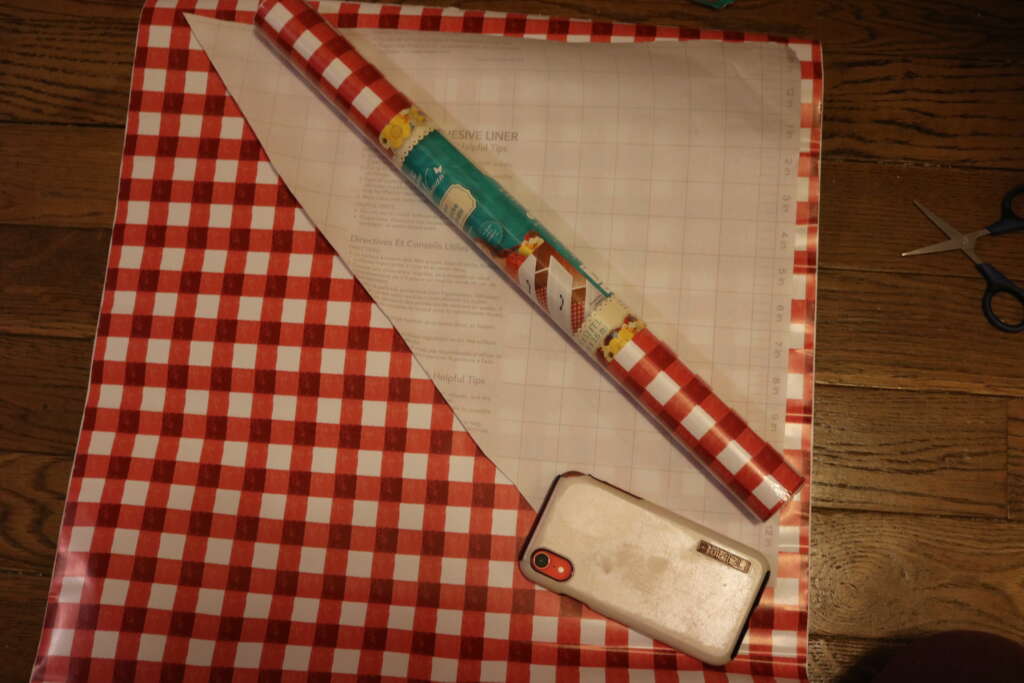
For an awkward part of my pantry cupboard, I used some previously discarded backing paper to make a template, and then cut out the liner. It worked a treat.
One thing I didn’t like about this paper is the smell of the glue. I personally found it pretty strong. At one point, I kind of felt heady from the smell.
But that was my only negative experience from this project. Overall, I’m pretty please with how it turned out!
Tools and Cost
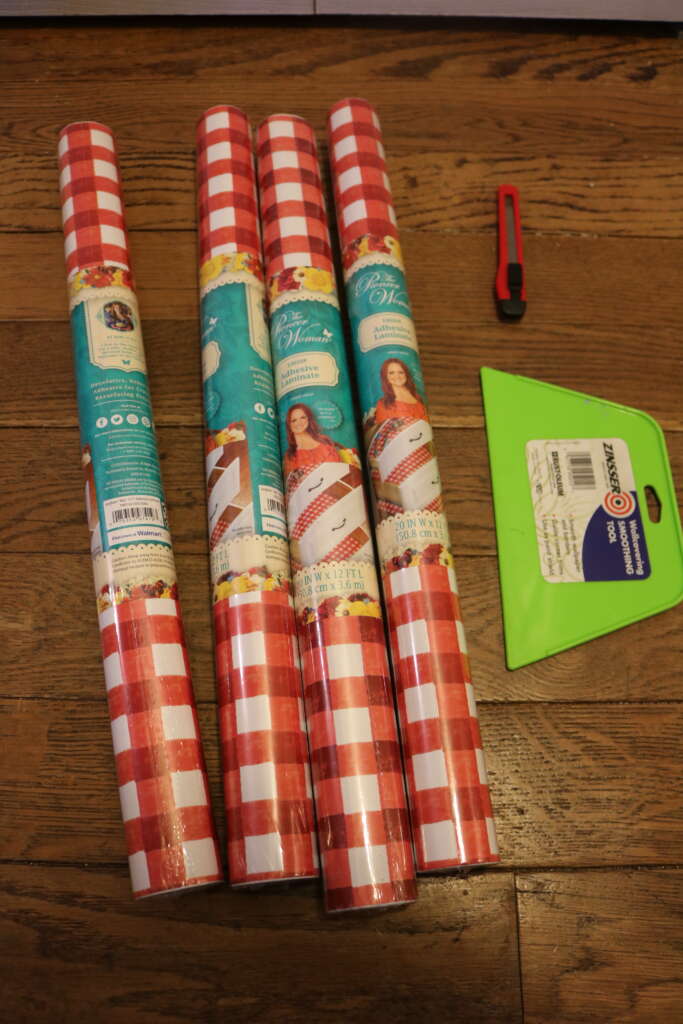
The Pioneer Woman Adhesive Laminate $6.98 x 3 = $20.94 (I used just a little over 2 rolls)
Wallpaper Scraper – already had it (it was $1.99 from Menards)
Utility Knife (already had this one, I bought it for the equivalent of 55 cents at Menards)
Scissors (I already had a pair which I have had for a while. I have no idea how much I spent on them. $2?)
In total, I spent $25.48 to give my pantry a makeover!
The above price includes approximates for the tools I used, all of which I already had.
If you already have those tools (or equivalents), this project will more than likely be cheaper for you too.
Time
I did a lot of stopping and starting in this project, but overall, I think this project took me around 3-4 hours to do.
This includes dismantling, cleaning time, drying time, and the application of the paper.
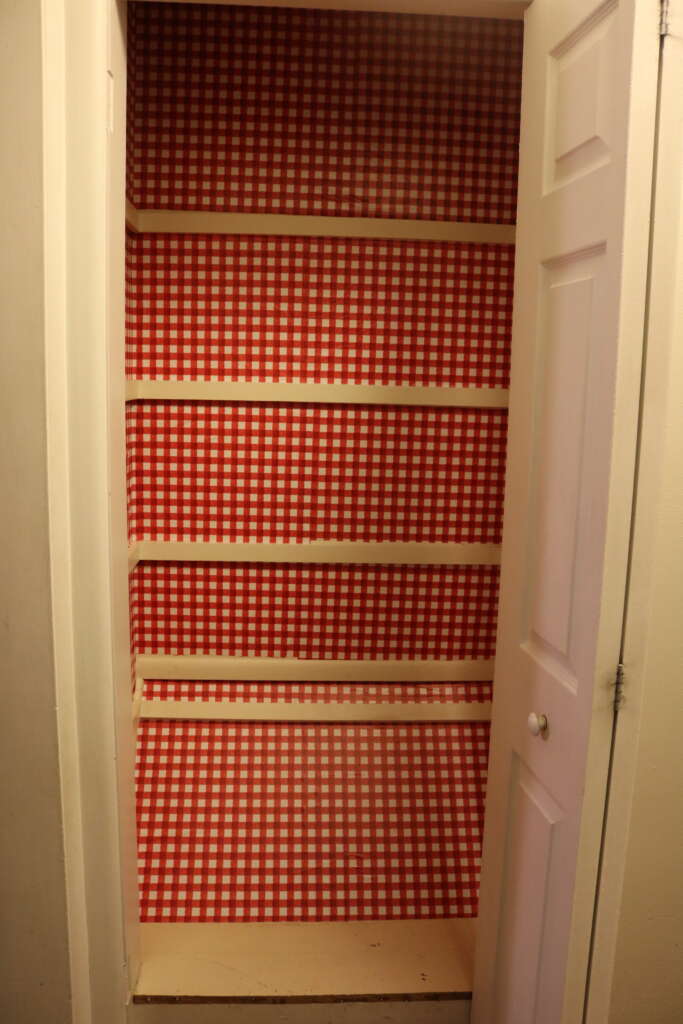
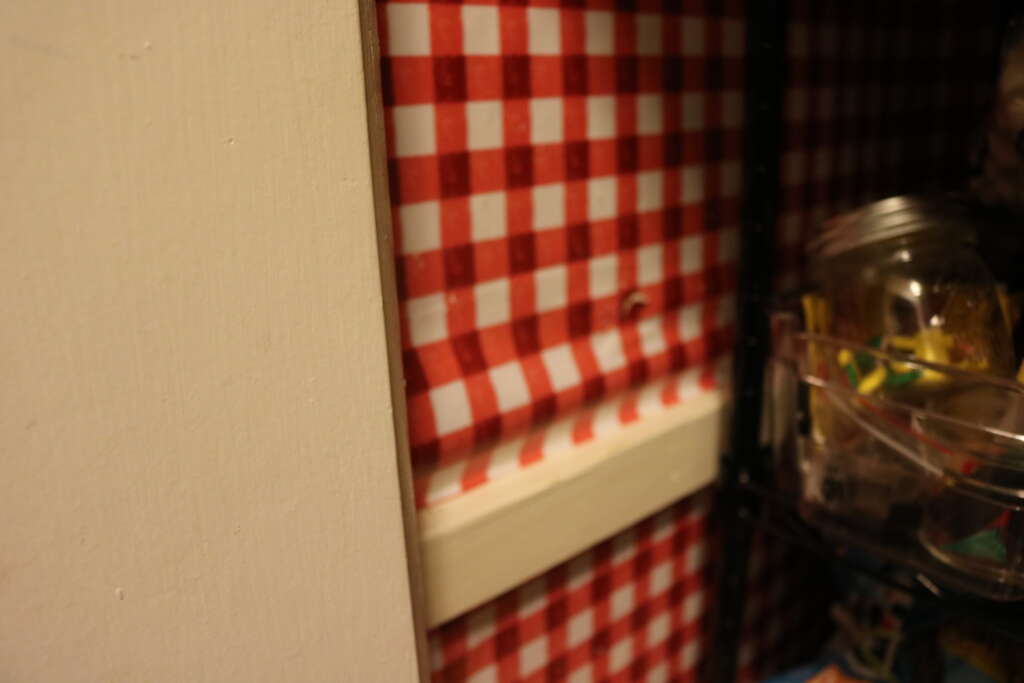
Overall, I’m pretty pleased with how the project turned out. It took slightly longer than I had planned on doing it, but my pantry does look pretty.
After we got finished, no matter how I tried, I couldn’t get one of the shelves back on. I even ripped some of the paper while trying to do so.
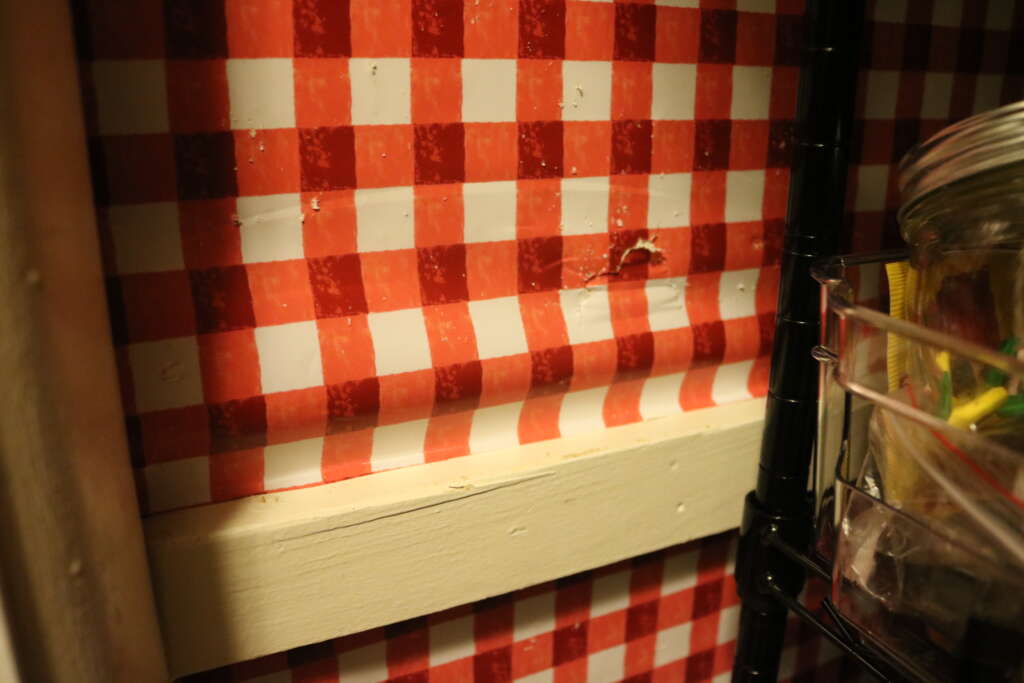
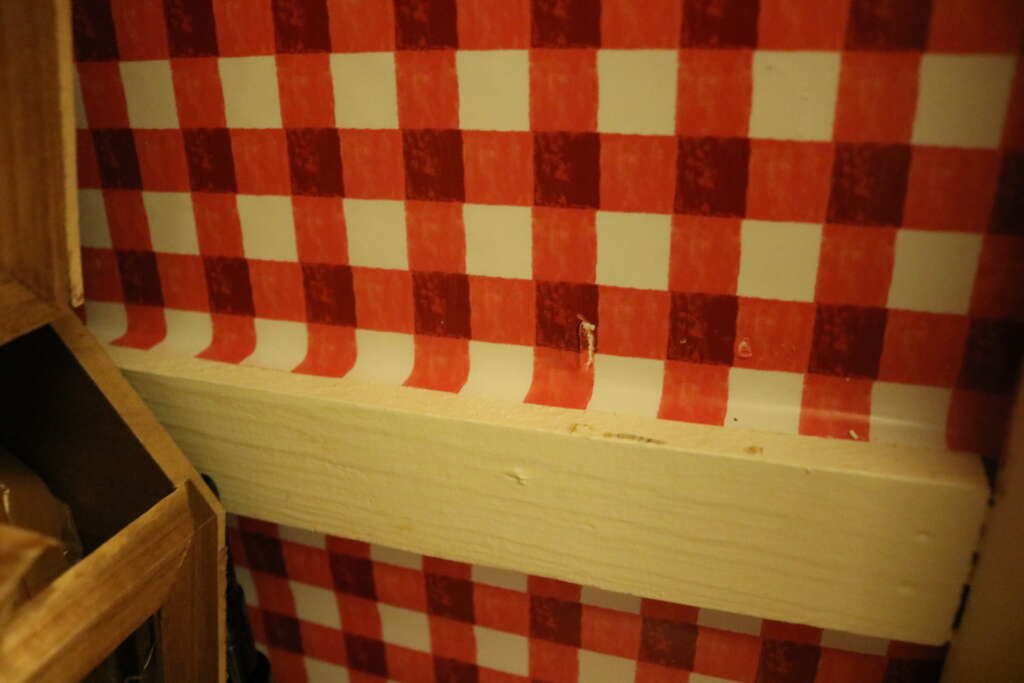
It was pretty easy to push back into place, but it looks ripped. I doubt anyone would be looking that closely however.
I had to end up using one of my storage shelving units from the basement, but this is how my pantry looks now!
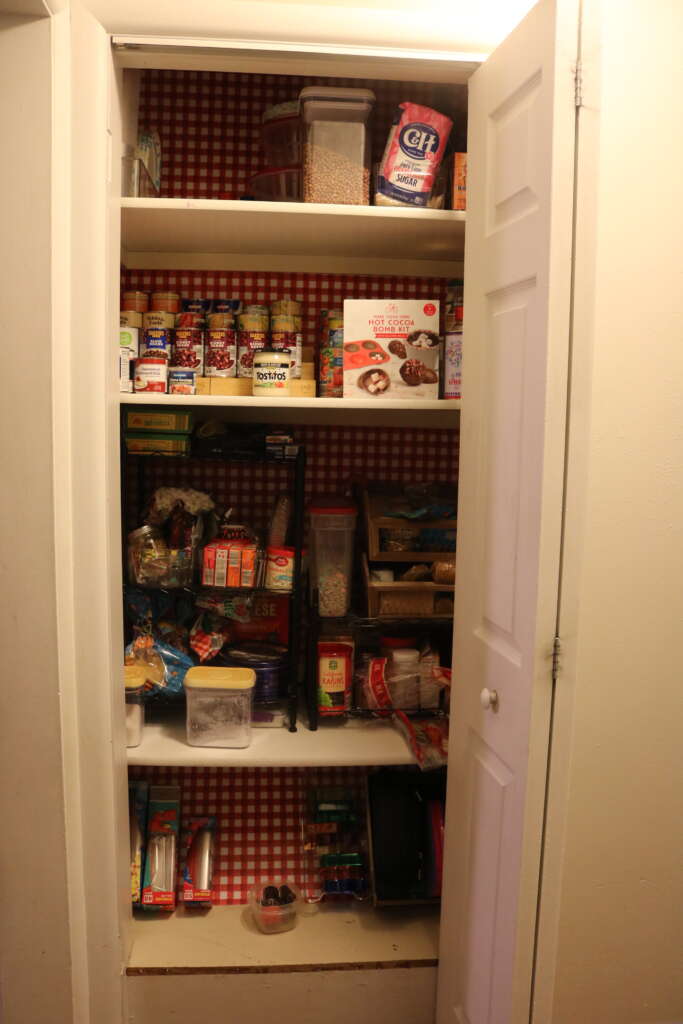
I’m feeling slightly self-conscious about sharing my pantry, but I am happy with it! It has a pop of cheerfulness, is much much neater, and realistic. I am really happy with it!
If you end up doing this project, tag me at TikTok, Instagram and/or Facebook using the handle @cozymagichome . You can also see a video of this project over at those places too!
I can’t wait to see your version of this project!
Until next time!
Blessed Be!
Amrita
xo