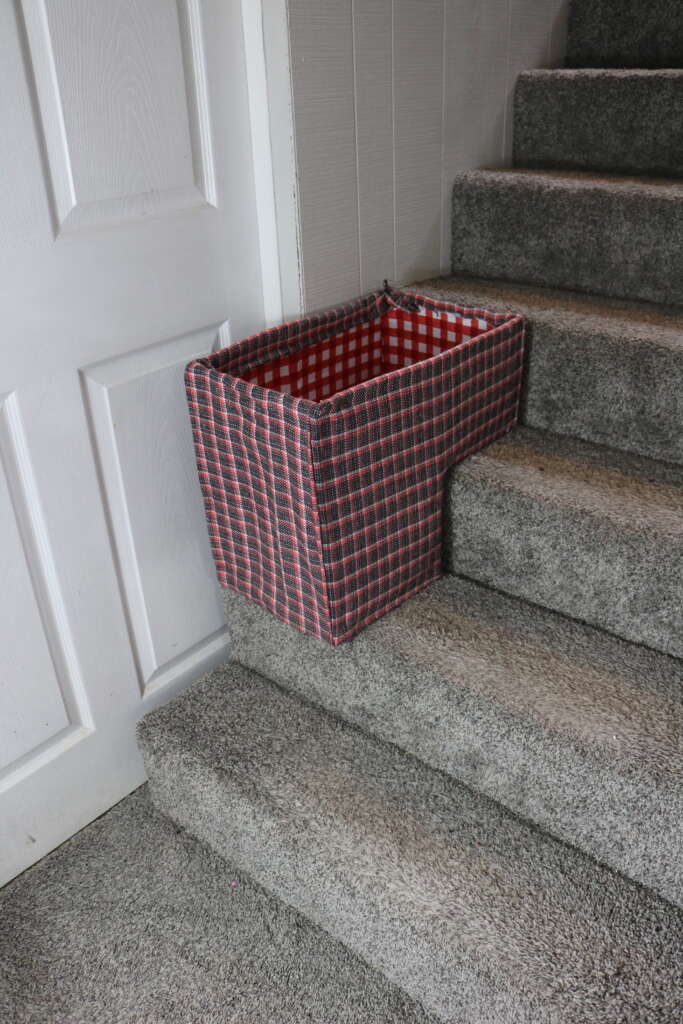
I decided I needed a stair basket, so decided to make one. And the result was…

We are lucky to have a finished basement, which has our family room, my craft area, an exercise spot and my kiddo’s play area.
While I try, it doesn’t stay as organized as I would like, and can get cluttered pretty quickly. We are currently using this basket to ‘collect’ items that are in our basement that should be upstairs.
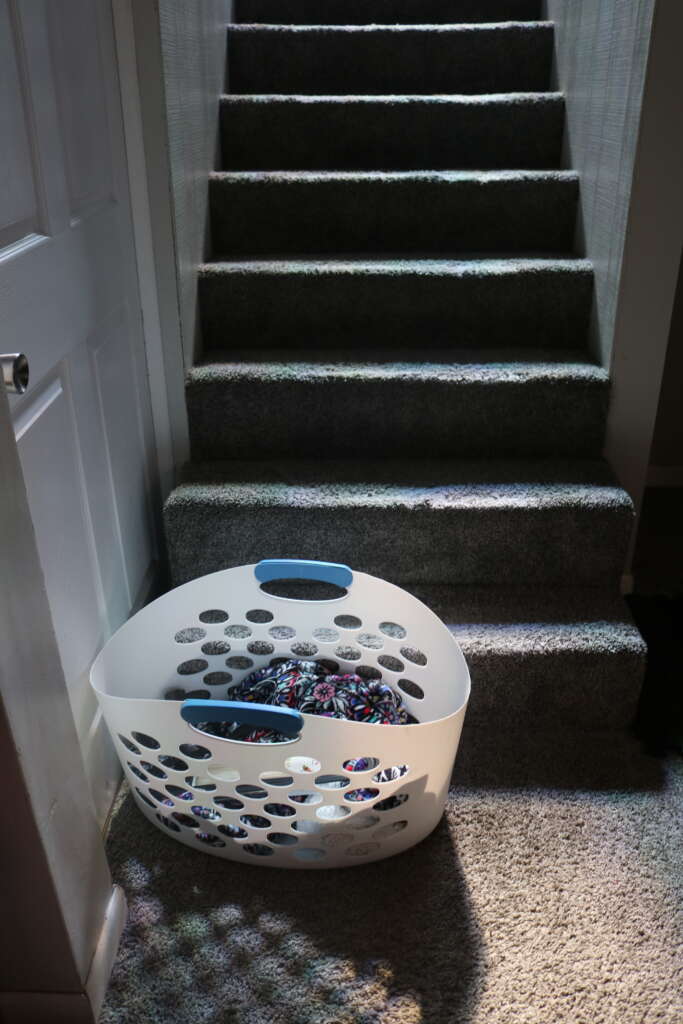
It’s definitely helpful, but clunky and in the way.
So while trying to find things to help organize our basement space, I cam across this basket on Amazon.
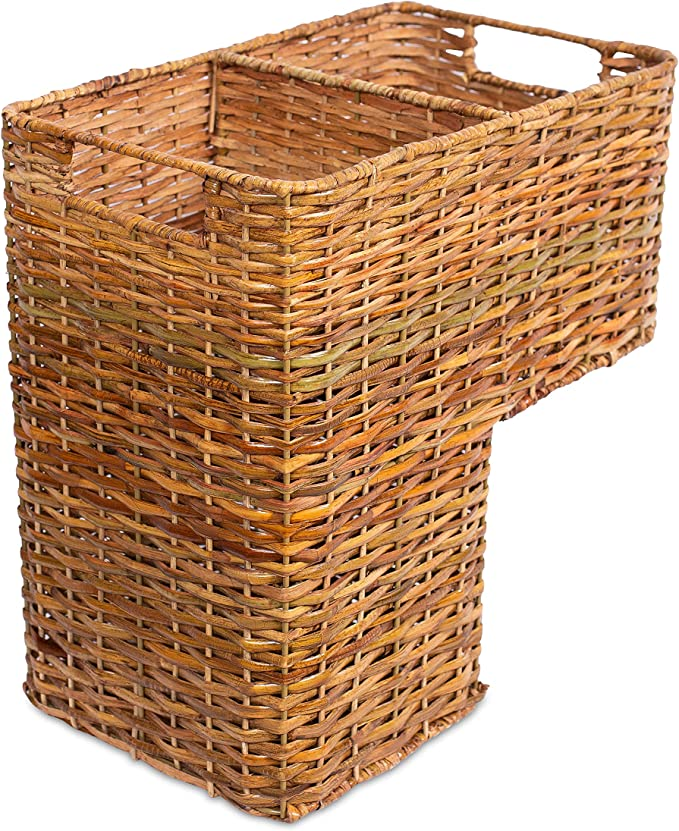
I absolutely love it, but I personally can’t justify spending US$60+ on a basket.
That is when I decided to make my own.
It isn’t the wicker basket that made me swoon, and is one of the few projects where I already had all the materials.
But admittedly, I struggled with making it look how I wanted.
Still, it’s functional, and doesn’t look too bad.
Read on to find out how I made it.
Materials Needed
Cardboard Box
Marker
Tape (ideally duck tape, though I only had painters tape)
Scissors
Fabric for outside box
Adhesive shelf liner for inside of the box
Stapler
Hot Glue
Instructions
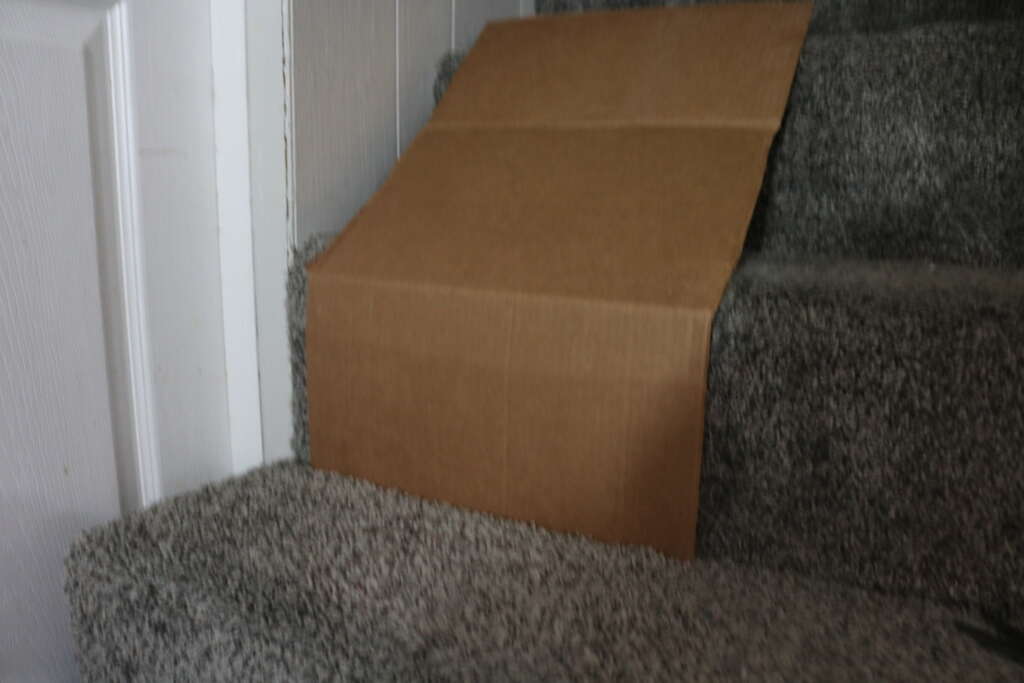
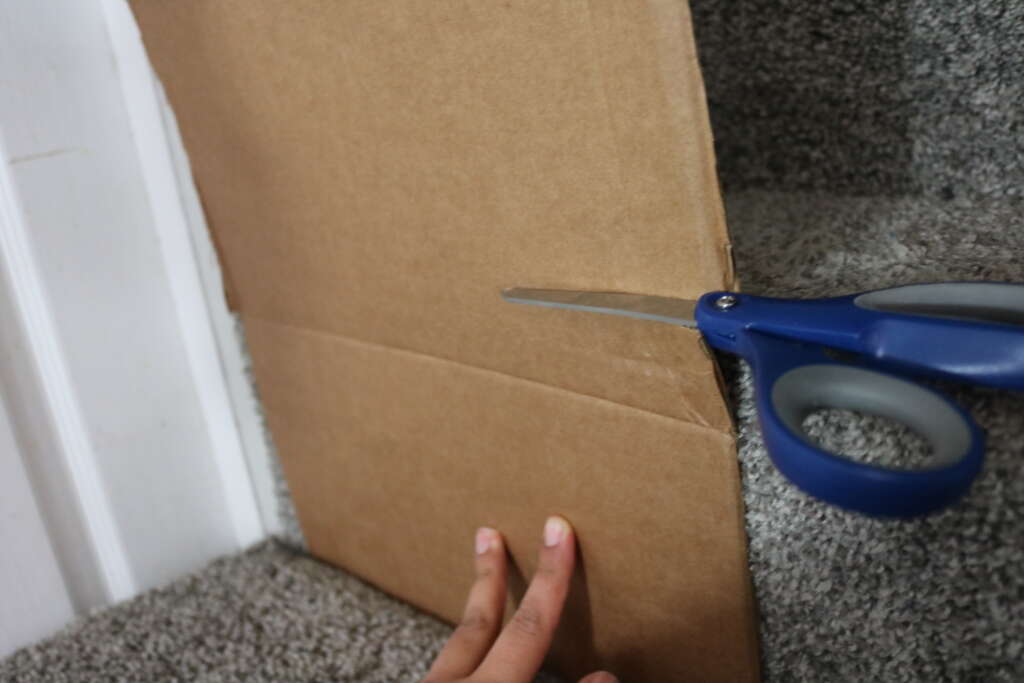
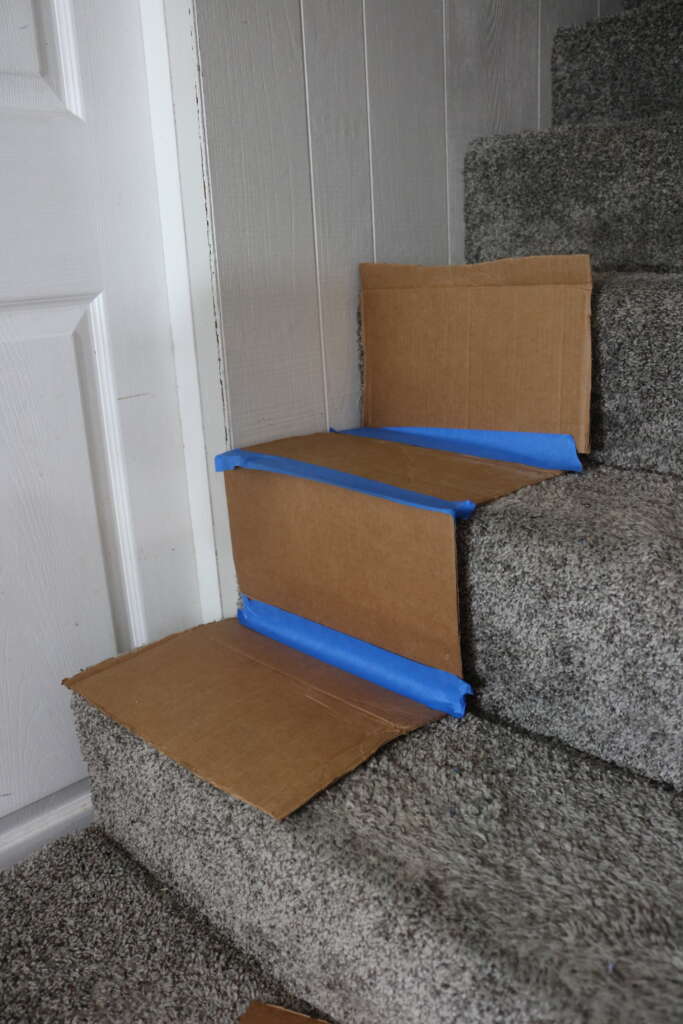
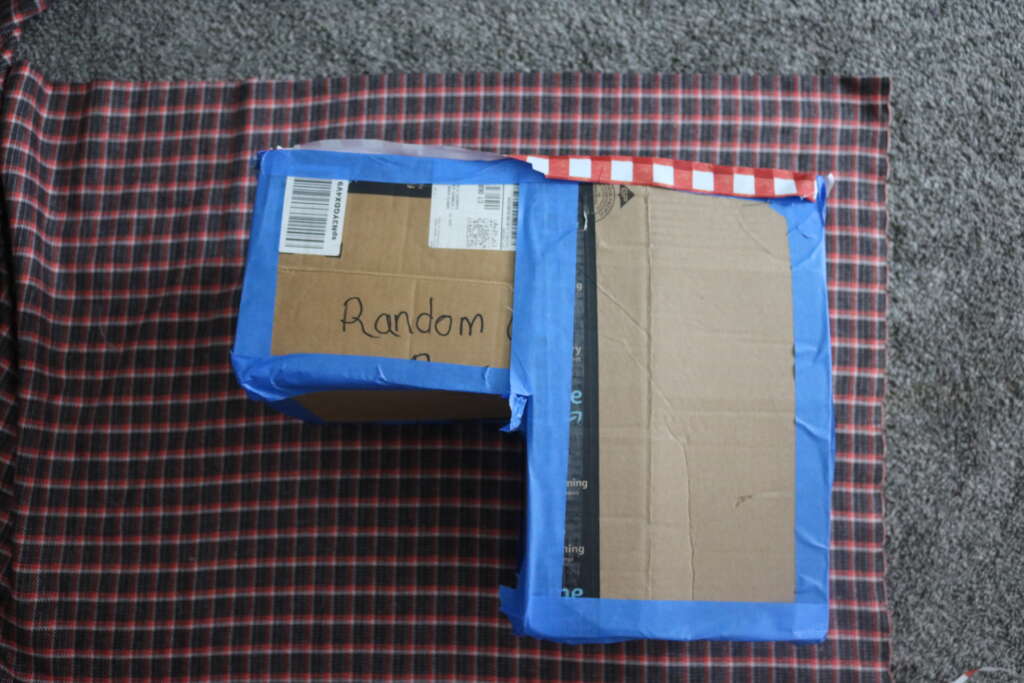
- Cut out the required pieces of cardboard, as noted in the diagram below.
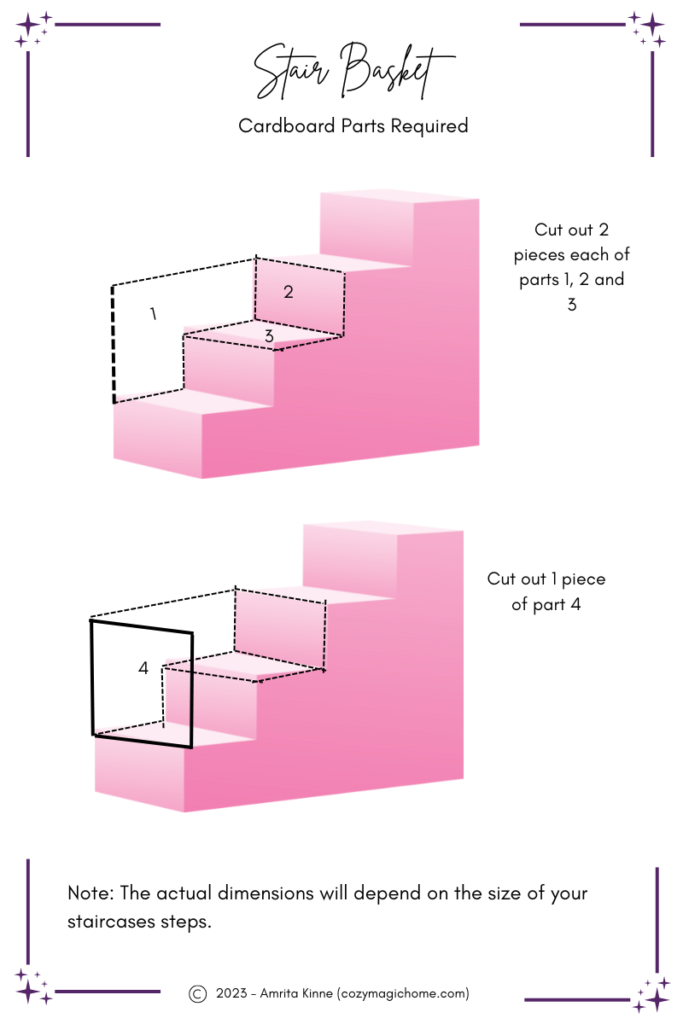
To obtain the required dimensions, I held up a pieces of cardboard on my step, and either cut the cardboard, or stuck other pieces on it until it was the right size (there may be a more precise way of doing it, but this is what I did).
As you’ll see in the pictures below, to create some pieces, you may need to make it in parts (like I did for piece 1).
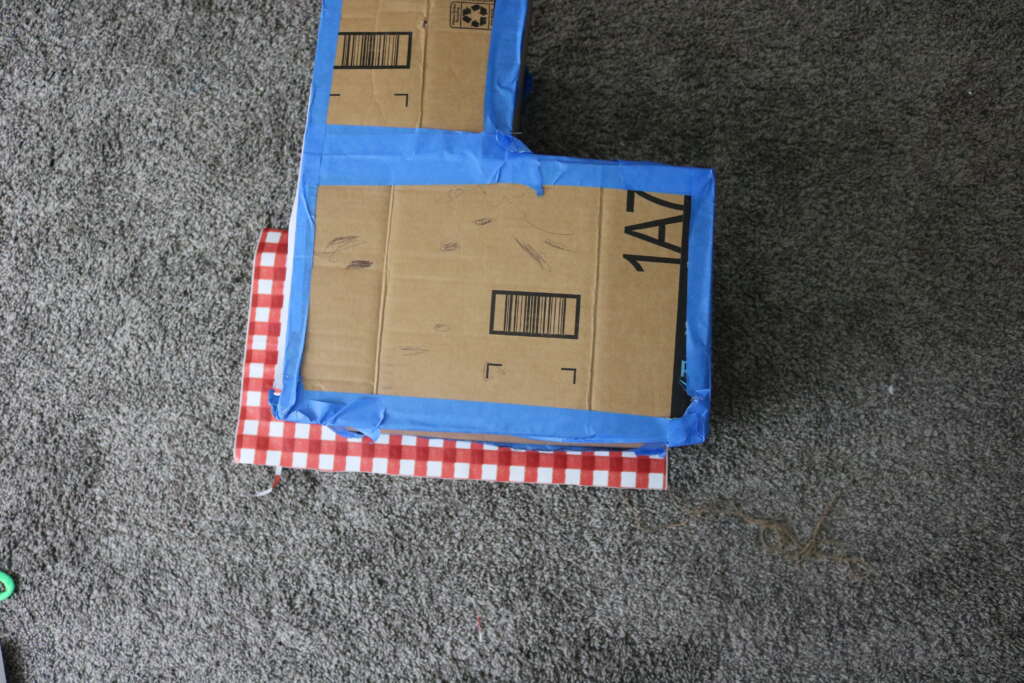
2. Assemble your box together as shown in the photo sequence below.
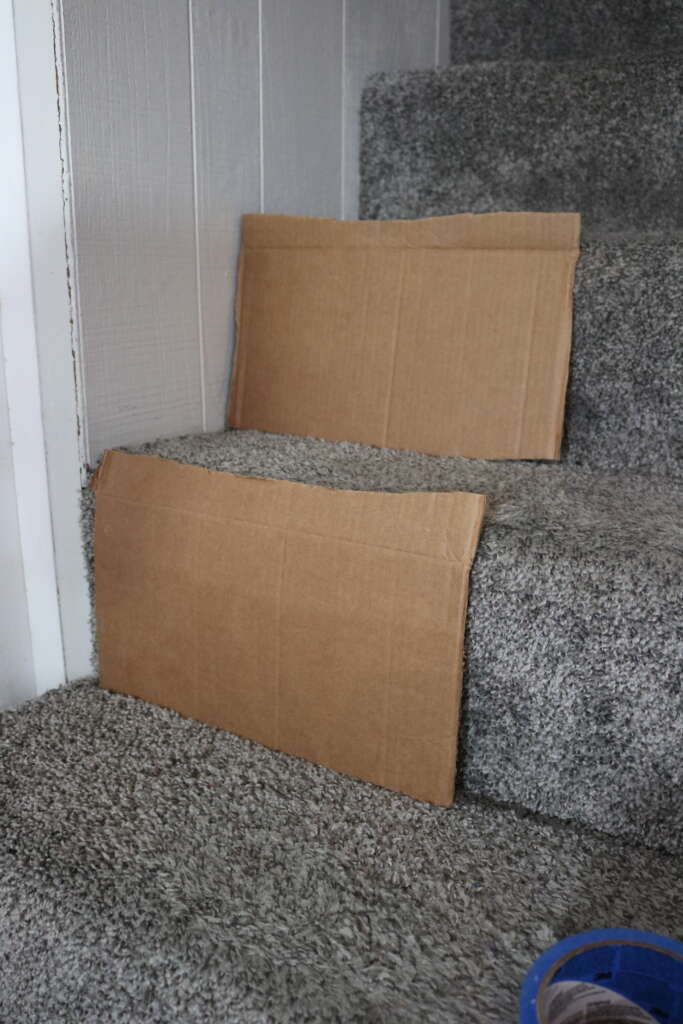
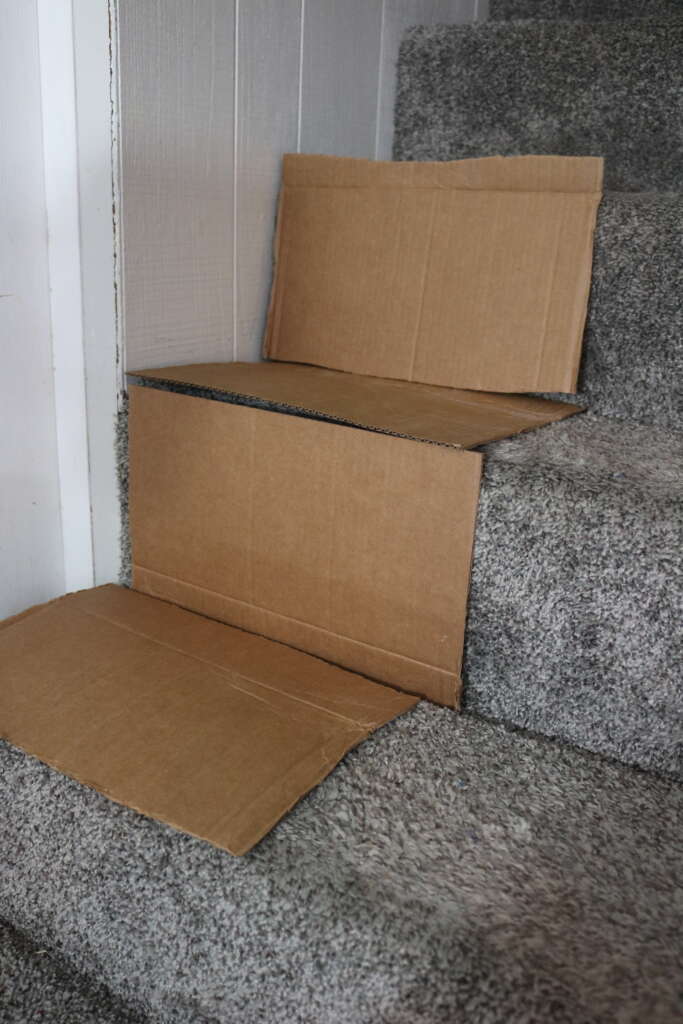
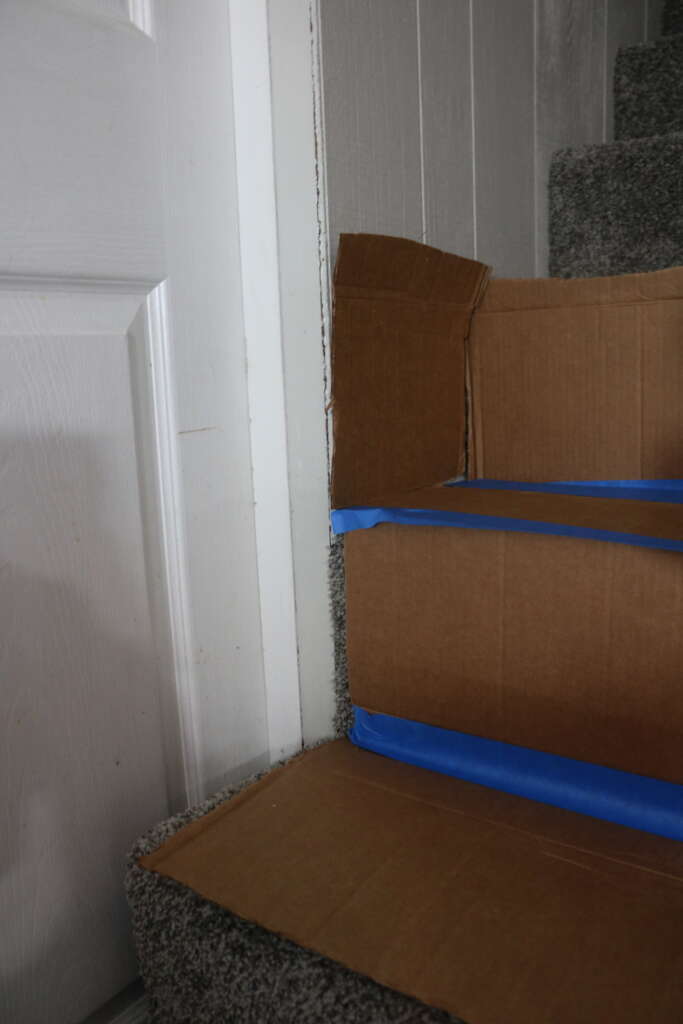
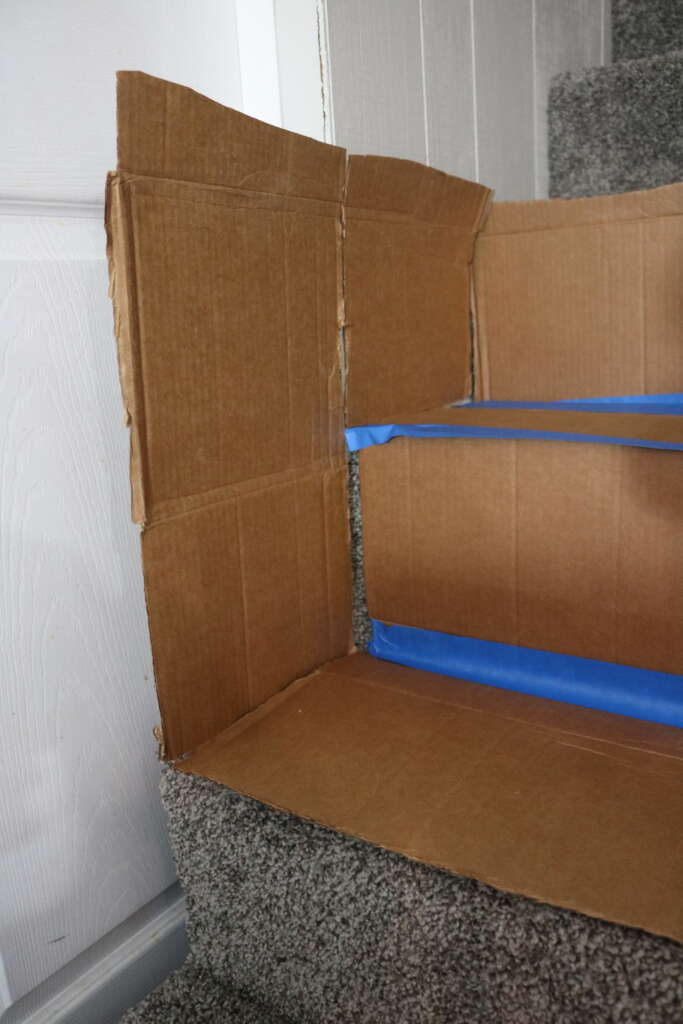
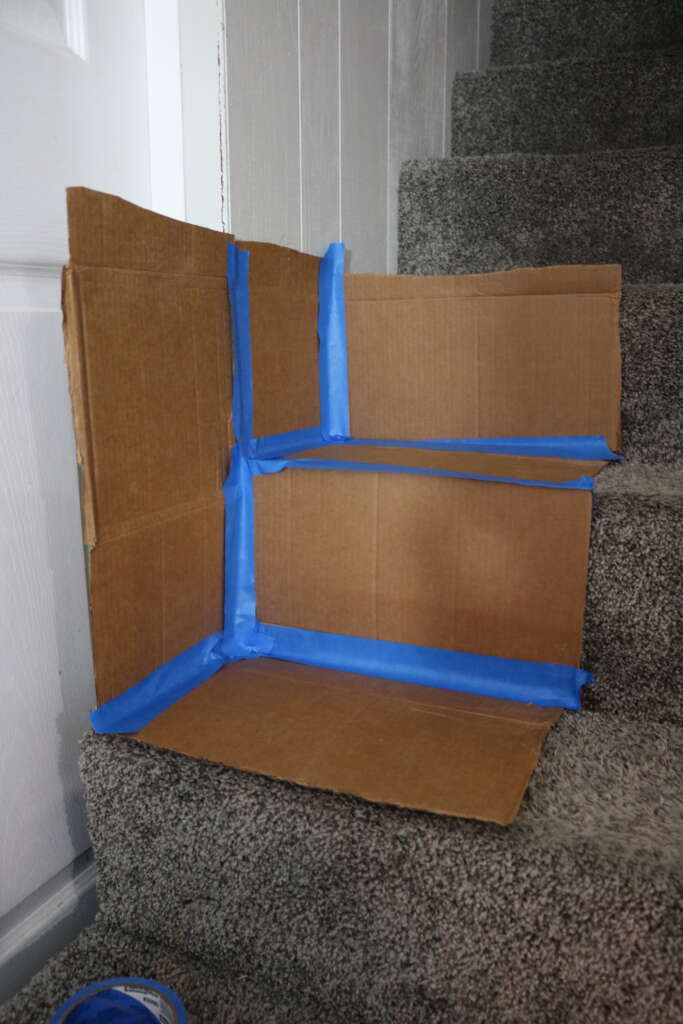

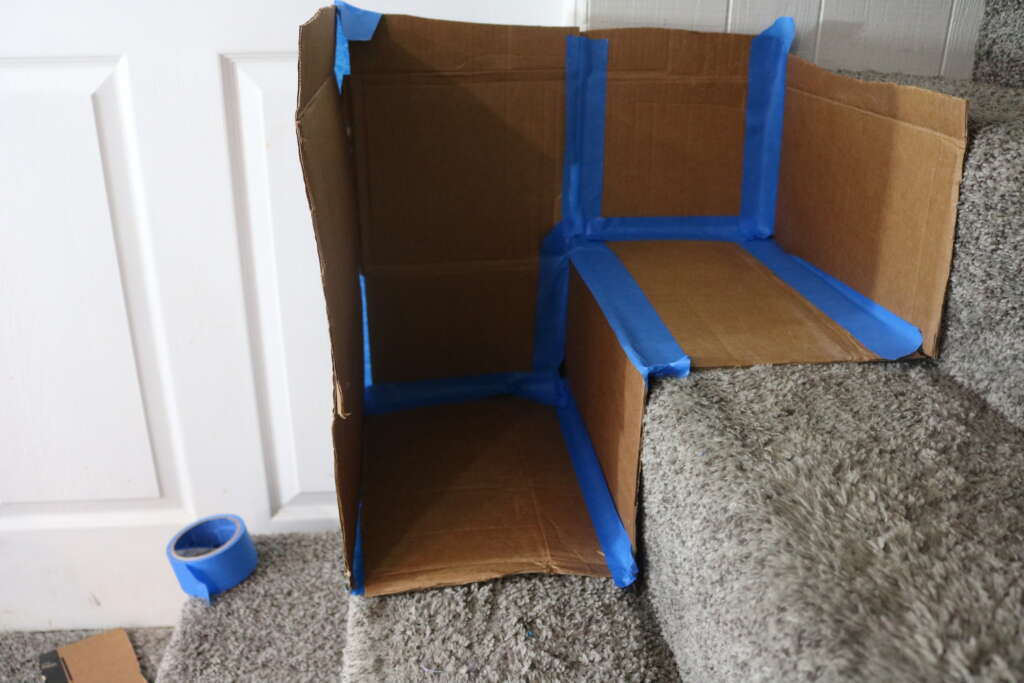
3. Apply extra tape to joints and corners to provide extra stability.
4. Measure out the shelf liners for the inside by laying the box on top, and cutting to size.
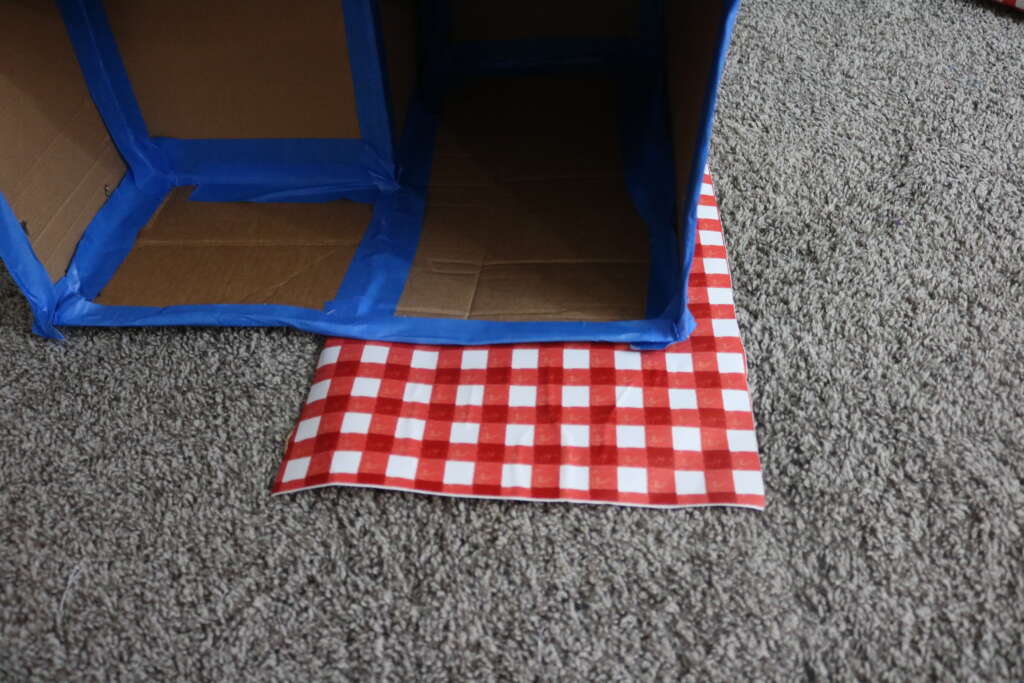
5. Before removing the backing of shelf liner, check to see if the size is correct by laying it inside the box. Trim if required.
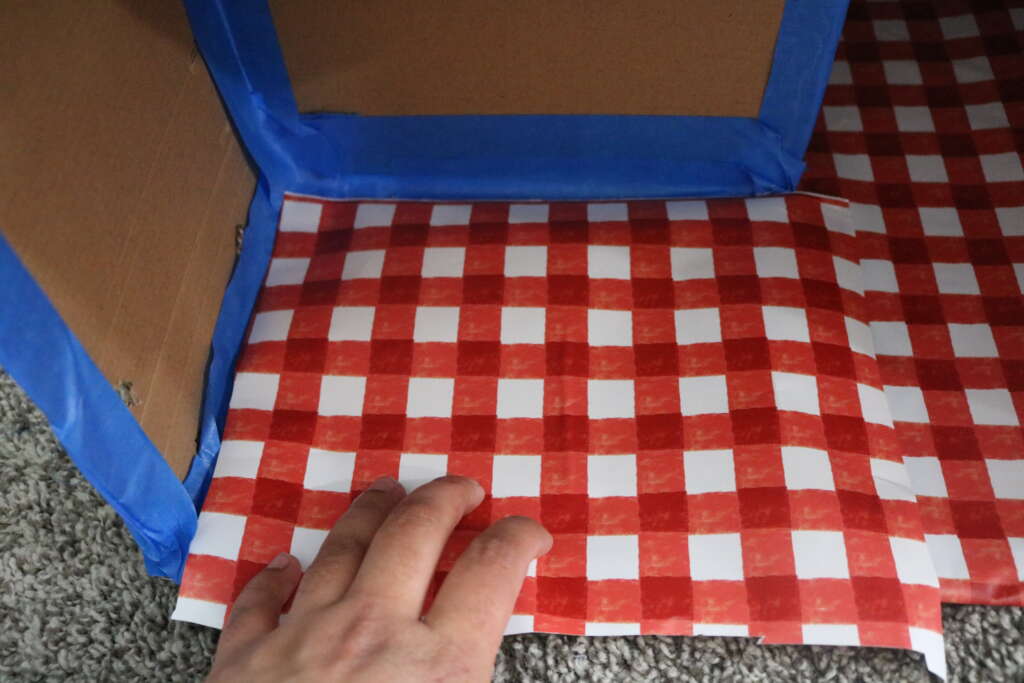
6. Apply the shelf liner to the inside.
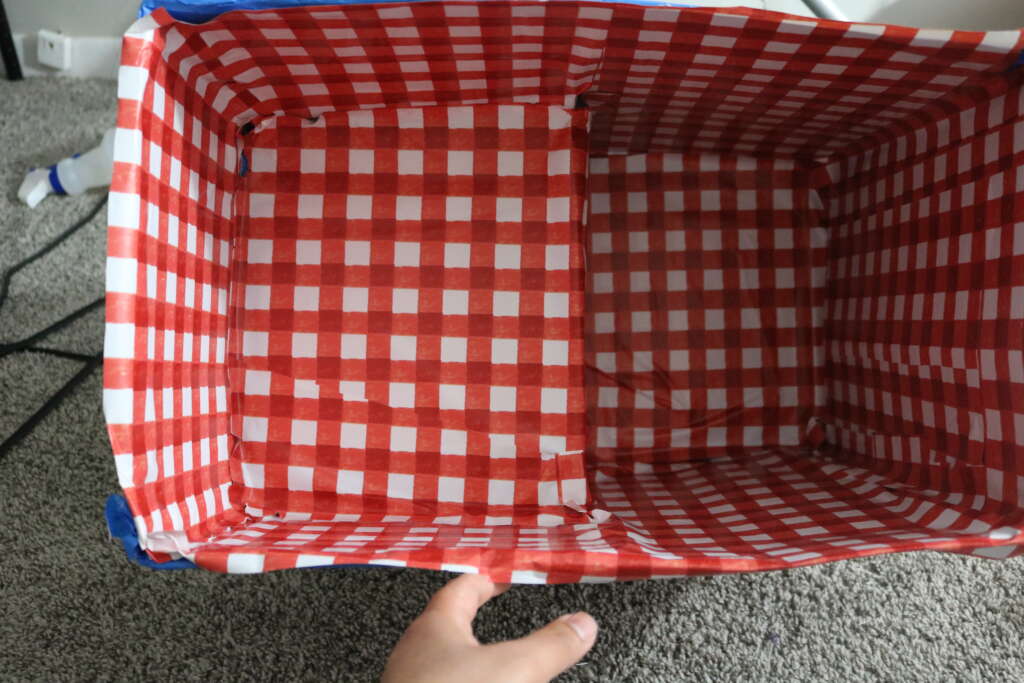
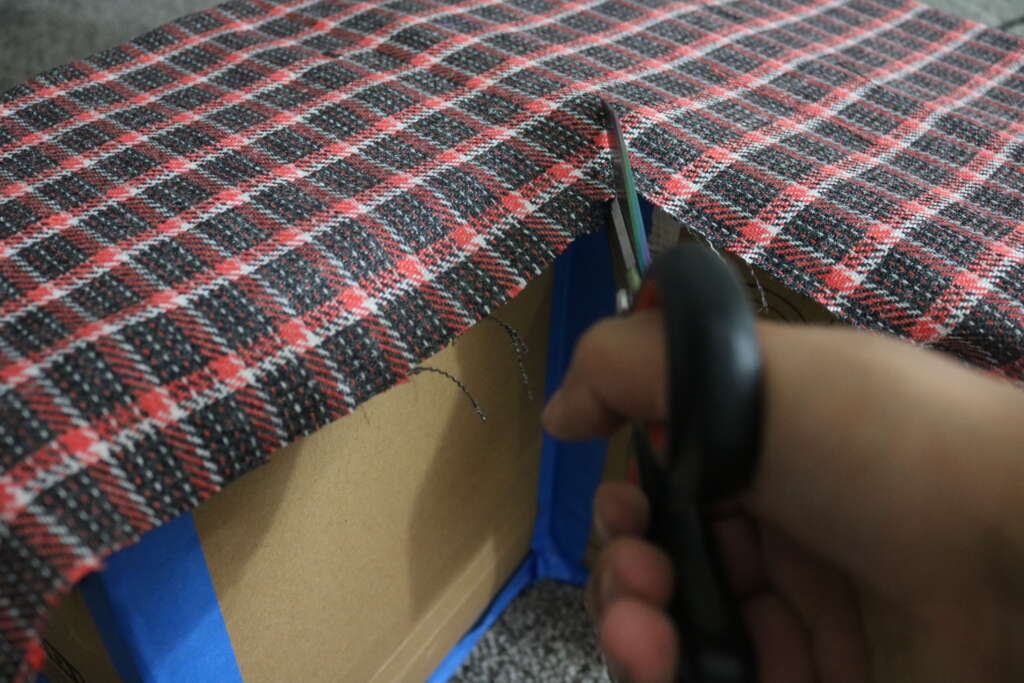
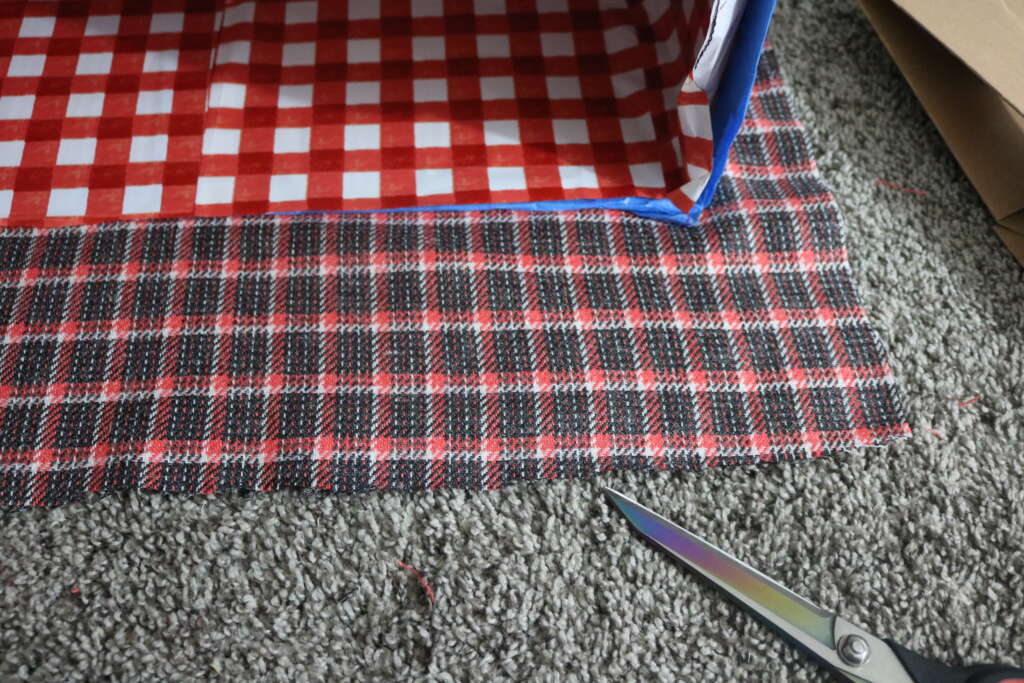
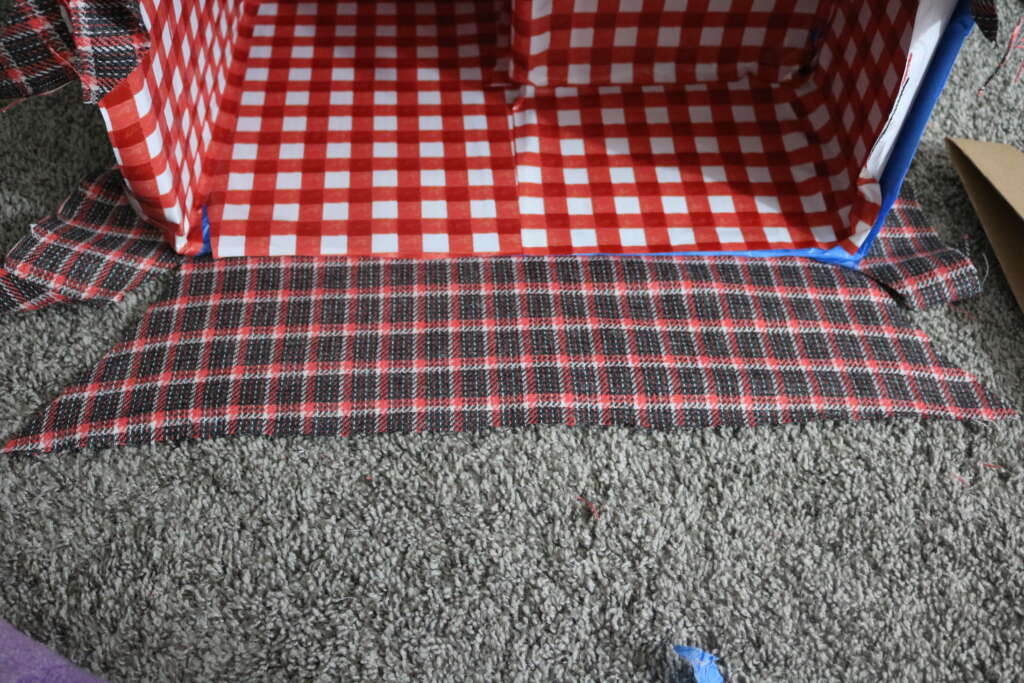
7. Cut out outer fabric by placing the box on top of the fabric and cutting the fabric a 3-4 inches bigger than the box is (I but my fabric 4-5 inches bigger, and it was a touch too bulky).
(note: I did not cover the parts of the box that sit on the stairs).
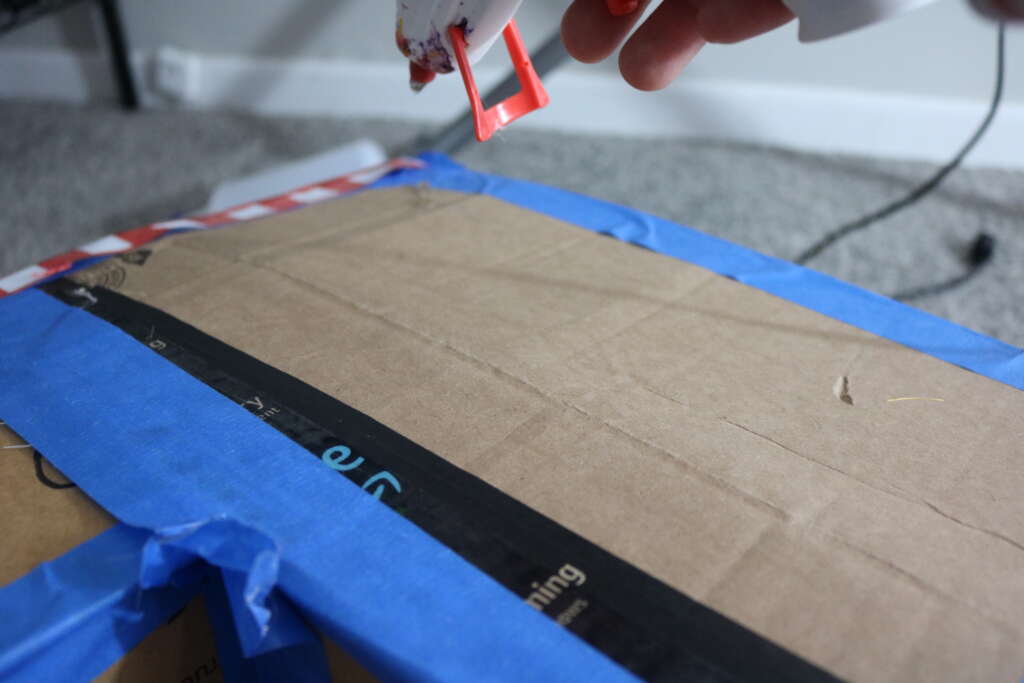
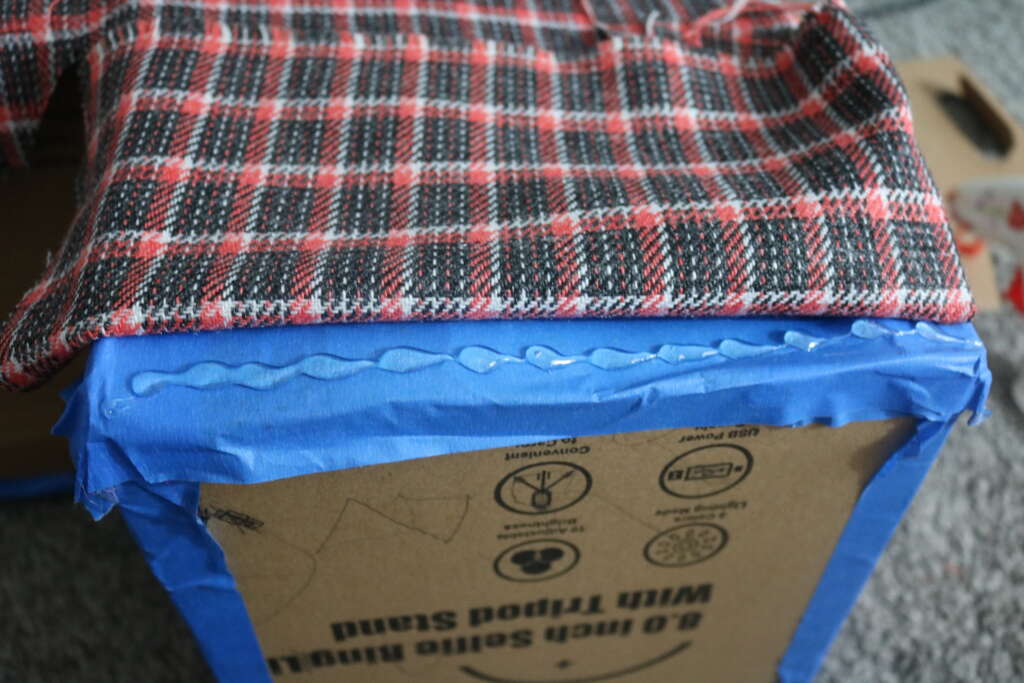
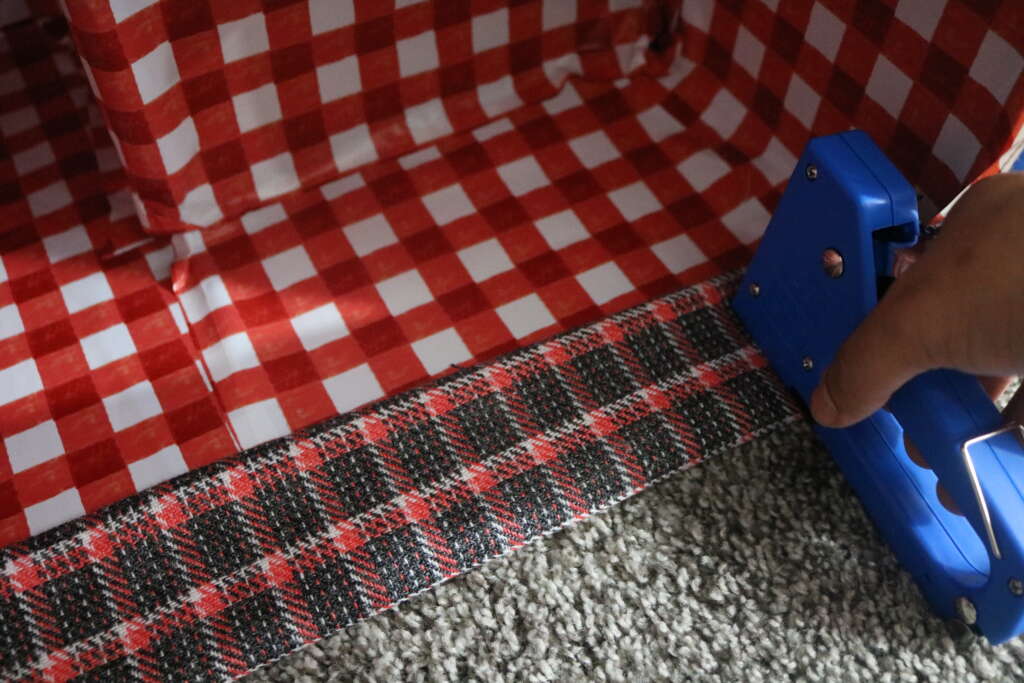
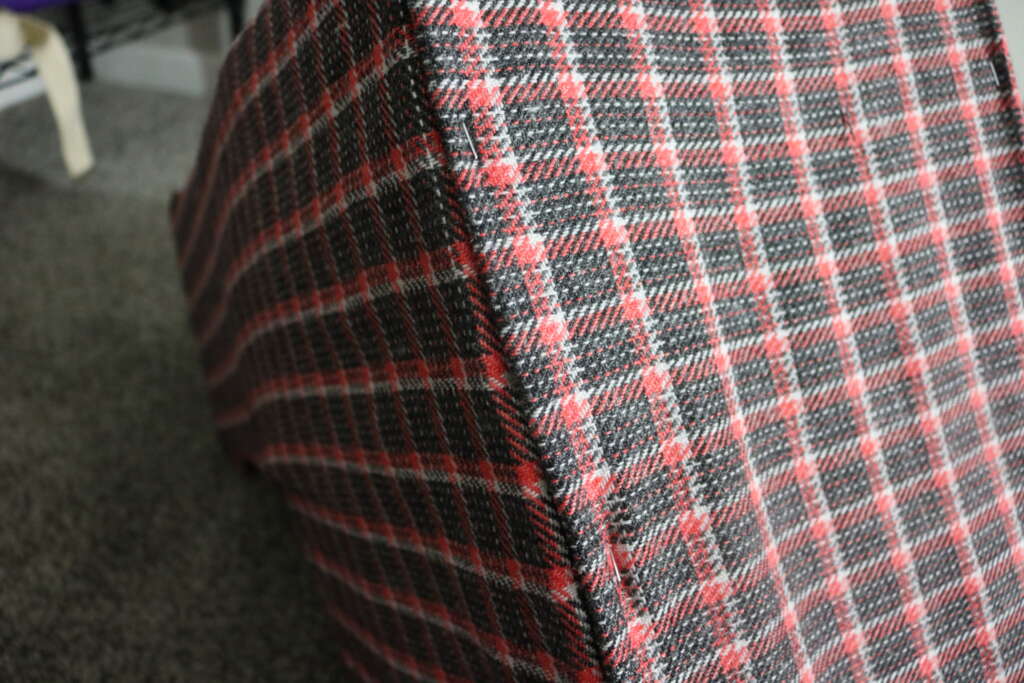
8. Hot glue and/or staple the edges of the fabric into place (I used a combination of the two), being mindful to fold raw edges under, so they are not exposed.
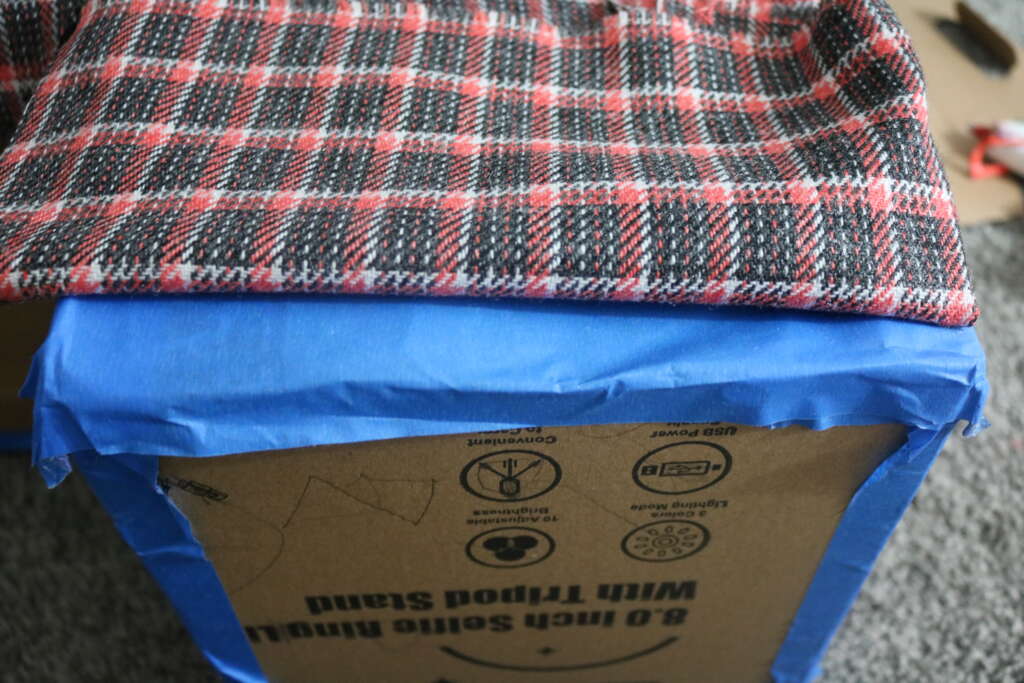
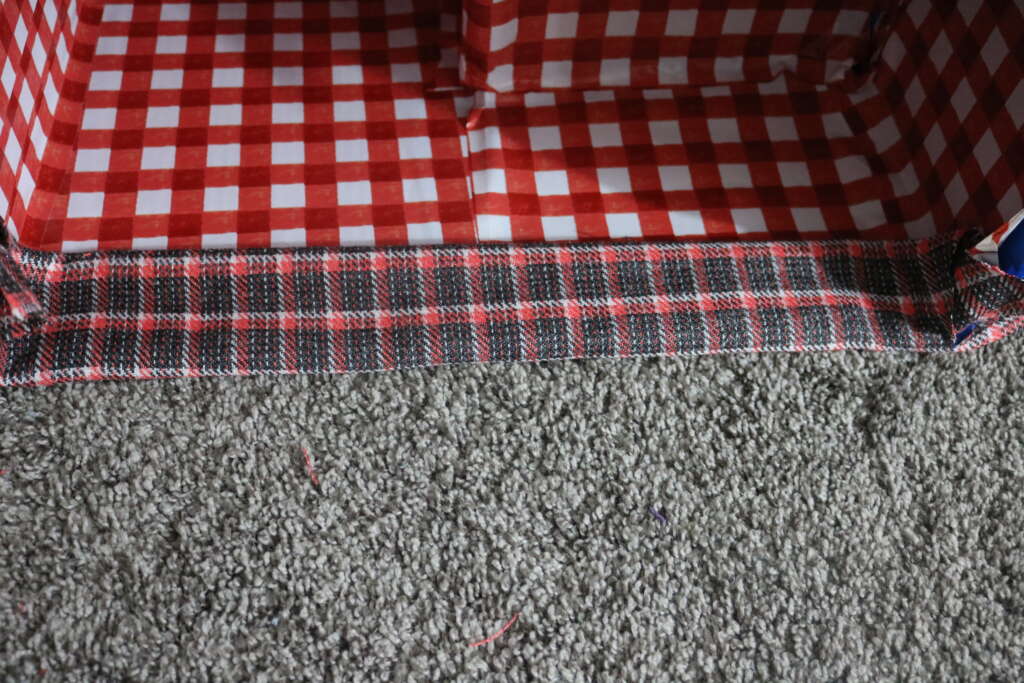
9. Fold the top edge of the inner fabric under by 1-2 inch and the staple into place. This will help hide the raw edges of the fabric and the cardboard box edges.
Ta-dah! You have just made a stair basket!
Potential Future Modifications
This my basket did not turn out for exactly how I wanted, so I will probably make some changes to the tutorial in the future.
For now, it is functional, so I am happy with it for now.
Having said that, the below is how I may modify this project in the future.
Handles
I would like to add handles, but I’m not sure I would trust it to hold up the box if it felt heavy (side note: I guess that gives me the incentive to keep things where they should be!).
I think I am going to play around handle ideas, and then update this post if I find something sturdier.
Alternatives to Outer Fabric
Have you seen my fabric twine tutorial? If I had enough, I would have loved to have covered my box in twine!
If you have access to rope in general, I think it would look great with rope wrapped around.
I also think it would look great with contact paper as a cover. I’ve used contact paper as a ‘wallpaper’ before, and I think it would work great here too, especially on the inside.
Alternatives to Adhesive
Though a combination of the painter tape, staples and hot glue worked, I’m wondering if a spray adhesive would have worked better.
Alternatives to Materials
I decided to use cardboard for this project as it is currently something I have an abundance of.
While it is sturdy, it isn’t as sturdy as I imagined, so I’m wondering if I should have just made a sewn version of this instead…
If you try this project, please please please share it with me! You could email me at [email protected], or contact me via social media (my handle is @cozymagichome everywhere!). As always, feel free to leave a comment below!
Wishing you all the cozy magic!
Blessed be,
Amrita