There is something about bricks (especially a brick tile wall) that adds so much cozy character to a place.
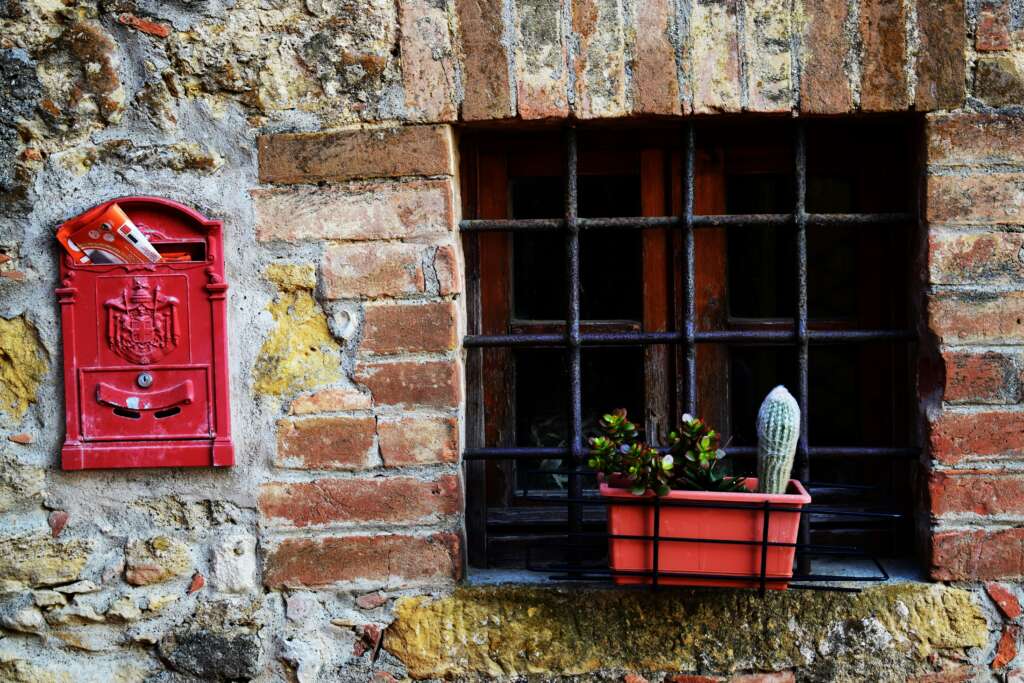
So when I got serious about revamping my kitchen, I decided I was definitely going to be adding a brick element.
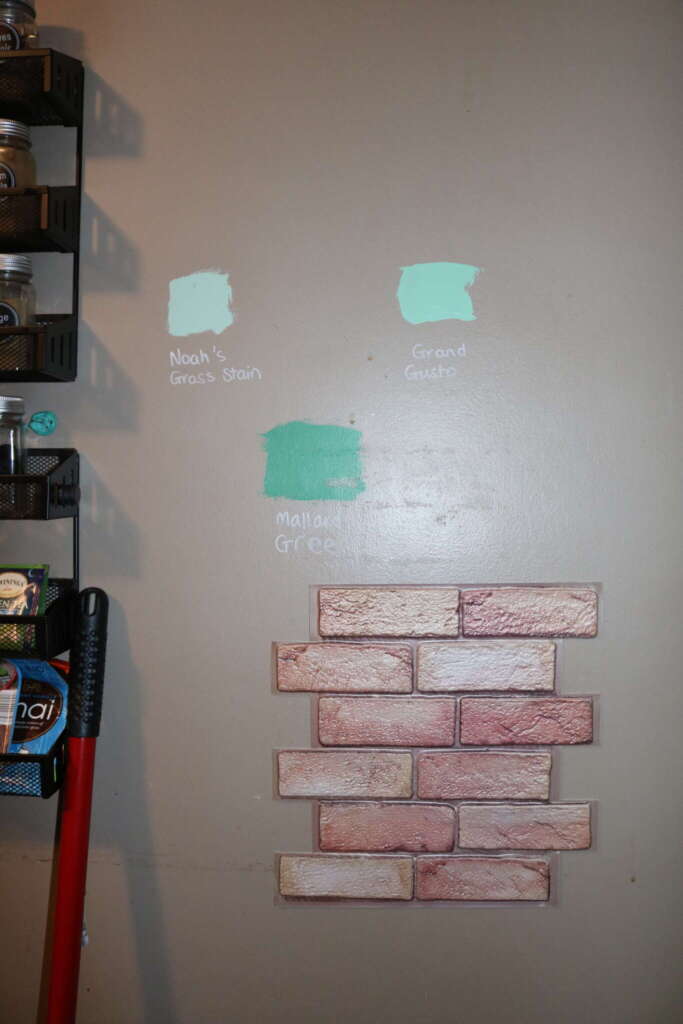
Honestly, I wanted to do the whole kitchen, but brick tiles can be expensive. I tried a faux brick tile which was more affordable ($7.99 for one tile), but I wasn’t too pleased with the quality, and I didn’t like how it looked.
So in the end due to the cost of the actual brick tiles, I decided on just doing the backsplash.
(Just a heads up, the following pictures are from my phone, and some are screenshots of a video, so apologies about the quality!).
This was the biggest D.I.Y. project I had taken on to date, and I did around 95% of the work myself. If I can do it, you definitely can too!
On that note, check out the materials I used for this project:
Materials You’ll Need
Before you begin tiling, gather the necessary materials:
– Glue remover (I used Citrus Stripper because that was what I had at hand. It worked okay for me).
– Spackle
– Sandpaper (I’m sorry I don’t remember which one!)
– Tile adhesive (I used Type 1 Mastic)
– Tile spacers (I used 0.25inch tubes – which I couldn’t find on the Menards website)
– Spirit level
– Grout
– Sponge
– Zip-Lock bags
Steps
Step 1: Preparation – Smooth the surface!
Our original back splash was a laminate MDF sheet which had been applied to the wall with a generous amount of glue, and used to hide some rather large hole around the outlets.
After removing the backsplash, I removed as much of the glue as I physically could (via sandpaper, and citrus stripper), and then used that drywall patch tape and spackle to repair any holes.
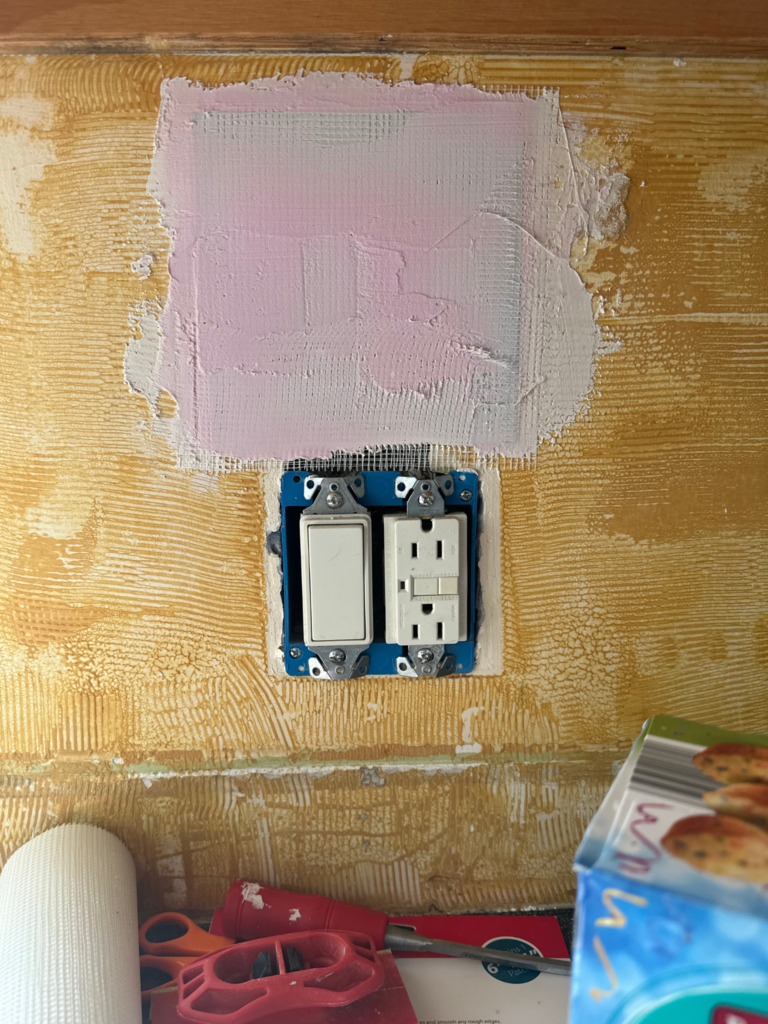
After the spackle had dried, I gave it one more sand, vacuumed the wall, and we were ready to get tiling!
Step 2: Planning and Layout
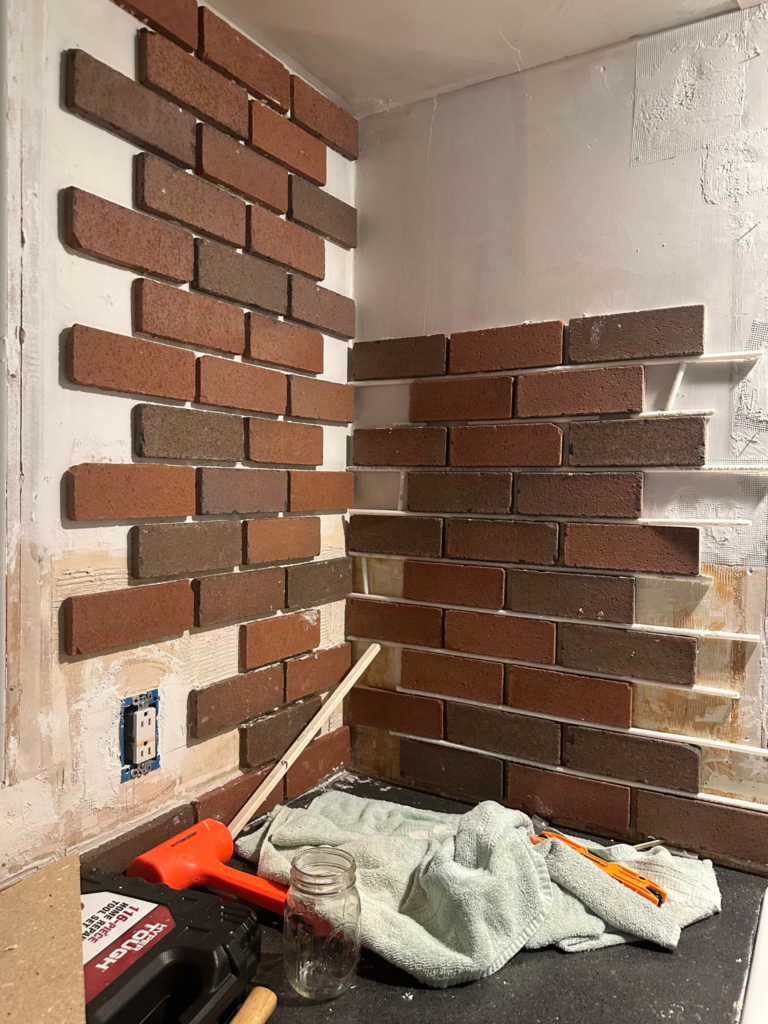
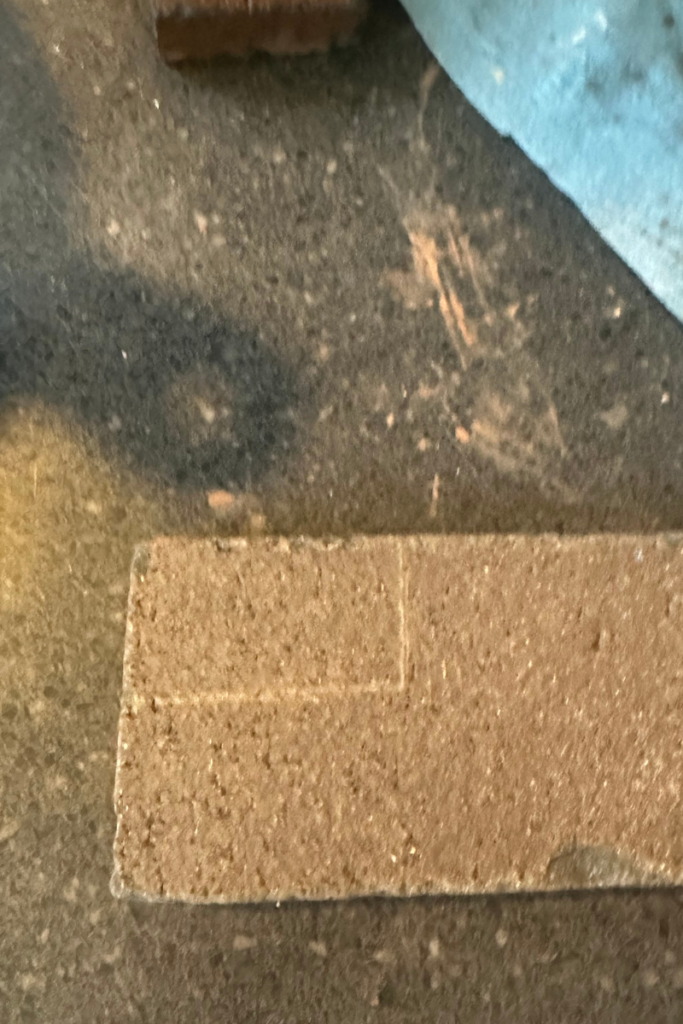
I knew I wanted a staggered look, so I actually used a brick and some chalk to draw where I wanted to place the bricks. I also used a spirit level to ensure I was getting it right, because it was only after I started this project I realized my counters have very minimal sloping
Step 3: Applying Adhesive
I had no idea what to use, so I ended up asking the advice of the staff at the hardware store. They advised me to use TEC Type 1 Mastic 101.
I found applying a small amount horizontally across the back of the tile with a notched trowel worked well. When I applied too much mastic, it would make the brick slide around and make poor contact with the wall.
Step 4: Installing Brick Tiles
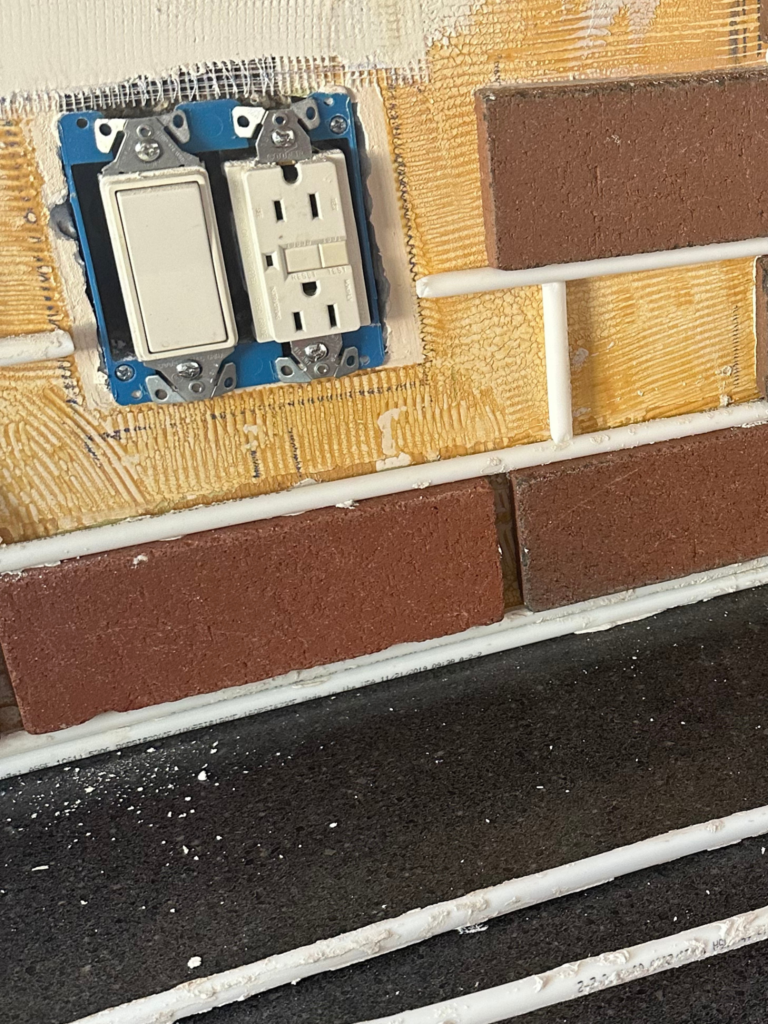
Instead of tile spacers, I used a 0.25in plastic tube for spacers.
I was able to lay longer tubes down to create the amount of space I wanted between each row of bricks, and able to cut smaller pieces of the tube in between the tiles.
Once the bricks dried (I gave it overnight), I was able to remove the tubes pretty easily. I did have a couple that got stuck, but as the tubes were hollow, I was able to use a screwdriver to help me leverage it out.
I also needed odd shaped tiles to put around outlets and end spaces. We ended up buying a cheap wet saw, which was a little scary at first, but for the most part was easy to use.
To cut the tile out to shape, I drew the shape I needed with chalk, and then simply cut away on the wet saw.
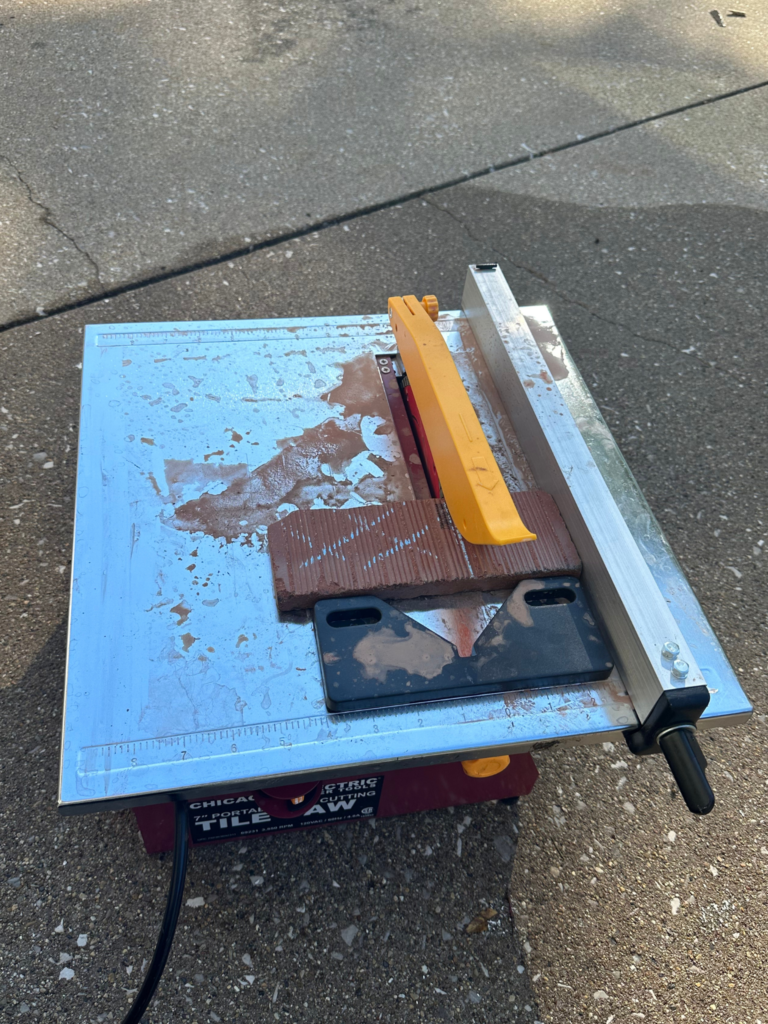
It worked out cheaper for us to buy the wet saw (because I did the tile cutting over the space of a couple of weeks), but if you have a small job, you could probably hire a wet saw for a few hours (I have found this to be the case in the USA).
Step 5: Grouting
I ended up buying a cement mixer attachment for my drill to mix up the grout, but left it in the cement for too long, and it ended up stuck in there!
I ended up using premade grout, which I added to a Zip-Lock bag with a corner cut off, and piping it into the gaps.
While I did have a tool to smooth it out, I actually found it easier to use my finger.
Step 6: Cleaning
Oh, another lesson! Wipe up the excess/dropped grout with a damp sponge ASAP. I didn’t, and now it is permanently stuck there.
I actually don’t mind it (I think it adds to the rustic charm I am going for in my kitchen), though I know it isn’t for everyone.
Step 7: Finishing Touches
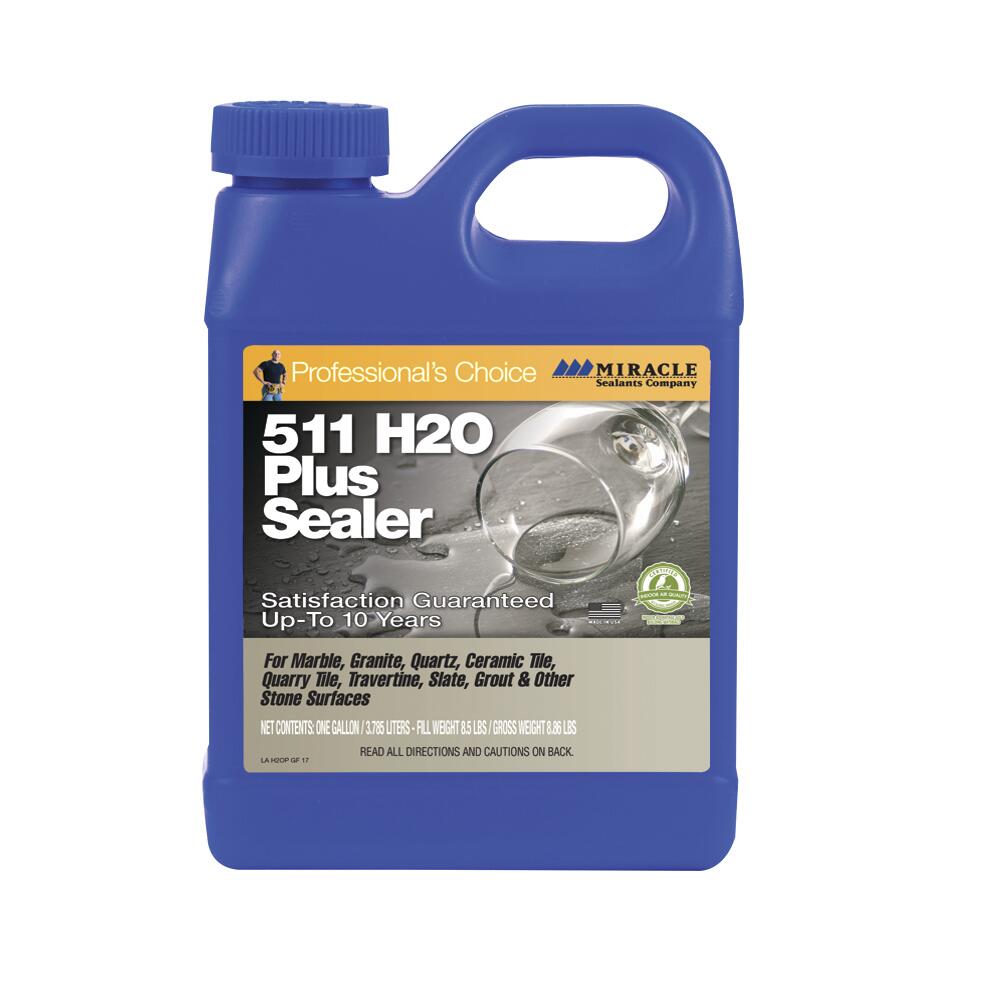
I think I left the grout to cure for X amount of days before applying a sealant.
As this backsplash will be exposed to water and steam, I think it was especially important to seal it. This is the one I used:
Maintenance Tips
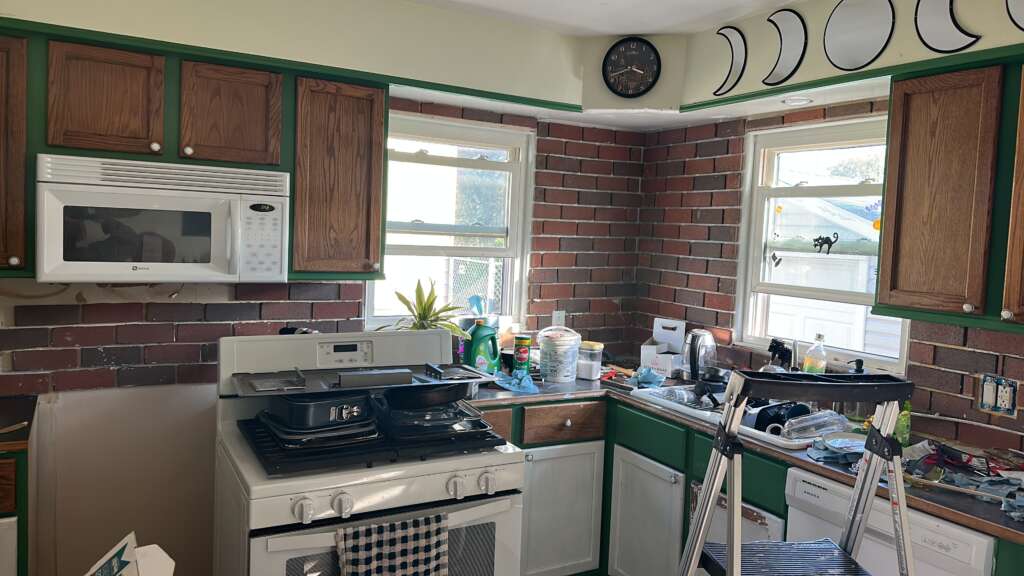
It has now been around 5 months since using brick tiles in our kitchen, and it has been brilliant!
Quite honestly, I haven’t done very much to it. I’ve occasionally had to wipe up food splashes with a damp cloth, and have had no issues.
If anything else comes up at a later date, I will be sure to update this section!
Conclusion
This project took me so much longer than I expected, and it was a lot more expensive than I had anticipated (I got the math wrong about how many bricks I would need), but I love the finished look so much!
Having said that, if I was tiling a larger space, I would definitely get help!
I want my kitchen to be a magical, cozy, cottage-like space, and I think the bricks really help with that. The whole process ended up being rather meditative.
This project also ended up giving me a boost of confidence that I can try out other D.I.Y. projects too. I’m not going to let my beginner status hold me back!
Does the finish look professional? No, it doesn’t, but that was the look I was going for. I want put as much of myself into this home as possible.
If you fancy giving this project a go, feel free to reach out! You can contact me via the contact page, or on one of these social media platforms (where you can find lots of shorts/reels on this project!).
Wishing you all the D.I.Y. luck in the world!
Amrita
xo