Halloween Cardboard Silhouette Window Display
Our living room is the room large cardboard boxes hang out until recycling day. It’s the only room in the house that isn’t quite functional. Considering we just moved in late July, I still think we aren’t doing too badly!
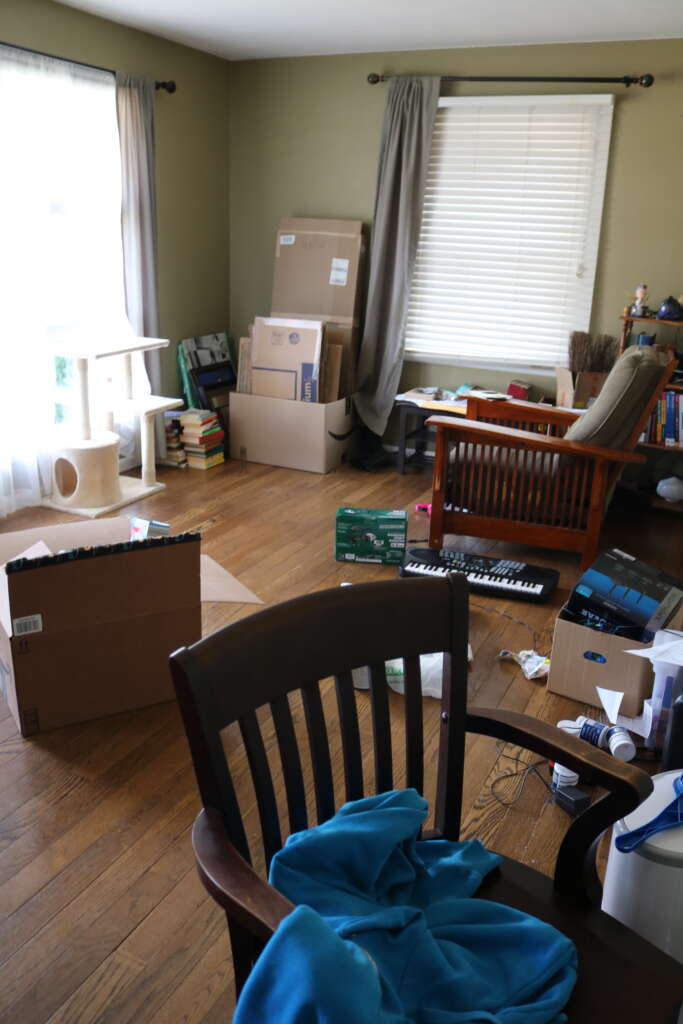
Although the room isn’t going to be quite ready to use by Halloween, I still want to add a festive element to it, so I have decided to use the cardboard in the room to make it more festive!
As ever, I like to use up what I have at home, so I decided to use some of these cardboard boxes that have been sitting her collecting dust. I think craft paper would work well for this project too, depending on how large your craft paper is, you may need to assemble your scene differently.
Items I used for this project
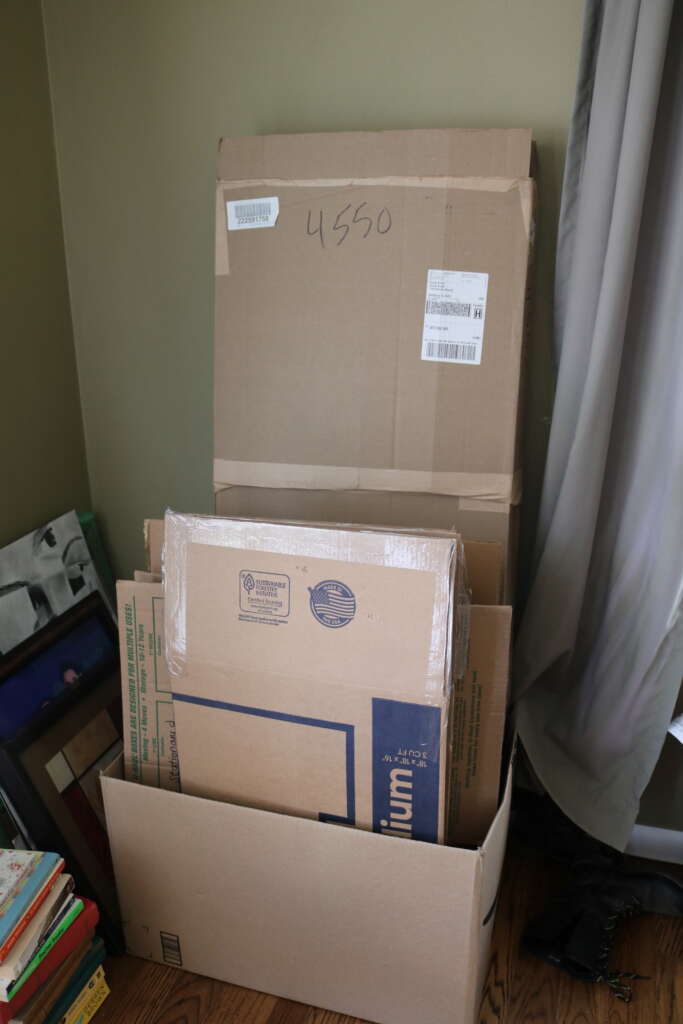
- Cardboard box
- Crayon/Pencil/Pen/Marker
- Utility Knife
- Scissors
- Painting Surface
- Spray Paint
- Painters Tape
- Purple Fairy Lights
Instructions
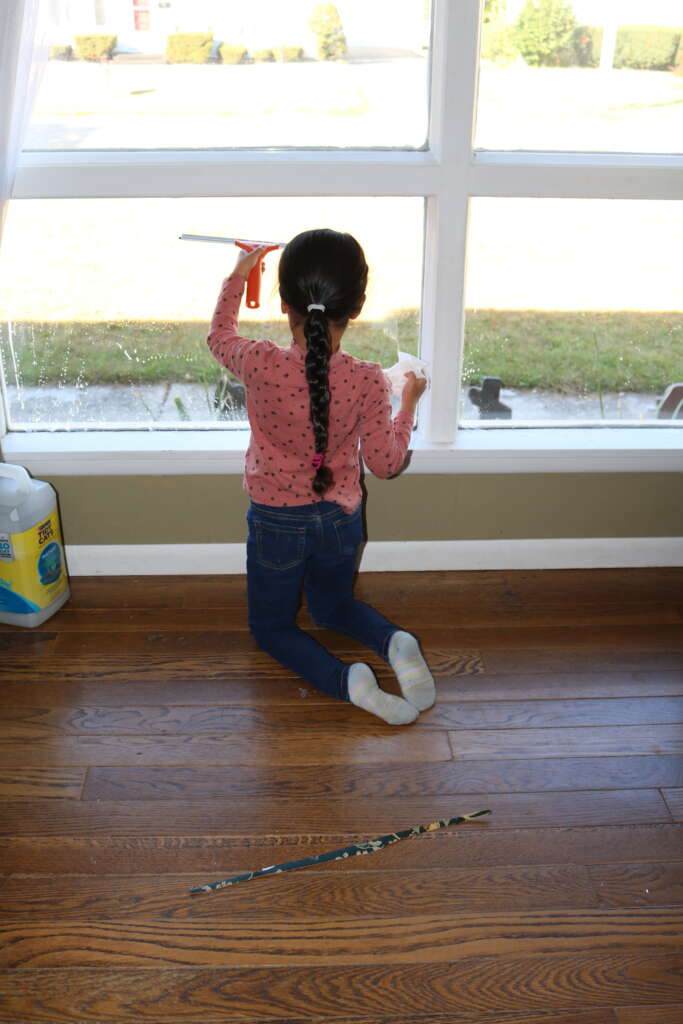
Prepping Your Display Area
Clean your display area. Hopefully you are lucky and have someone that is insistent on doing this part (my daughter loves squeegees).
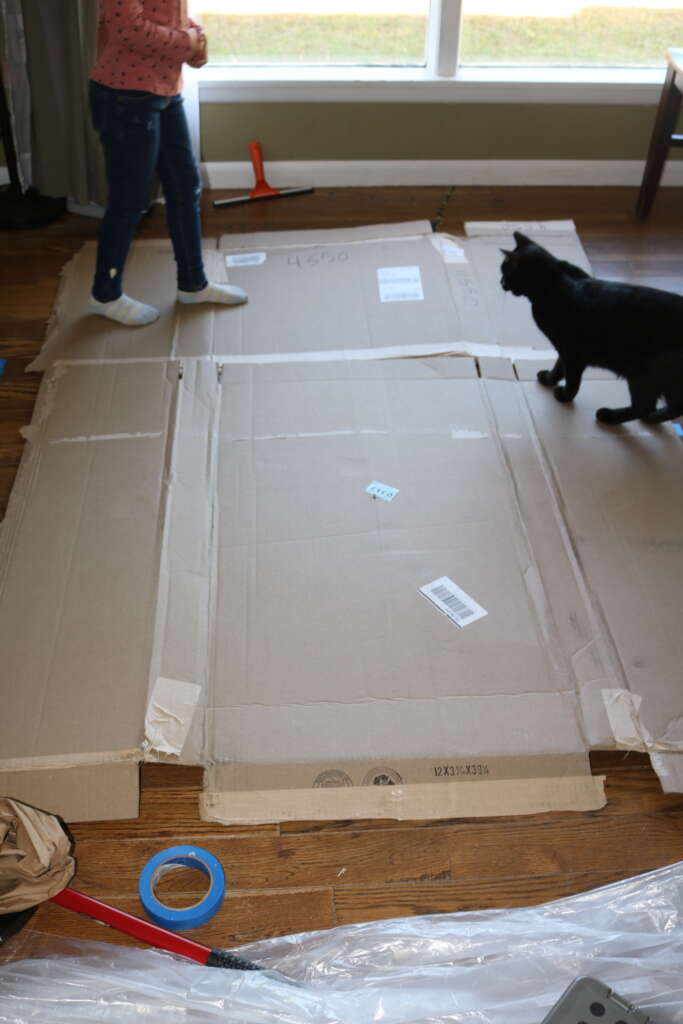
Measuring Your Display Location
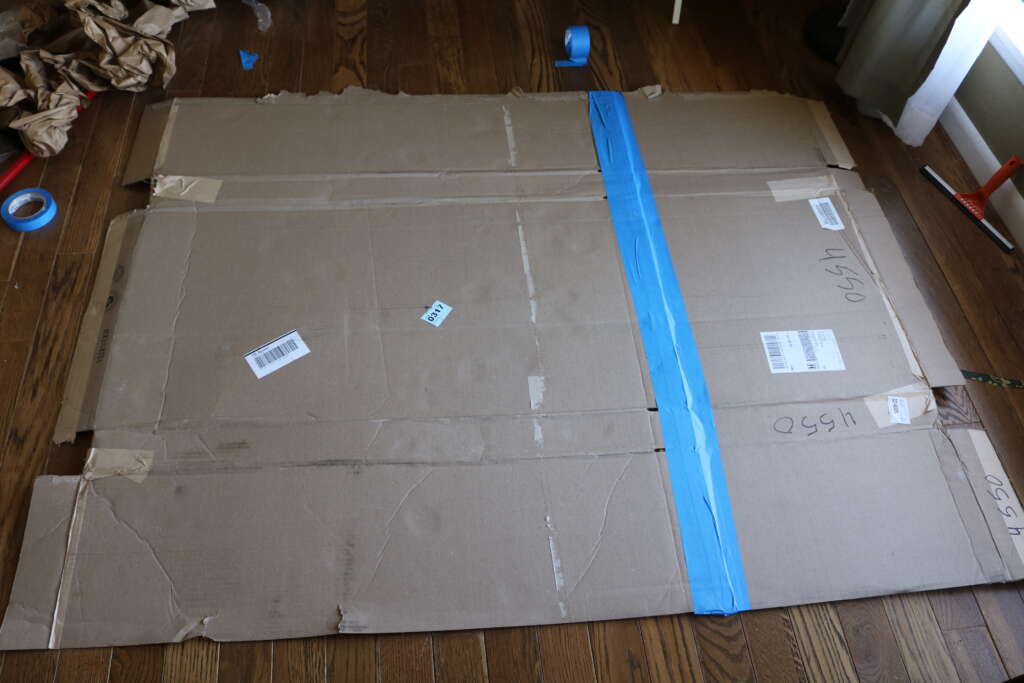
I found piece of cardboard (an old flattened out box) which was the approximate size I wanted my display to be.
I had to reinforce parts of it with painters tape (so if you don’t have a box that is quite the right size, just stick some more cardboard on until it is).
As you may also notice, my babies (human and fur) don’t really care for my creative endeavors.
Creating Your Scene
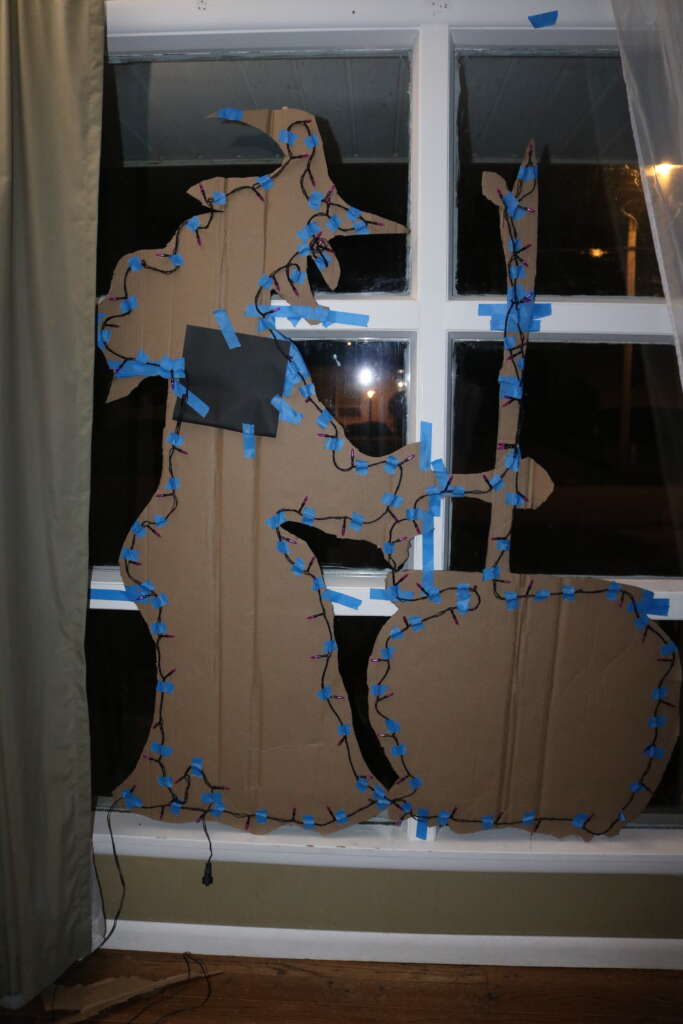
Sketch out your scene directly onto the cardboard (thankfully it doesn’t need to be exact). I used a random crayon I found because even though I consider myself a crafter, I couldn’t find one pencil in this whole house.
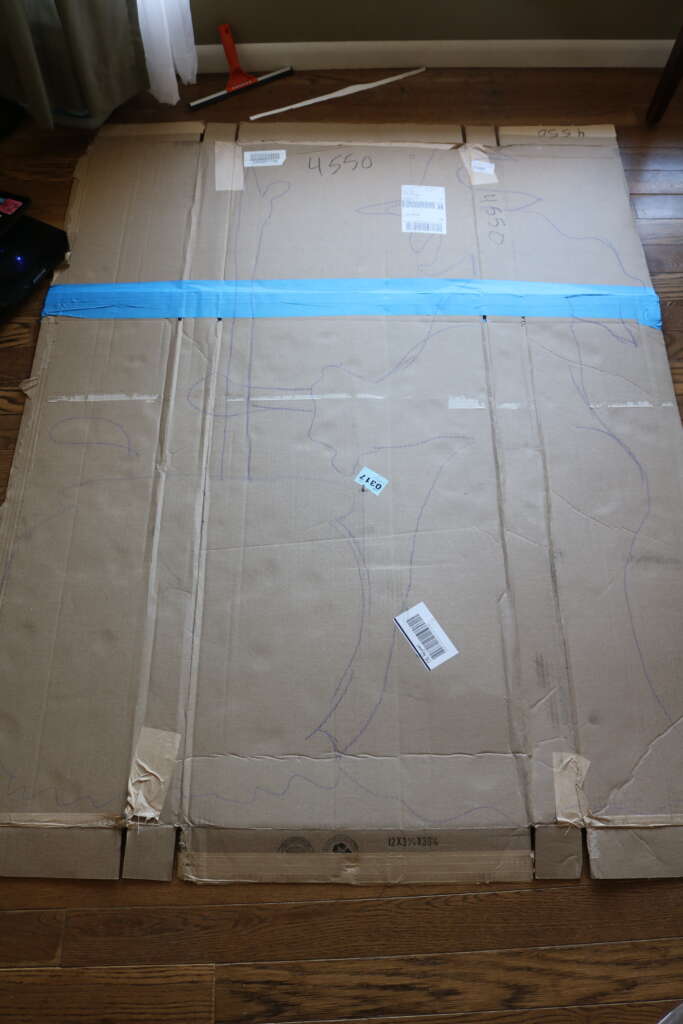
(side note: I used this image from http://clipart-library.com/ as the basis of my scene).
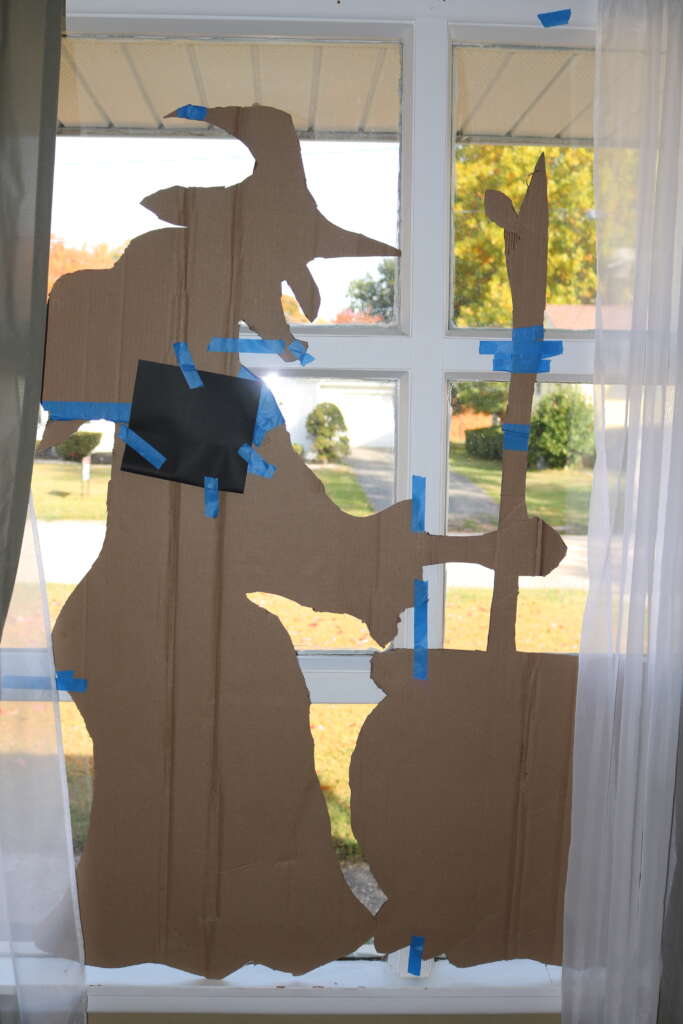
Cutting Out Your Scene
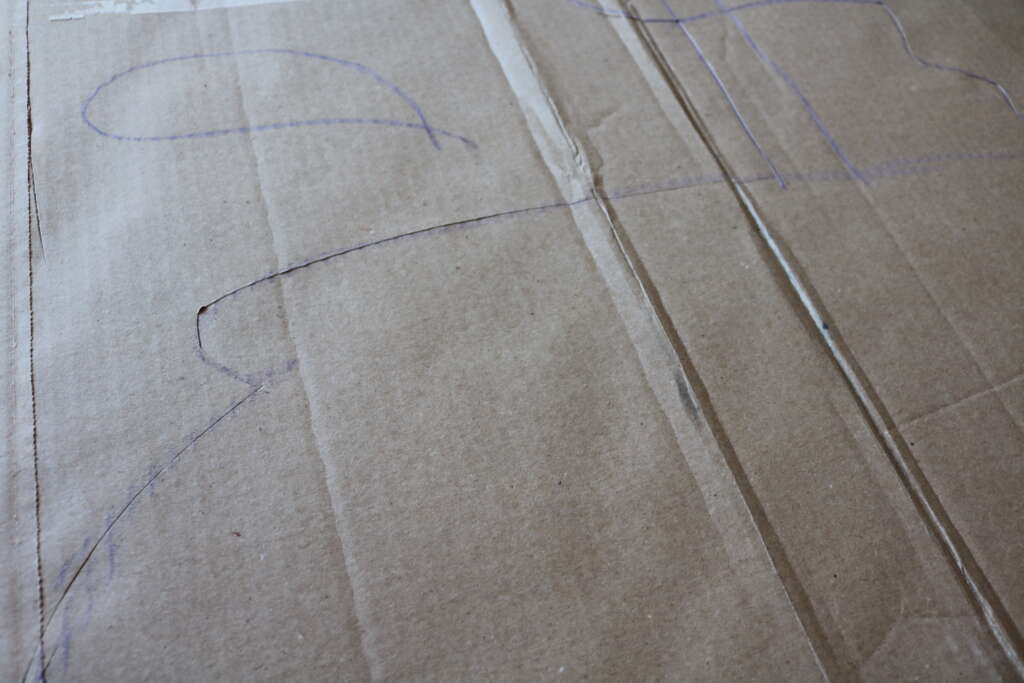
I found scoring my cardboard with a utility knife before cutting out my scene helped.
I used a combination of scissors, the utility knife and good old ripping with my bare hands to cut out my scene.
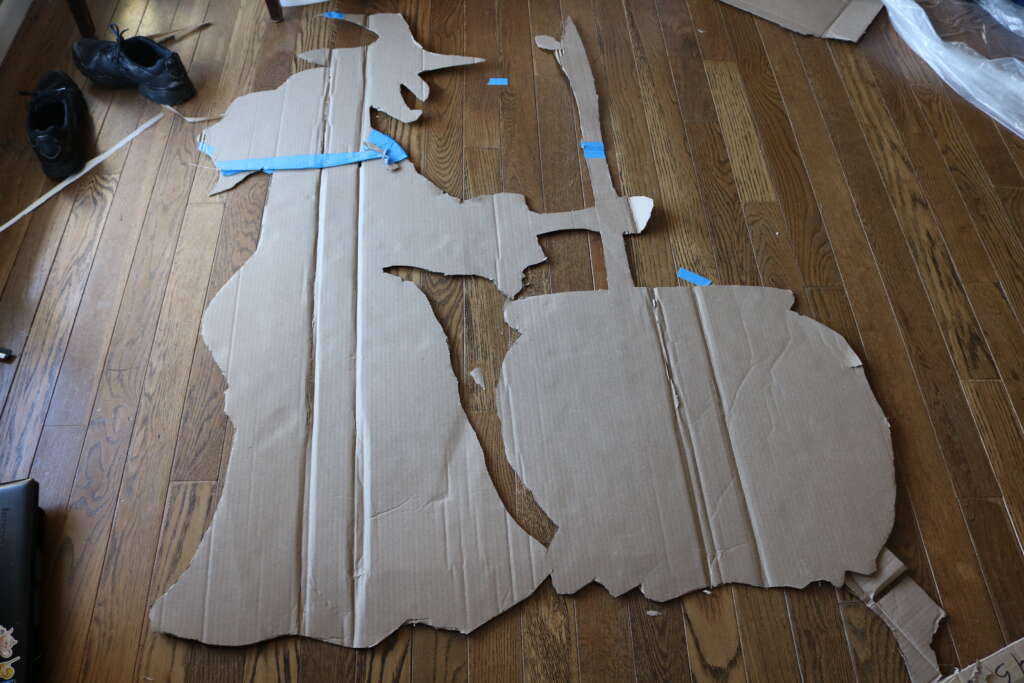
If you find you’ve accidentally cut something you were not supposed to (like I did with the tip of my witch’s hat), use painters tape to attach it back.
Checking Your Scene Fits
Stick your display in the window for a fit check. I was happy with how mine looked!
Spray Painting the Display
After protecting your floor and ensuring you are in a well ventilated area, paint your scene (or if you are lucky, you have black paper, so you can skip this part!).
Wait for paint to dry. It took my first layer around 15-20 minutes
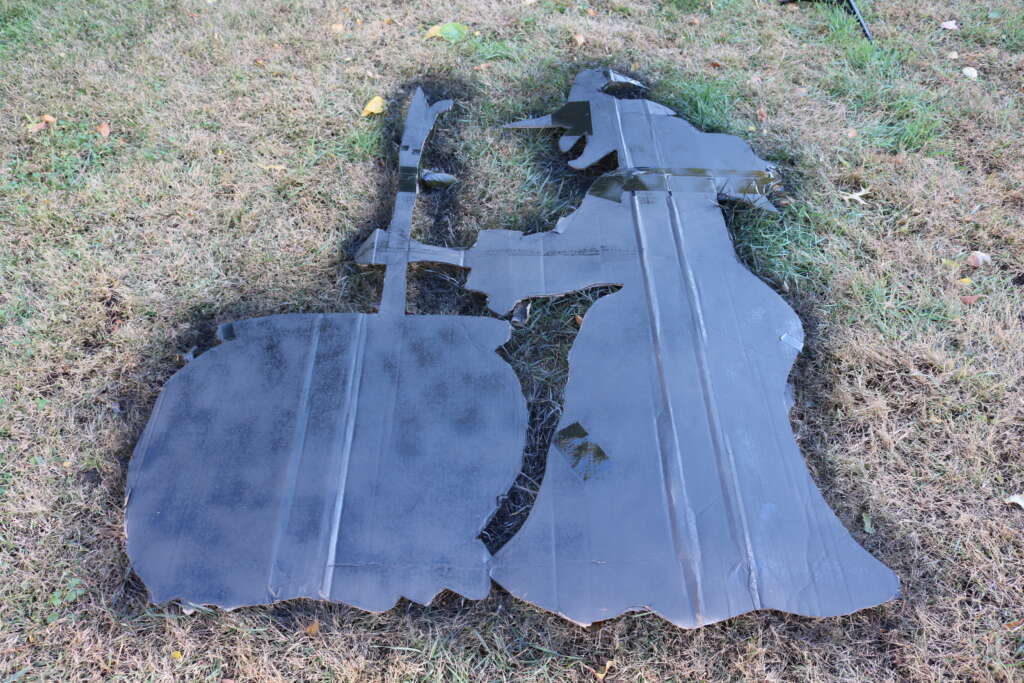
Paint another layer if required, and wait for that layer to dry (I was happy how mine looked after one round).
I left my witch in the garage overnight to dry.
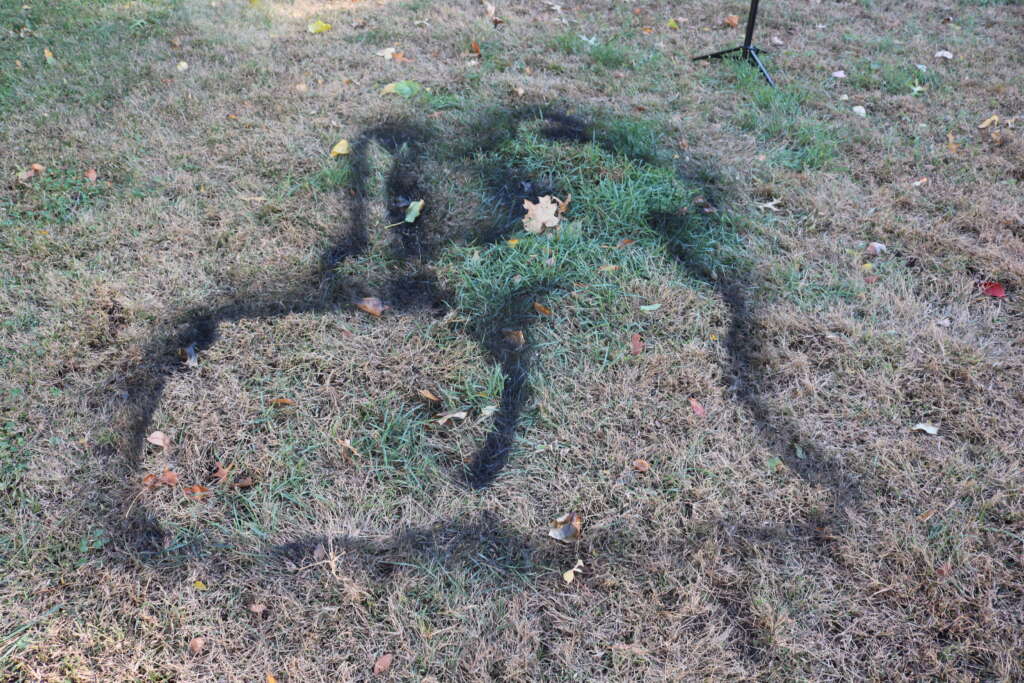
I didn’t protect my grass, so while this looked nifty, I felt bad for my already suffering grass. Seriously, protect your spraying surface!
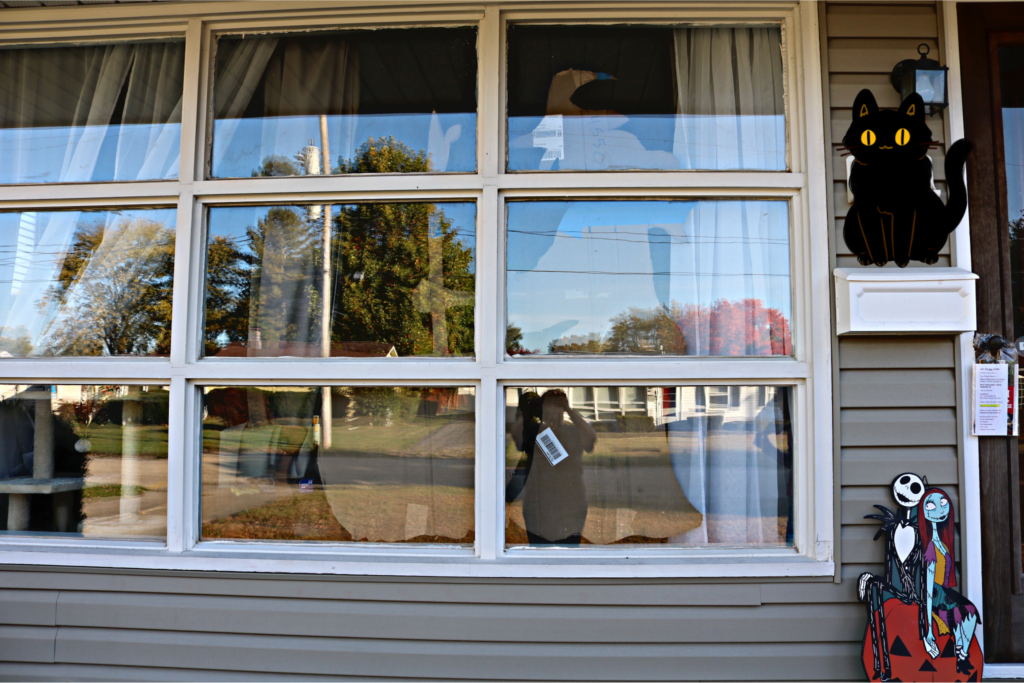
Displaying Your Scene
Once dry, stick your scene to the window using tape.
Note on on sticking up display: I have a large frame in my grid window, so I can use painters tape to hold up my display without it being noticeable. If you don’t have a large frame, I suggest using clear tape to stick up your display.
If desired, tape fairy lights to the back of your cardboard silhouette.
Turn on lights!
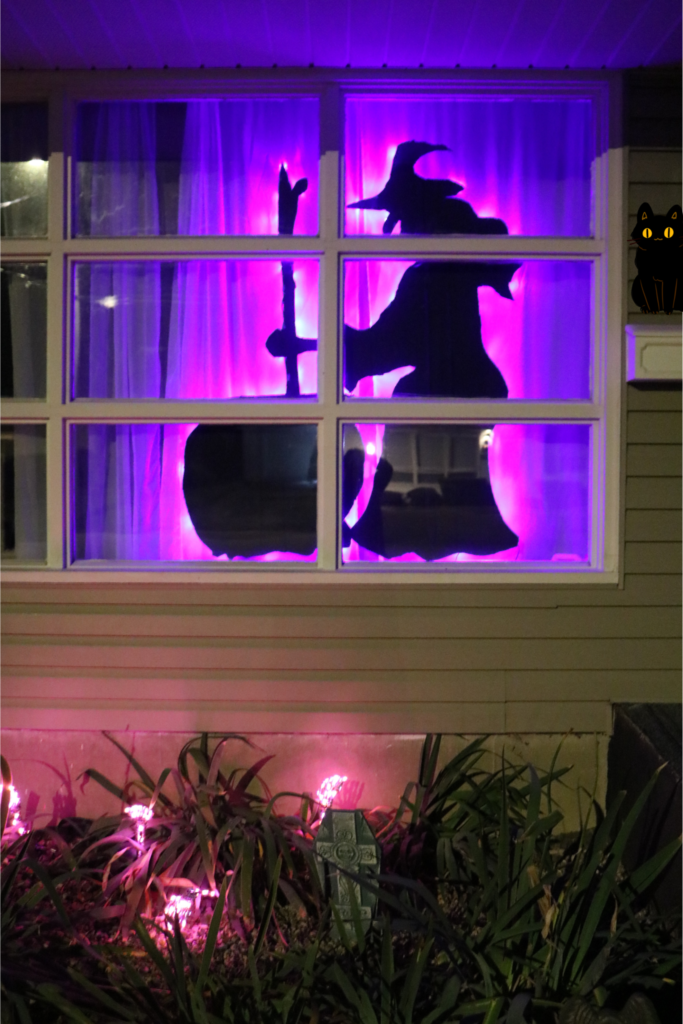
Congratulations! We made a Halloween Window Display!!!!
My overall scene isn’t quite ready, I still plan on adding a few things in time for the trick or treaters. But even as it is now, I really love how this turned out!
If you would like to watch a video of me making this project, follow at the following places:
Incidentally, you can also share your version of this project with me on there! Just use my tag @cozymagichome and use the tag #cozymagichome.
I can’t wait to see your version of this project!
Until next time!
Blessed Be!
Amrita