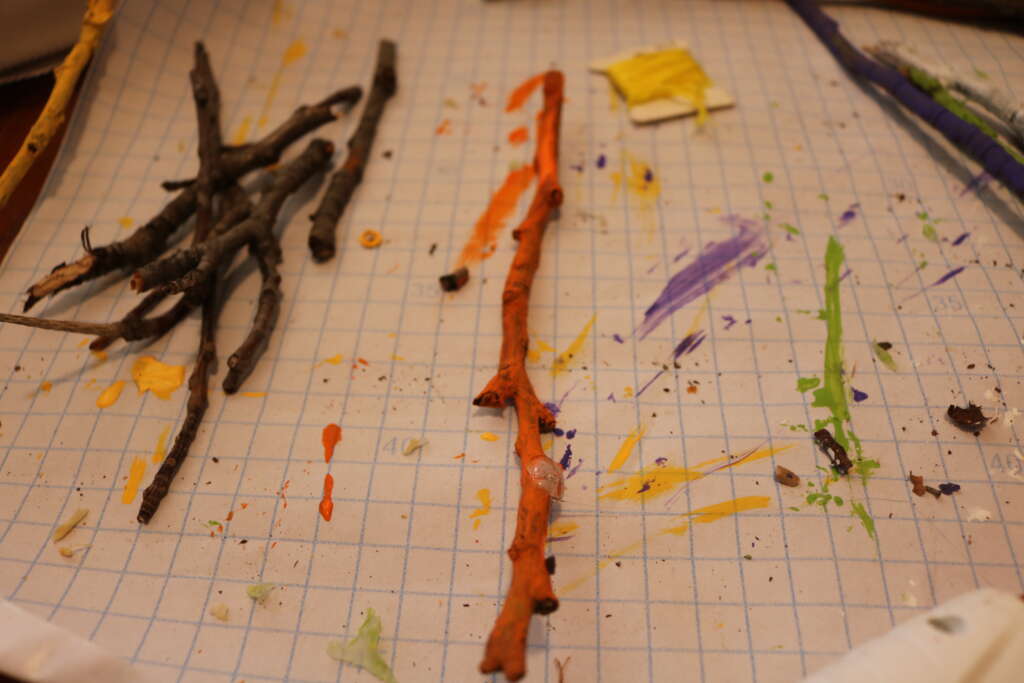
We are lucky enough to have 4 very large trees at the back of our yard but this has also meant we have a lot of rotted logs, broken branches and twigs hanging out back too.
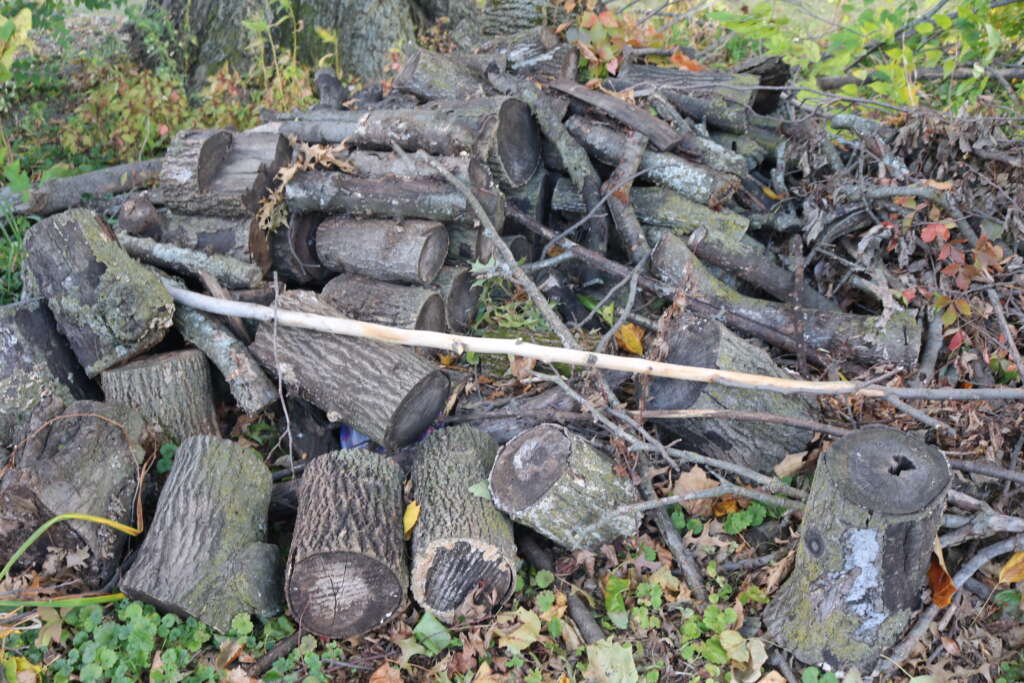
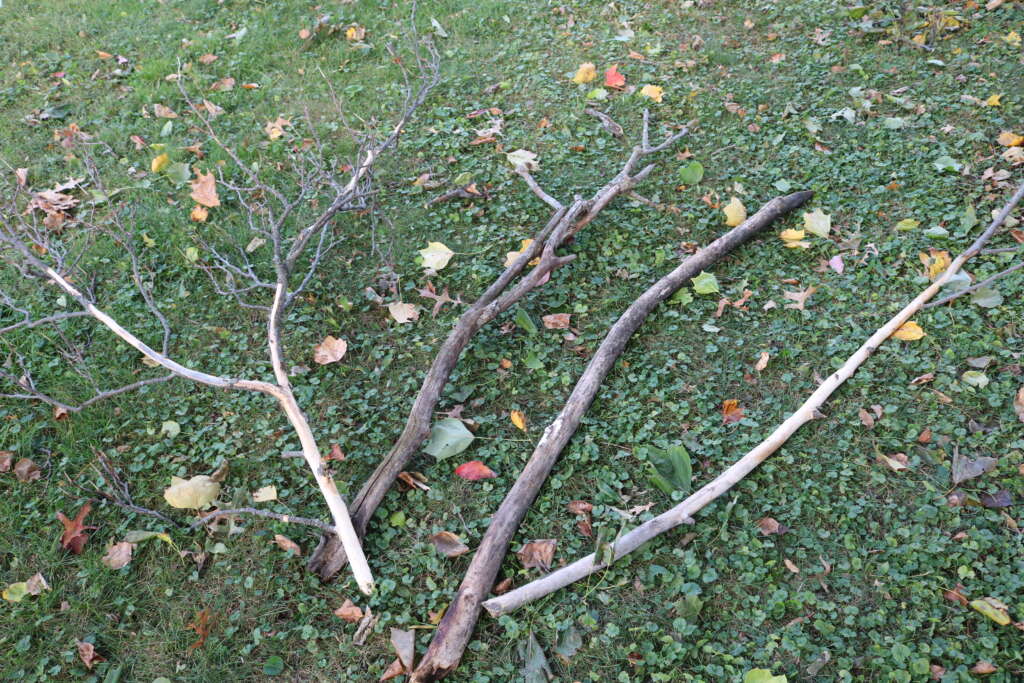
So naturally, when cleaning up the yard of the broken branches and twigs, I collected a few to make a Witches Broomstick decor for Halloween.
I thought this would end up being an easy project, and technically it should be.
Glue the bristles a stick, decorate, hang, and boom, you should have your broomstick.
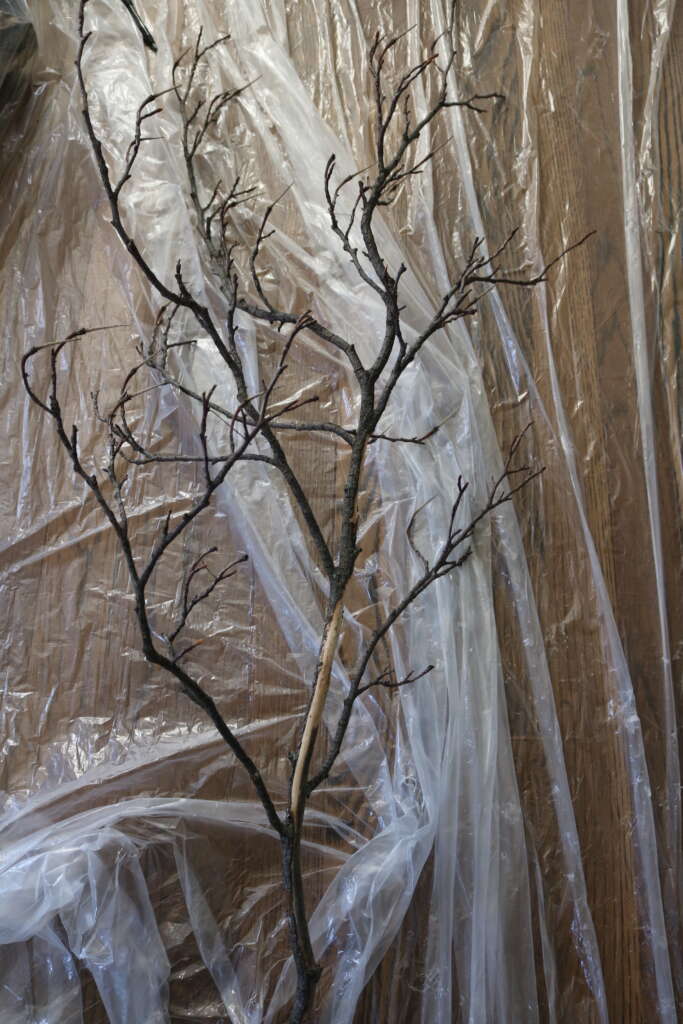
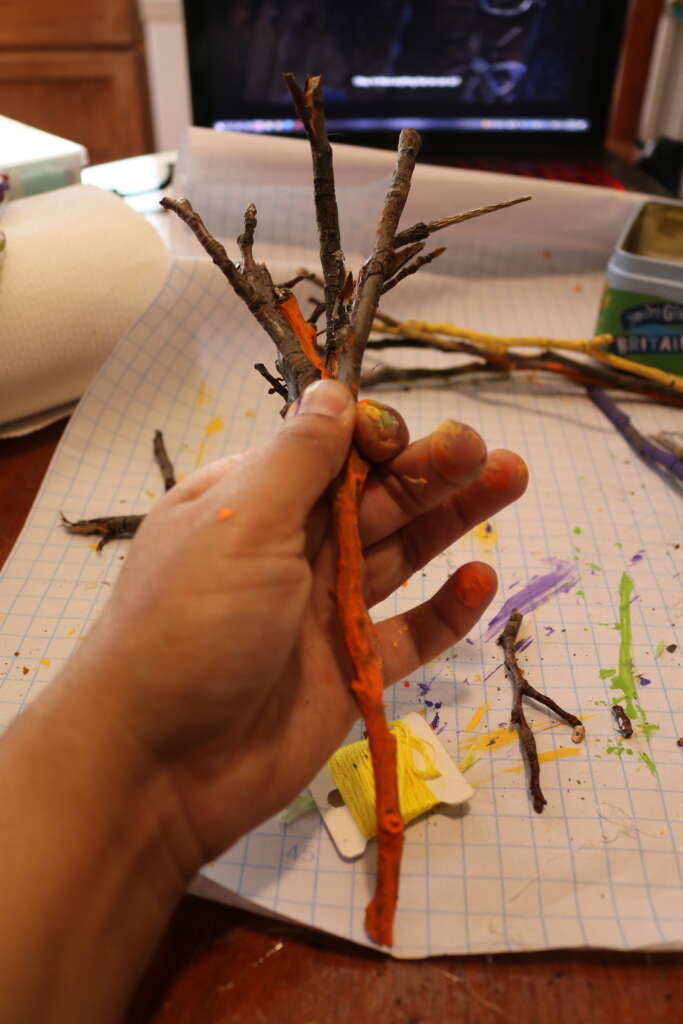
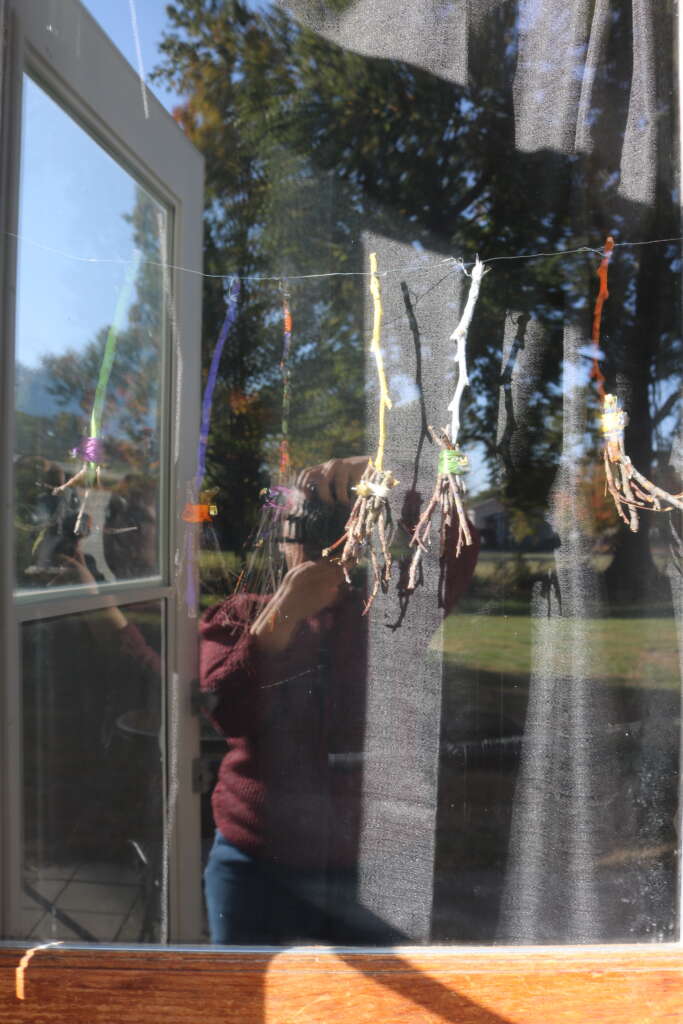
But mine ended up looking like this…
And I couldn’t out my finger on why, but I just wasn’t able to make it work.
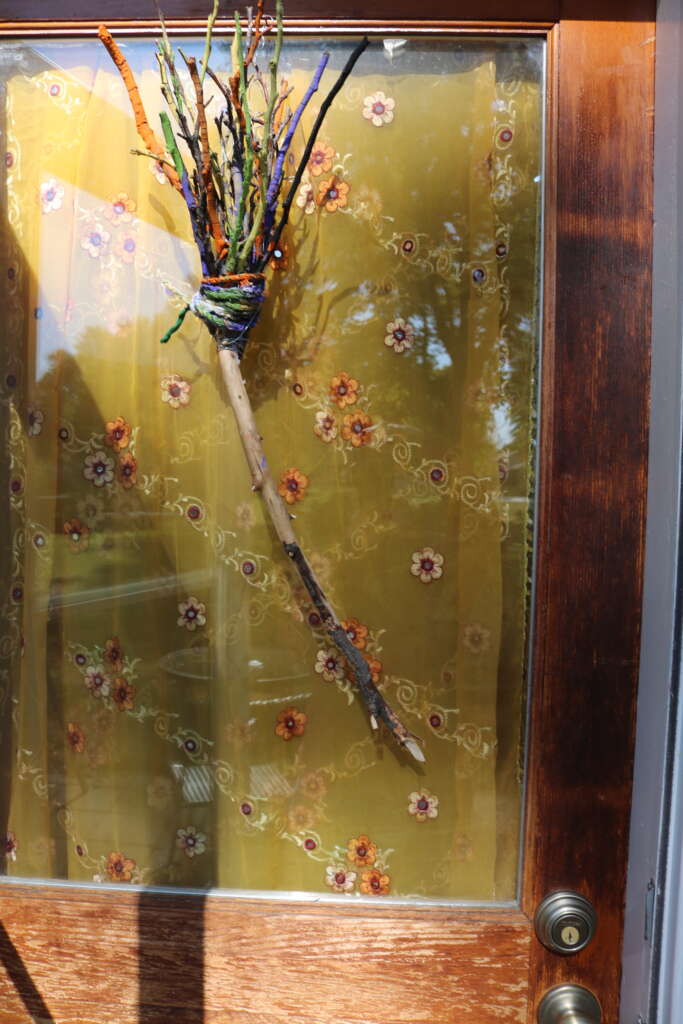
So I ended up breaking it up, and ended up with something which I preferred much more.
Even though this project didn’t turn out quite how I imagined, I still wanted to share it.
I know I have felt craft envy and intimidation. This project taught me that even the best laid plans can go awry. We can still make the most of it, and create magic anyway!
Here is how I created the Broomstick Window Display.
Making/Decorating your broomstick
NOTE:
If you are collecting branches and twigs for this project from property that you d not own, please make sure you get permission from the legal owner before doing so.
Try to collect the materials for this project from branches and twigs that have already fallen.
Items I used for this project
- Branches
- Twigs
- Acrylic Paint
- Paint Brush
- Embroidery Floss
- Hot Glue
- Beads
- Floral Wire
- Painters Tape
- Cricut Maker Machine
- Chalk Marker
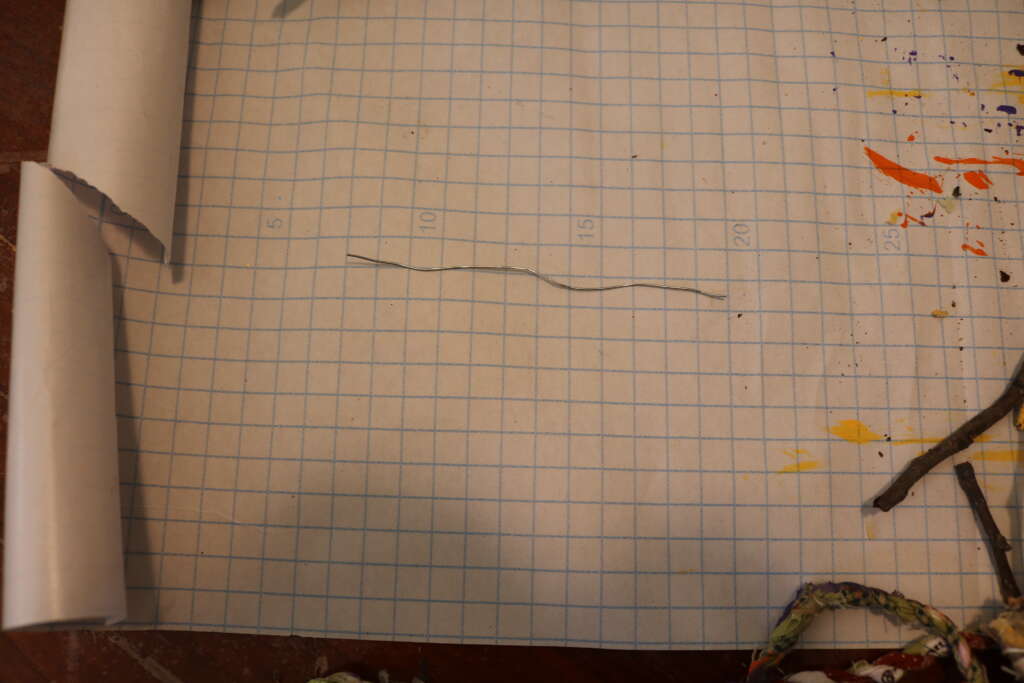
Select and paint your broomstick (trim with an appropriate tool if required).
Set aside while you wait for it to dry.

*You may need to adjust these measurements depending on the size of your broomstick
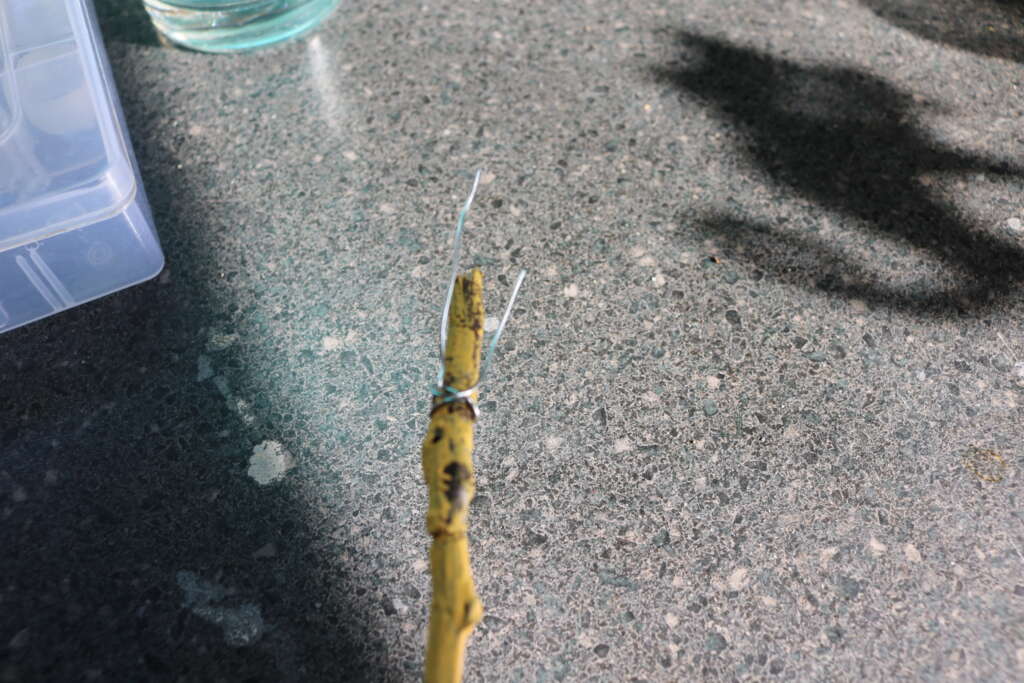
Use smaller/thinner twigs you collected to make the bristles.
Trim the twigs if necessary so they are all approximately the same size.
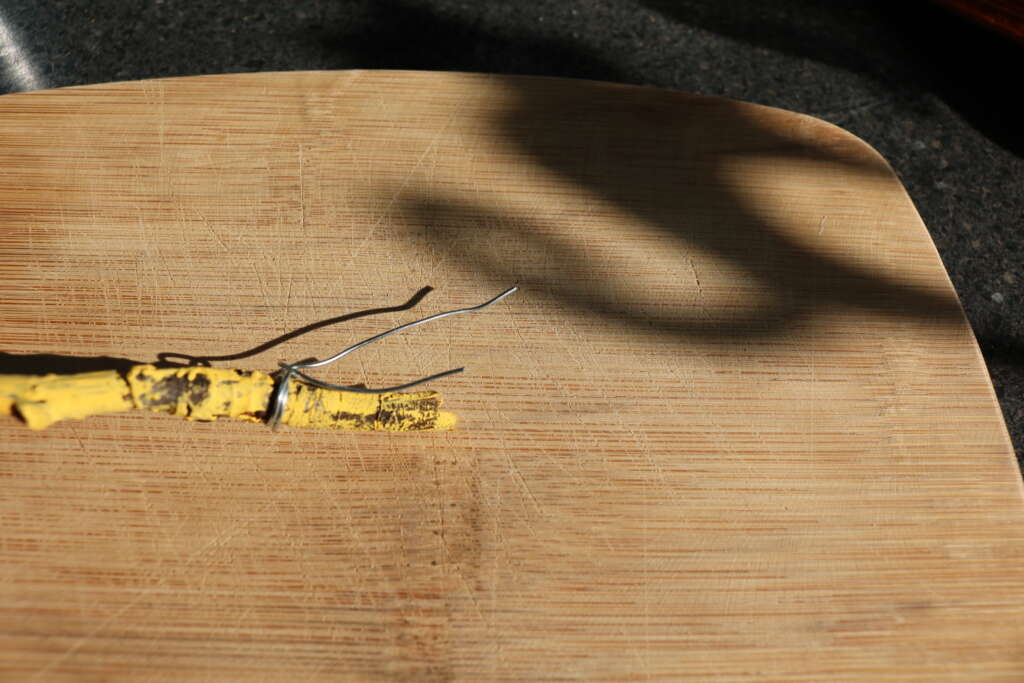
I found it easier to tie the ‘bristles’ (i.e. smaller twigs) to the broomstick with embroidery floss first.
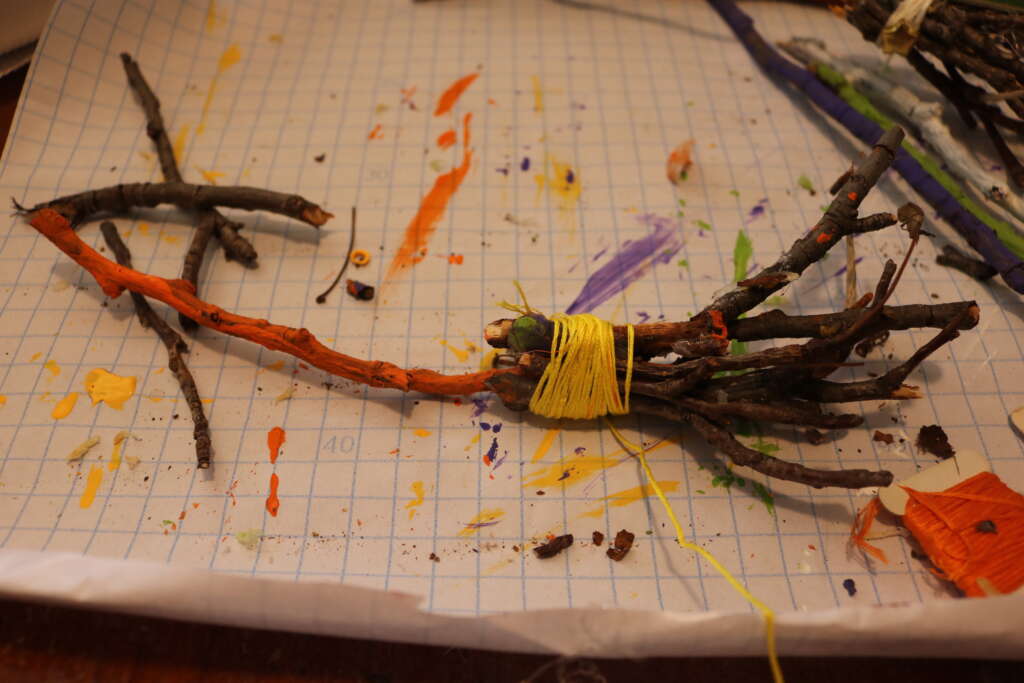
I then hot glued the end of the floss down, and stuck a star bead on it for fun (though I didn’t take a picture of this).
Displaying Broomsticks
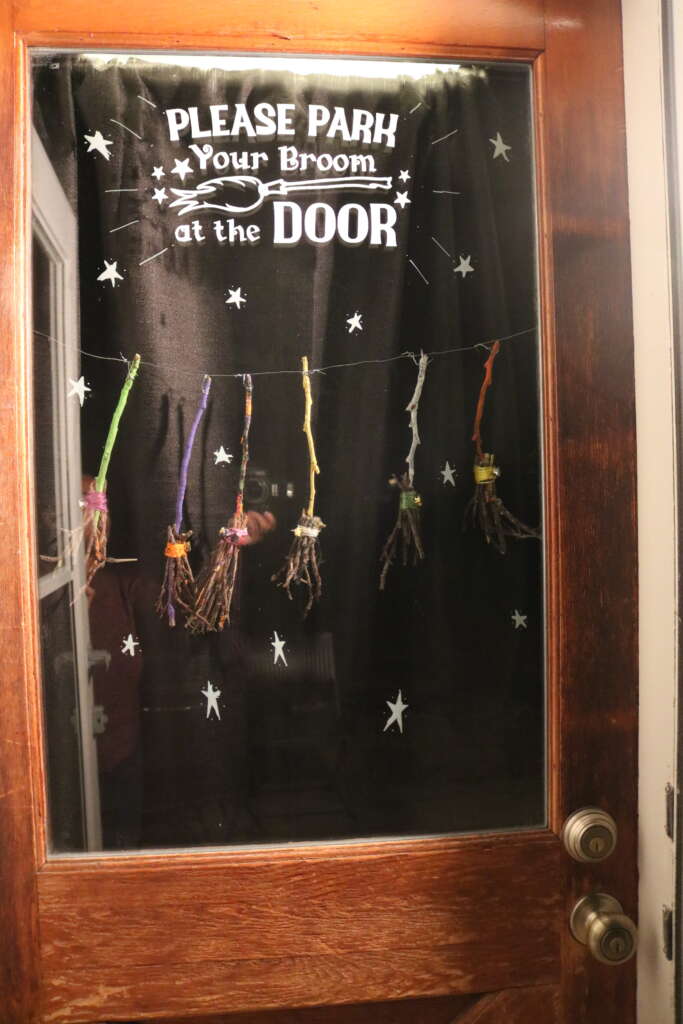
Firstly, I changed the fabric for the background of this display. I ended up using a blackout curtain that I had. I wanted to use a sheer fabric as that particular window lets in a fair amount of light. For the purposes of this display though, the black curtain looks better.
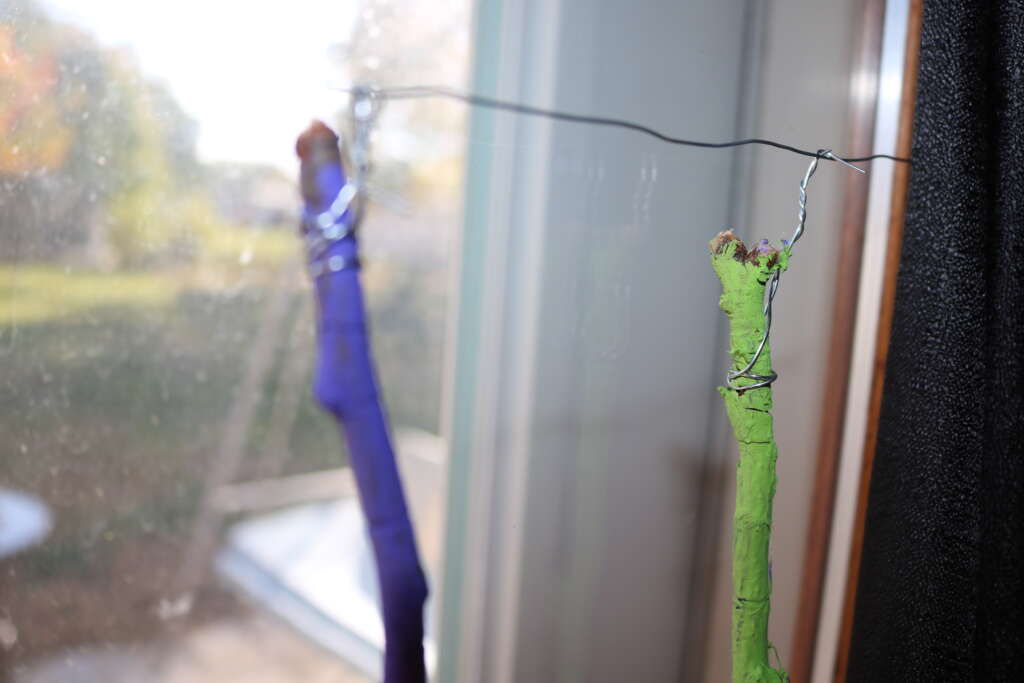
I stuck some floral wire to my door with painters tape. There are probably better and more attractive options to do this, but I went with what I had at hand.
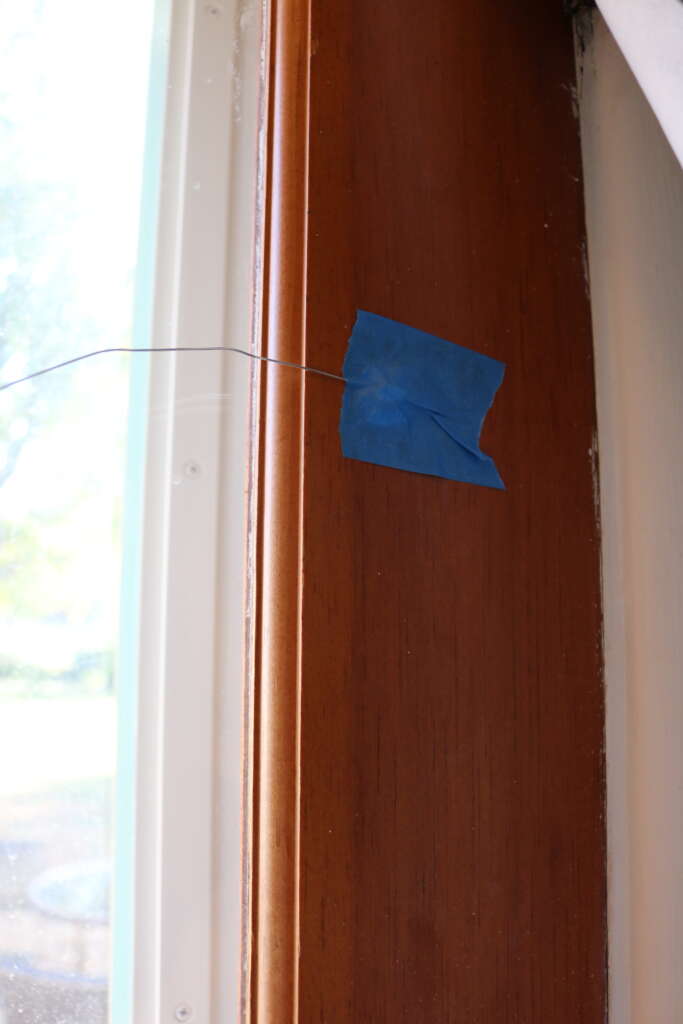
I then cut some floral wire (around 4-5 inches long) and tied it to the top of each broomstick.
I then tied the broomsticks to the floral wire I hung across my door’s window.
Finishing Touches
While my display looked a lot better, I still think it was missing something.
I ended up using my Cricut to make a sign by Craft Pixel Perfect, which I feel tied in well with the brooms.
I also added some extra hand drawn embellishments with a white chalk marker and stars to add some more pizazz.
And then I was done!
This project may not have turned out exactly as I had wanted it to, but I think I did a good job making the best of it!
If you would like to watch a video of me making of this project, follow at the following places:
Incidentally, you can also share your version of this project with me on there! Just use my tag @cozymagichome and use the tag #cozymagichome.
I can’t wait to see your version of this project!
Until next time!
Blessed Be!
Amrita