Even though the Autumn Equinox (aka Mabon or Witches Thanksgiving) is probably my favorite holiday, Halloween comes a close second.

It is also the season I can start to get a little too cozy. Burying myself in blankets and watching all the cozy mysteries and family friendly movies possible, reading all the books, baking and eating all the bakes… I basically get a little too comfortable with the sofa.
So, this Halloween season, I want to be a different. I want to get up and do things to encourage myself and my family to really embrace all this season has to offer.
And because I want to stuff as much whimsy and coziness as humanly possible in my home and life, I decided to kick October off with a huge (well, decently sized) Halloween Countdown calendar.
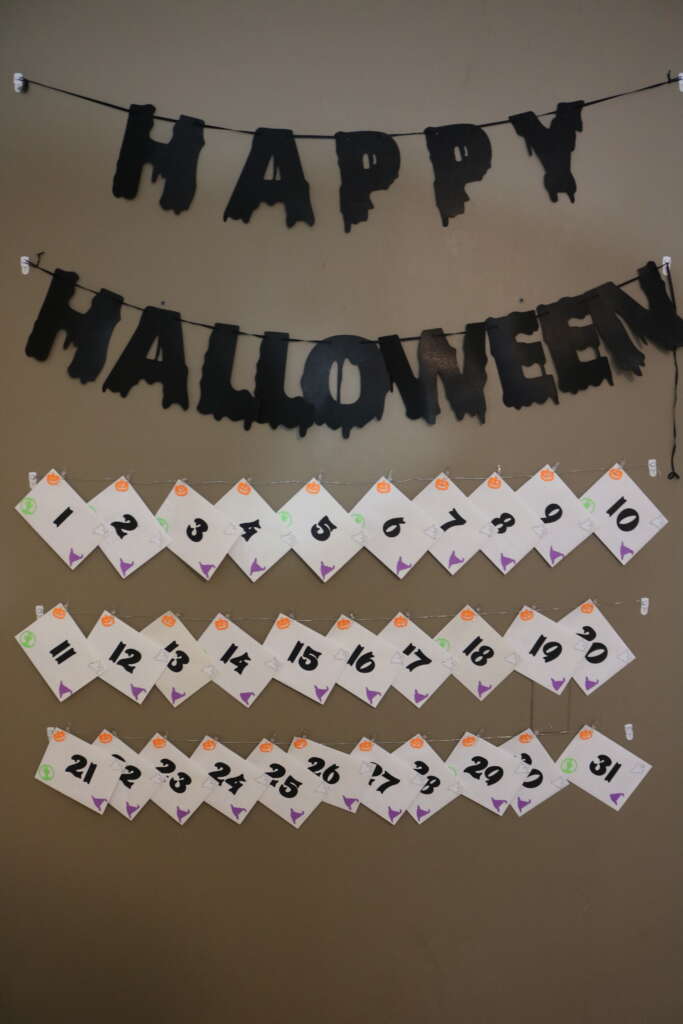
Very much inspired by the Advent calendars of my childhood, I made this calendar display in my kitchen.
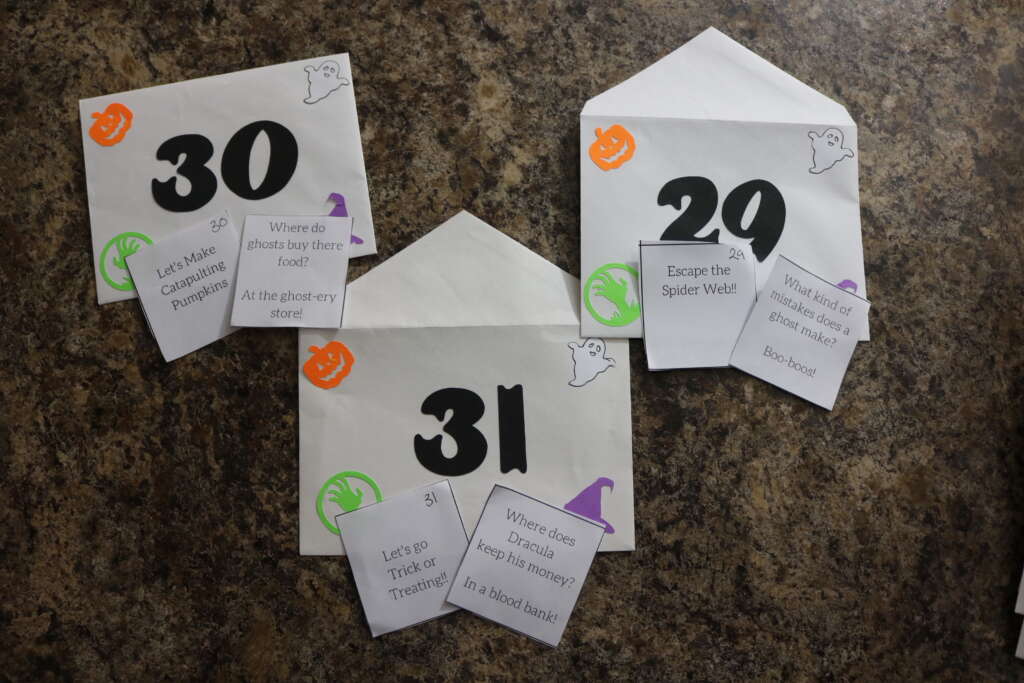
Each envelope gets to be opened by my daughter (because she is 4, and finds envelope opening fun), and has Halloween joke and a Halloween themed activity for the day. Some definitely involve eating snacks and watch movies. Some involve getting off the sofa and exploring our neighborhood.
Either way, I created this calendar to add some whimsy in our life, and I hope we find it does that!
I know I’ve published this project a little late for others to start it from the beginning of October, but you could definitely still make one!
Below is my the tutorial of how I made this project. I’ve also included a free downloadable PDF filled with the jokes and Halloween activities we will be including in our calendar. I hope you find it fun and useful!
Halloween Countdown Calendar
Prepping envelopes
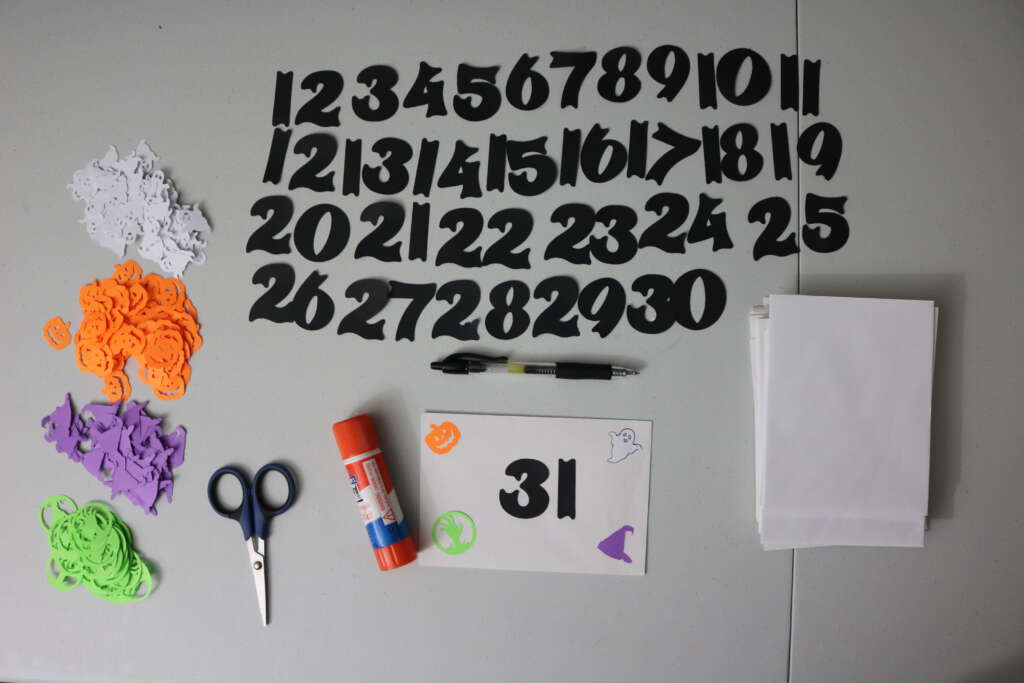
Items I used for this project
- 31 envelopes (all approximately the same size)
- Cricut Machine
- Blue Mat
- Light Cardstock (color of choice)
- Cricut Weeding Tool
- Glue Stick
- Halloween Activity Book
- Printer
- Scissors
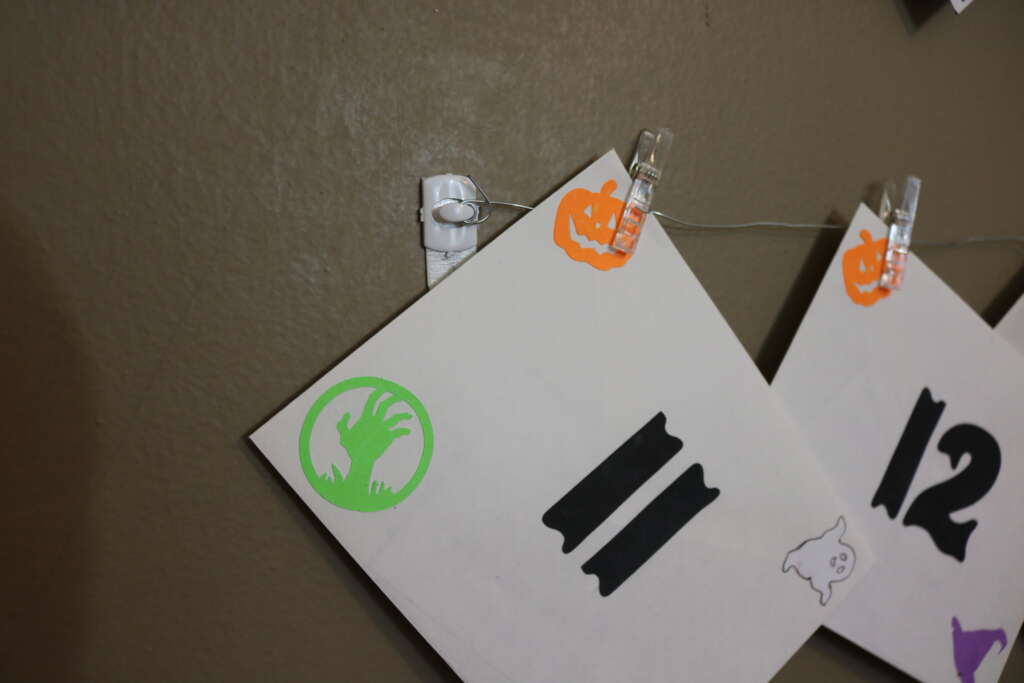
Label your envelopes. I used my Cricut to do this, but you can do this by hand, use cut outs etc.
I used the following fonts and elements from Cricut for this project:
Font: BFC
Smiling Ghost (white): Free/No designer attributed
Jack-o’-Lantern (orange): Heather Robert
Witches Hat (purple): J Chewy Designs
Zombie Hand (green): Free/No designer attributed
If you want to decorate your envelopes some more, now is the time to do it! Again I used my Cricut to cut out small shapes to glue on to the envelope. You could use googly eyes, stickers, doodles etc
Stuff the envelopes with whatever you want! I am placing a Halloween joke and an activity (joke and activity ideas can be downloaded here).
Sealing you envelope
Items I used for this project
- Broken/unused crayons
- Wax Seal
- Spoon
- Candle
To add a bit more whimsy, I tried to use a wax seal for my envelopes. I decided against buying the full kit, and figured it would be fine just to use broken crayons instead.
I was wrong.
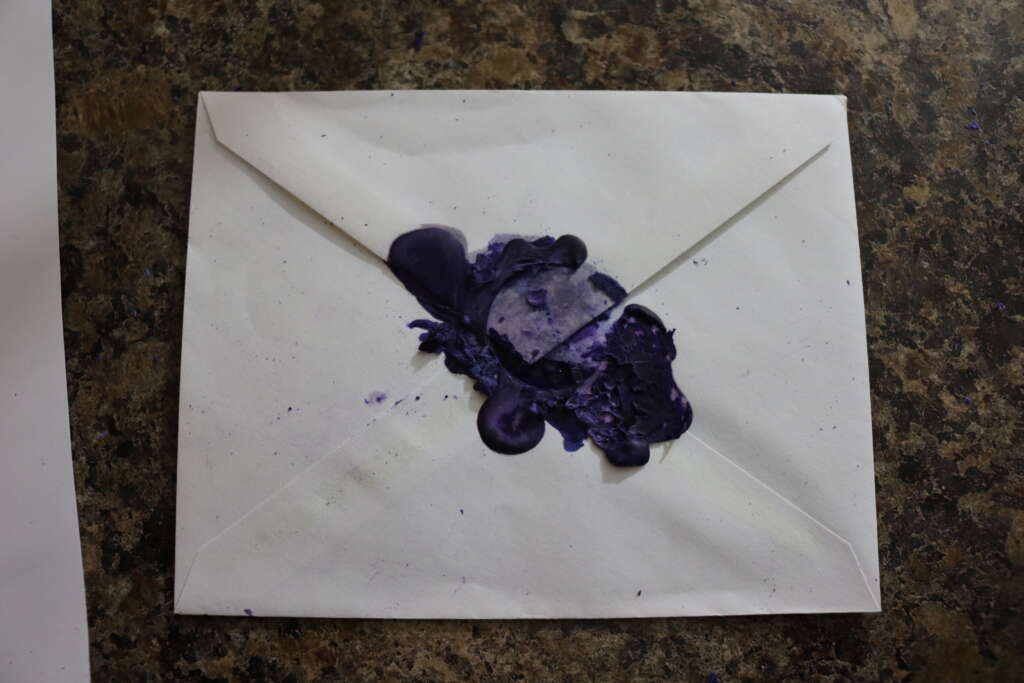
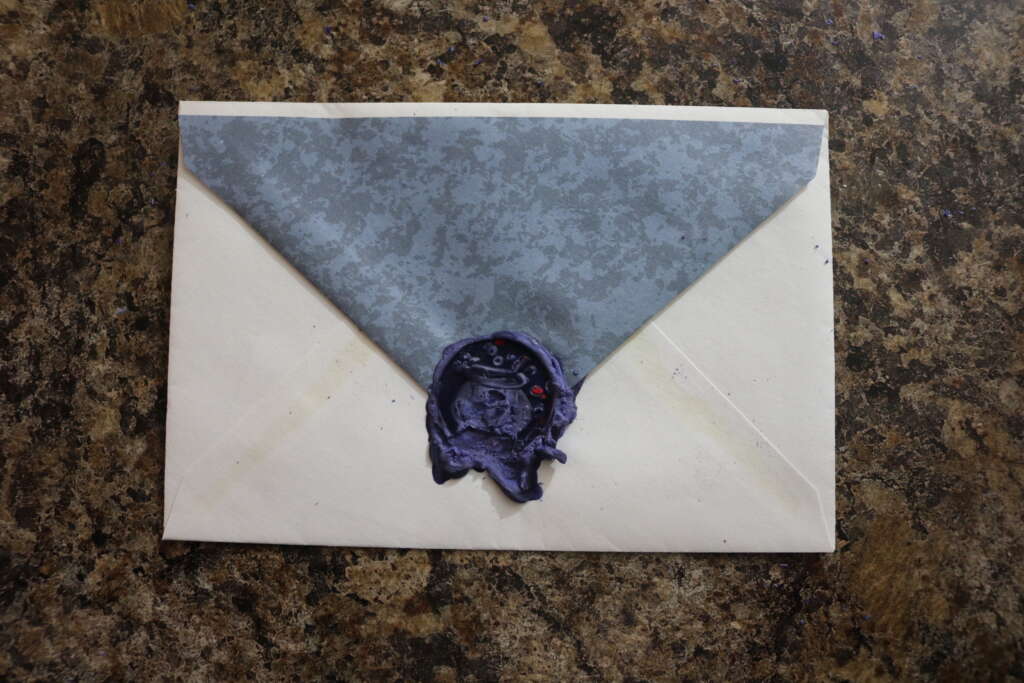
In the end, I just tucked the flap of the envelope, but I wish the wax sealing had worked out!
Hanging Up Envelopes
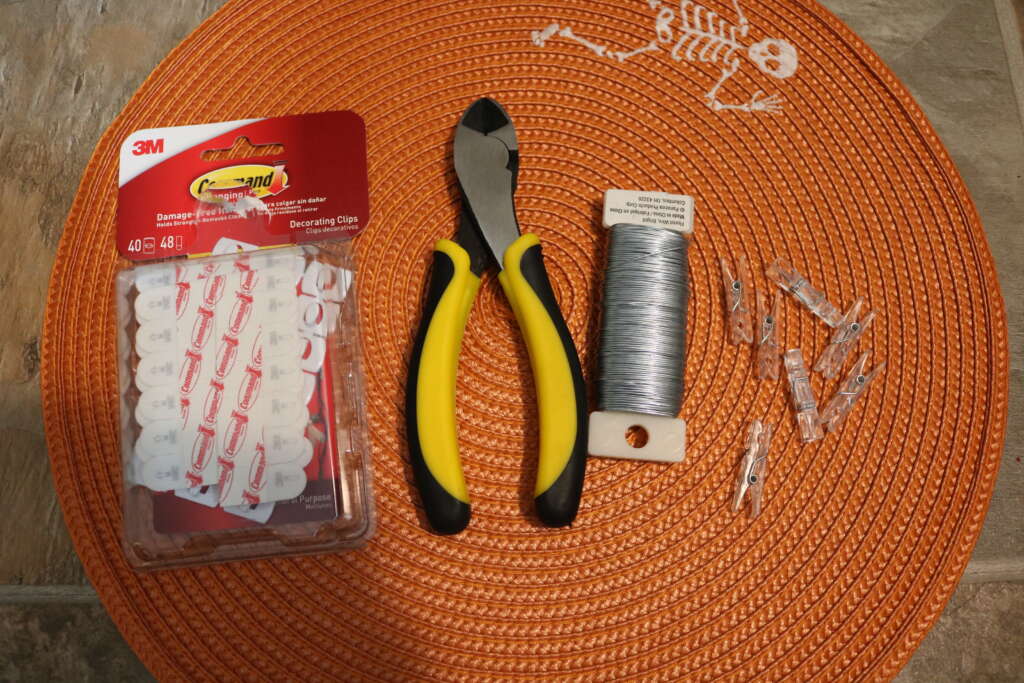
Items I used for this project
- Commands hooks
- Floral wire
- Wire cutters
- Mini clothes pins
- Halloween Banner
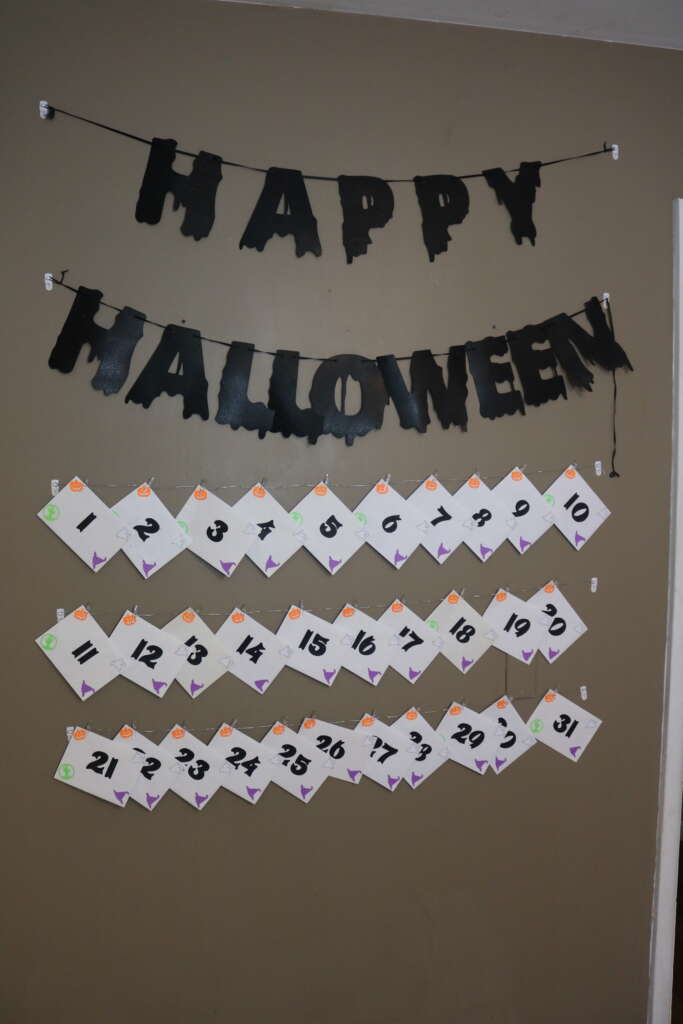
I put up around 10 envelopes per row, so I measure out floral wire long enough to hold 10 envelopes and cut it. Repeat this another 2 times, so you have 3 pieces of wire in total.
After placing command hooks at the appropriate places, I secured the wire so it was pulled taut between the hooks, and cut off the wire with a wire clipper.
I then placed the envelopes on the wire and secured with a mini clothes peg.
And ta-dah! My October/Halloween Countdown calendar is done!
If you would like to watch a video of this project, follow at the following places:
Incidentally, you can also share your version of this project with me on there! Just use my tag @cozymagichome and use the tag #cozymagichome.
I can’t wait to see your version of this project!
Until next time!
Blessed Be!
Amrita