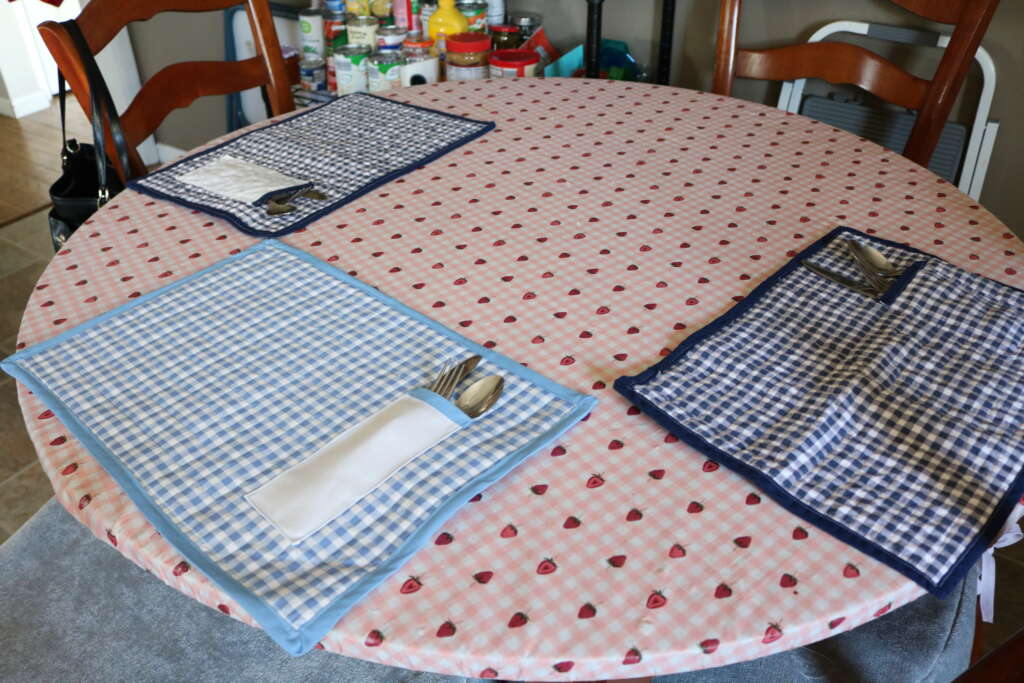
One of the chores my 5 year old loves doing is laying the table at mealtimes. She can lay the cutlery a little haphazardly though, so I decided to make these pocketed placemats to help guide her a little.
If you fancy making one too, here is how I did it!
Items Used
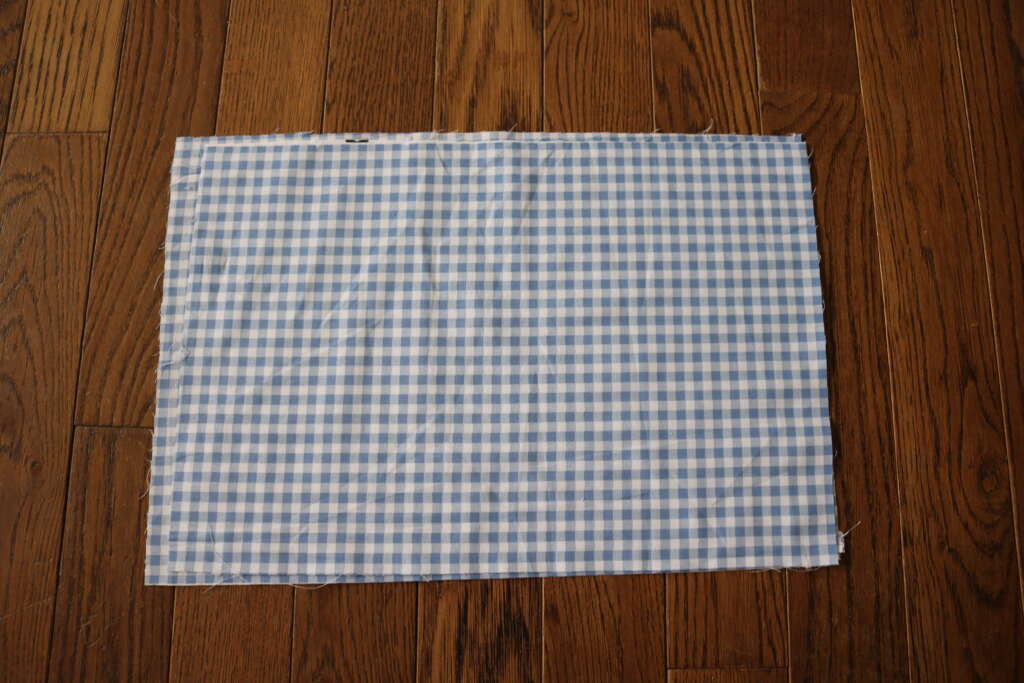
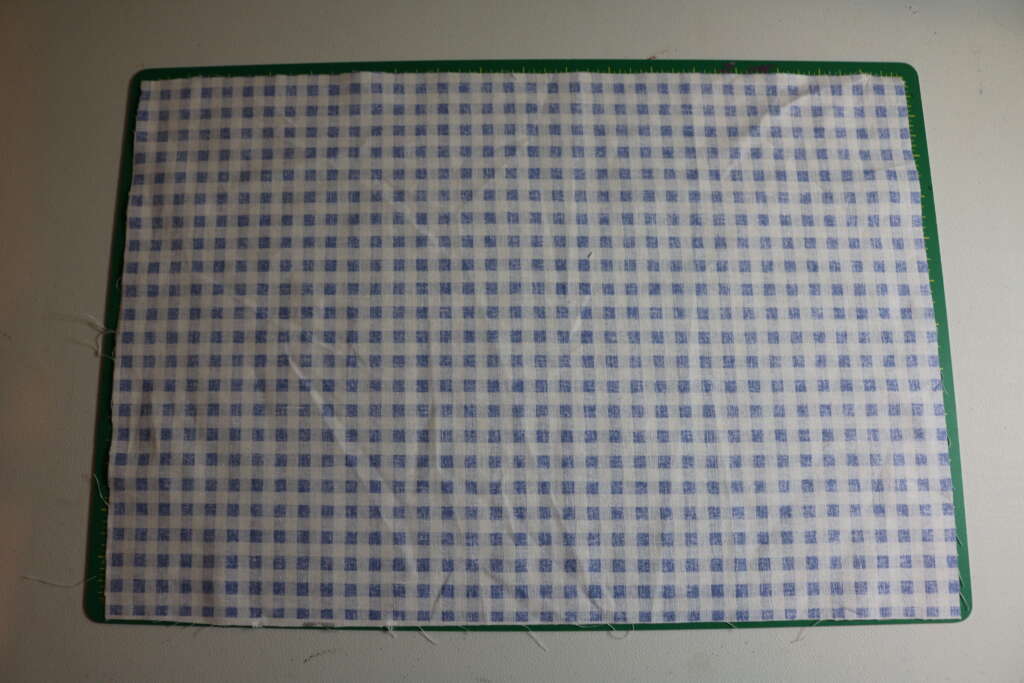
- 18in x 12in fabric x2 (I used quilting cotton)
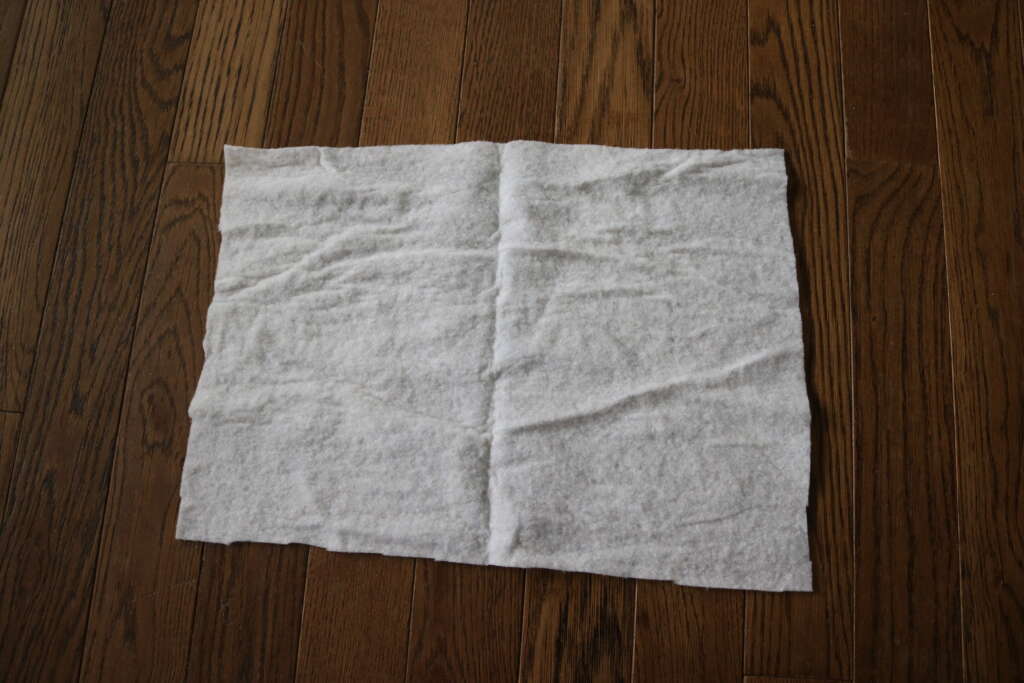
- 18in x 12in 80/20 batting x1
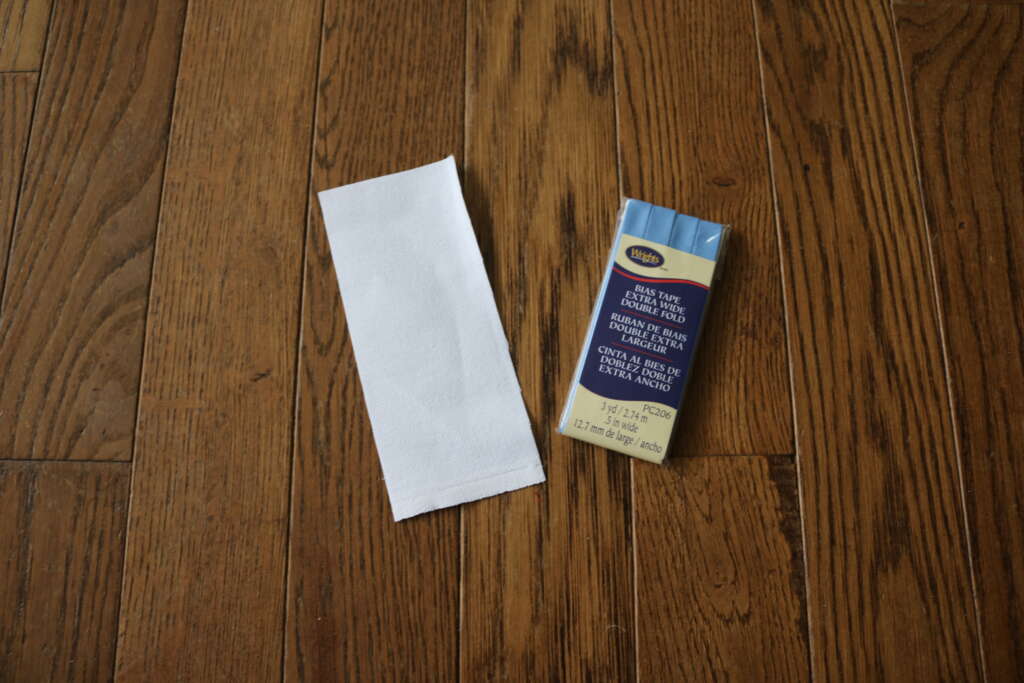
- 8in x 3.5 in pocket fabric x1 (I used duck canvas. Use contrasting fabric if desired)
- Bias Tape
- Scissors/rotary cutter
- Cutting mat/cutting surface
- Marking tool (I used a fabric pen)
- Pins/Clips
- Coordinating thread
Instructions
NOTE: If you would like to have this product to be microwave safe, ensure all the fabric, batting and notions for this project are 100% cotton.
Prepping the Fabric and Batting
Wash and iron fabric in accordance to manufacturers instructions
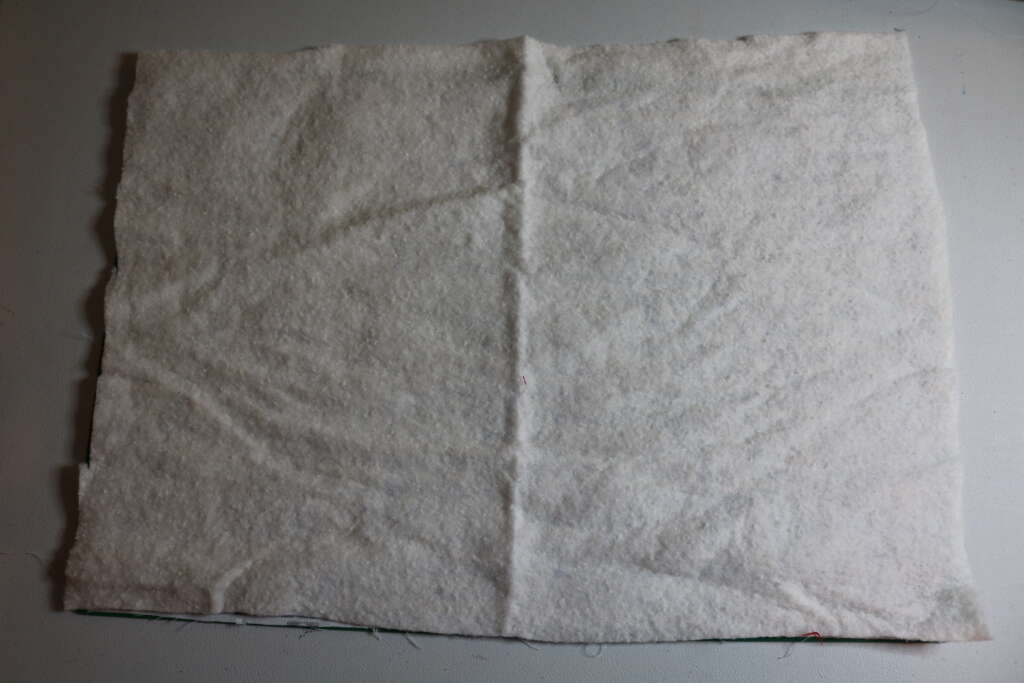
Prepare the batting in accordance to manufacturers instructions
Cut out the following pieces:
- 18in x 12in cotton canvas x2
- 18in x 12in 80/20 batting x1
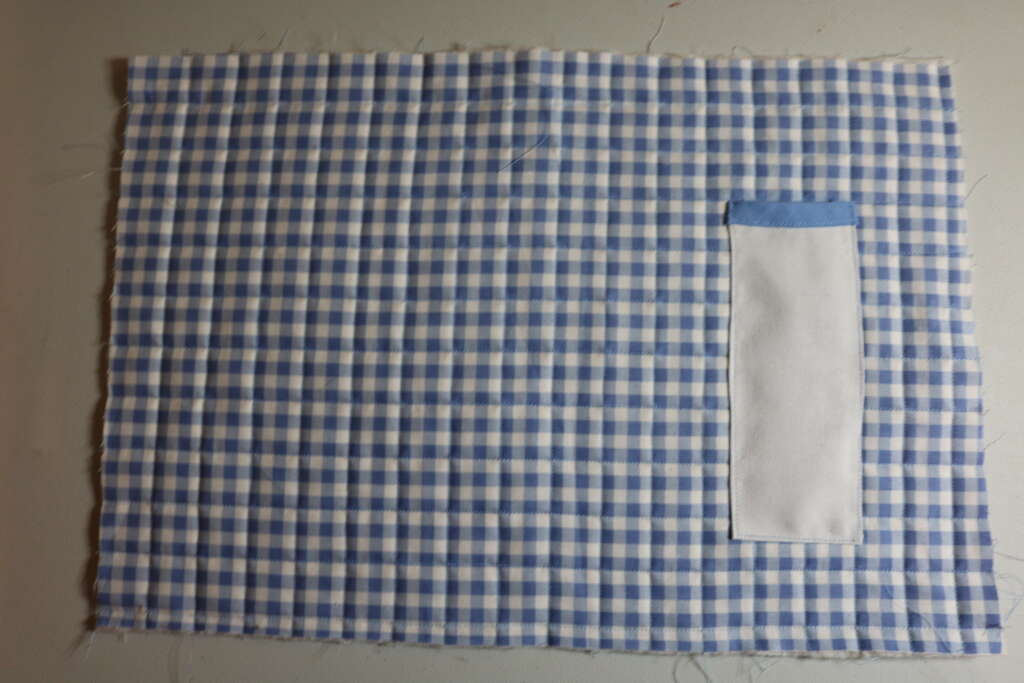
- 8in x 3.5 in cotton canvas x1
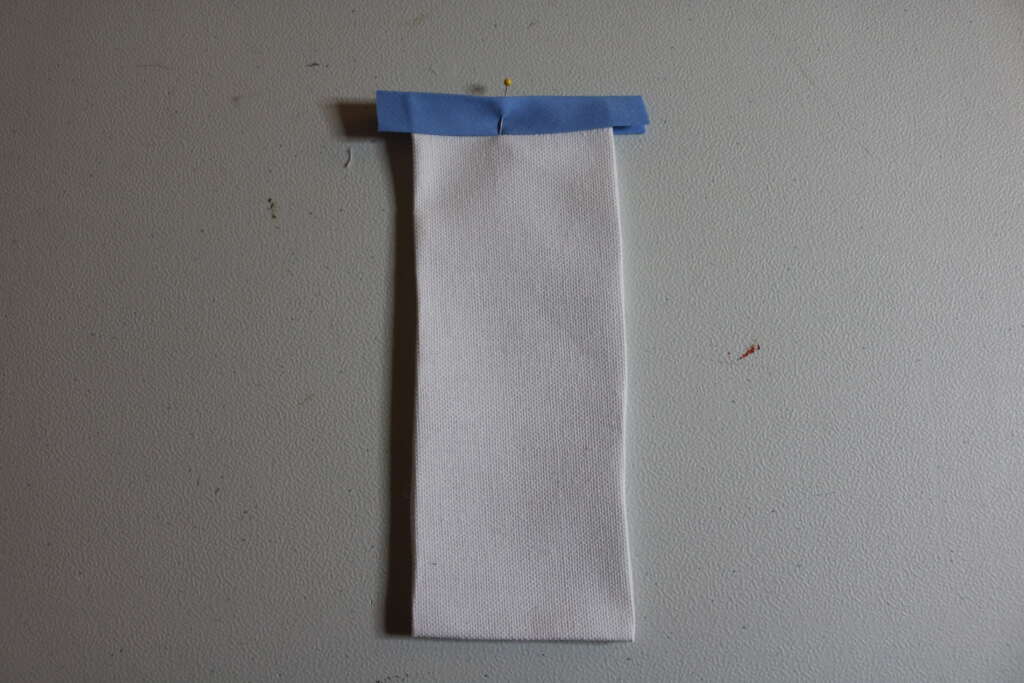
Preparing Pocket
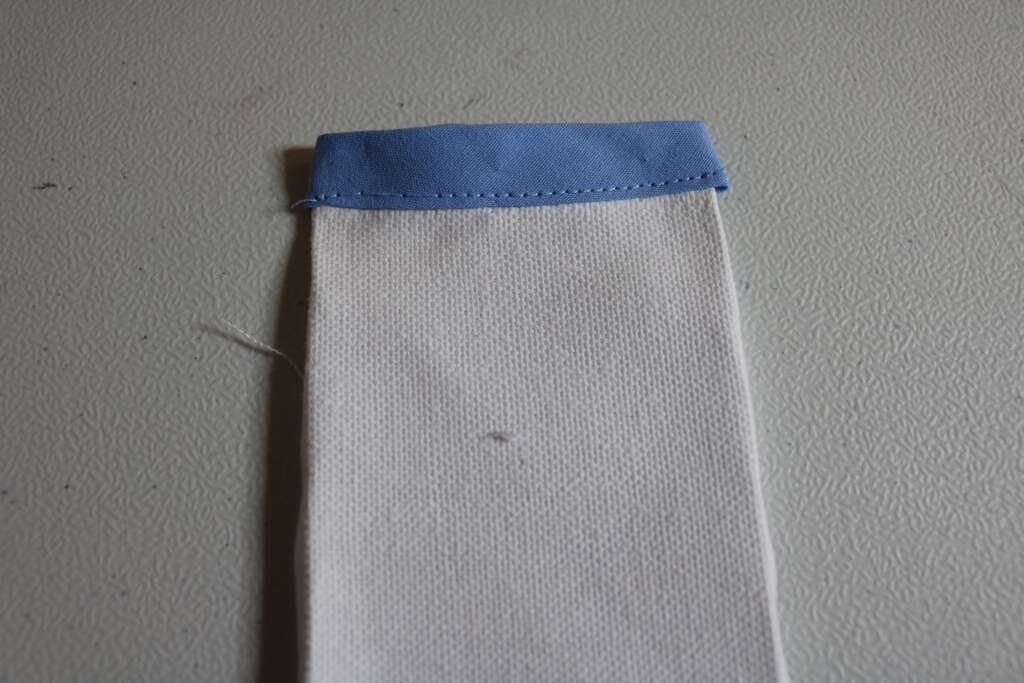
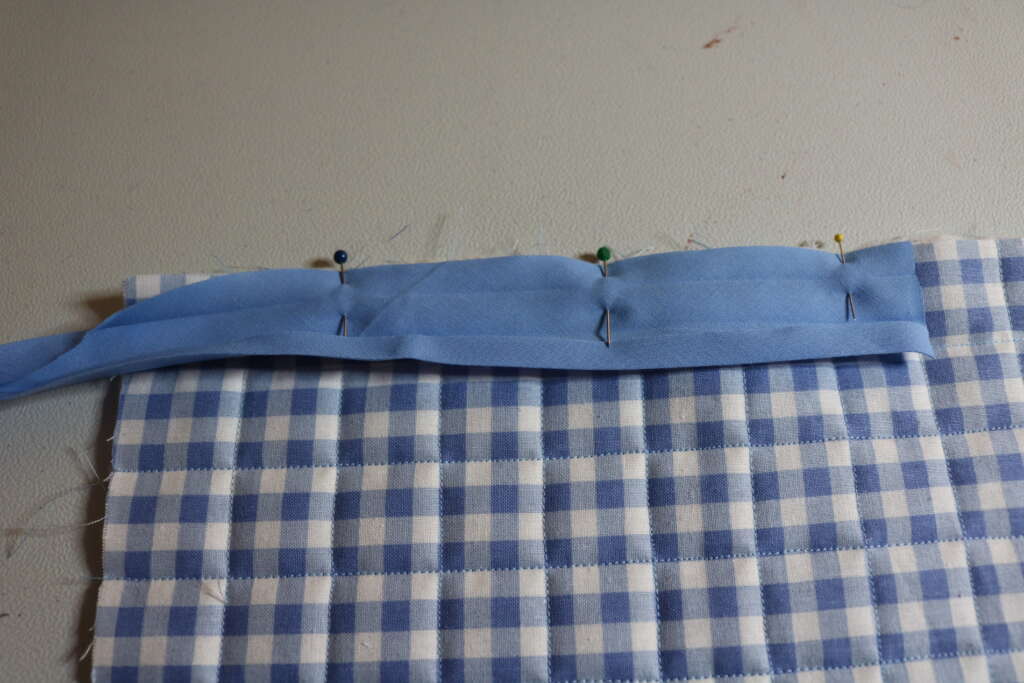
Press/finger press the two long edges and the bottom of the pocket towards the wrong side of the pocket by approximately 0.25in.
Place the bias tape over the top edge of the pocket, and pin in place.
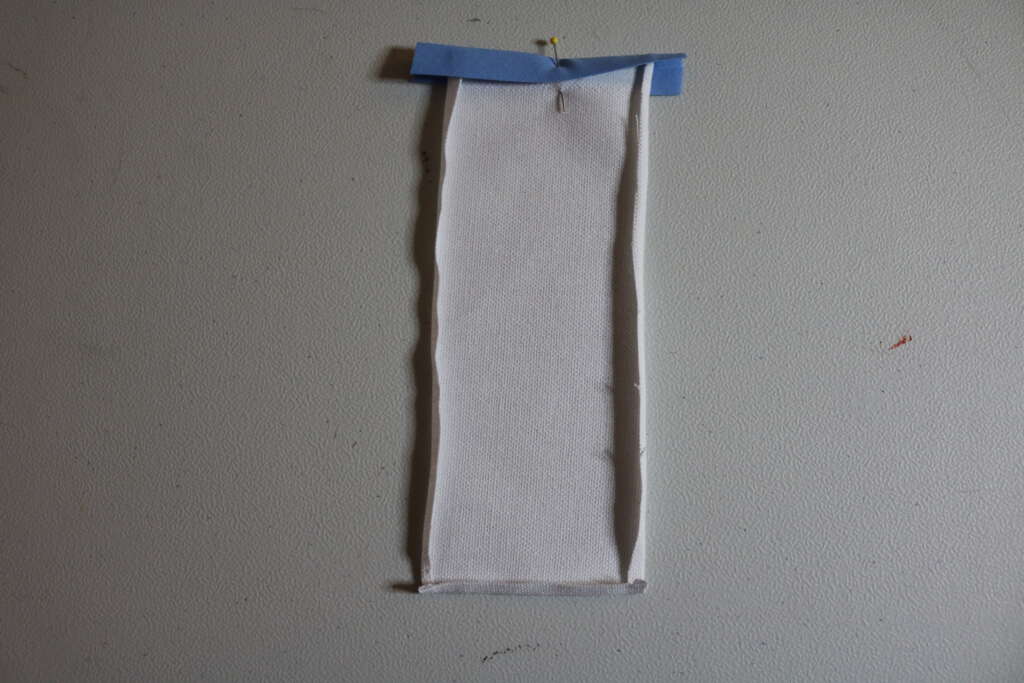
Though I forget to take a picture, fold the open shorter edges towards the wrong side of the pocket too. Sew closely towards the open edge as possible.
Assembling Main Body
Place one longer piece of cotton with wrong side up
Place the batting on top of this
Place another piece of cotton on top with the right side up

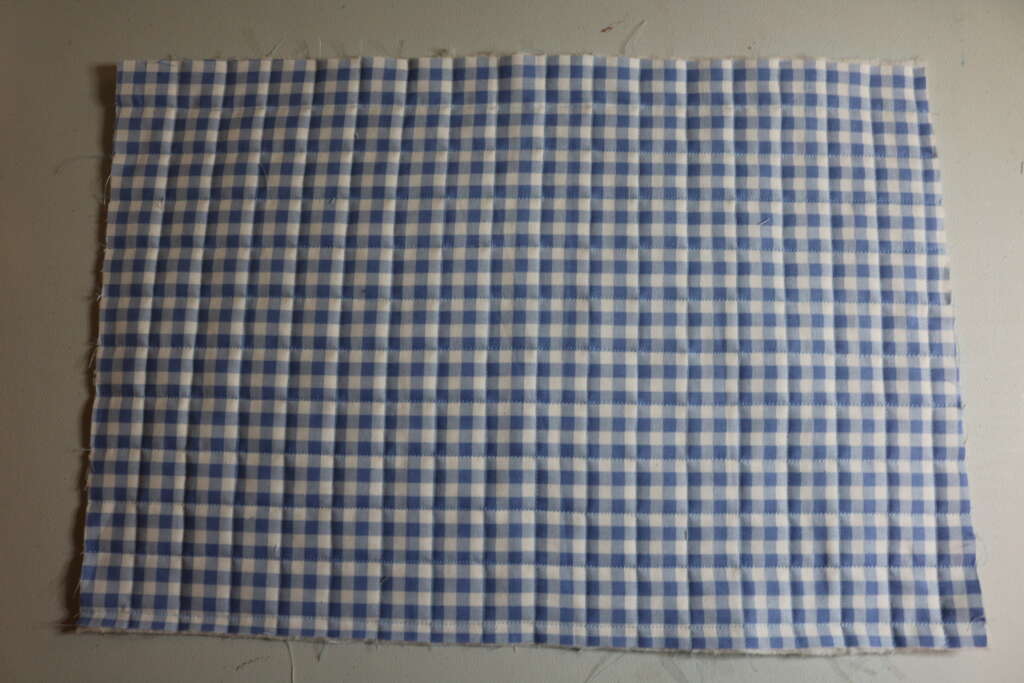
Pin in the main body of placemat to keep layers in place, and trim so all layers are the same size.

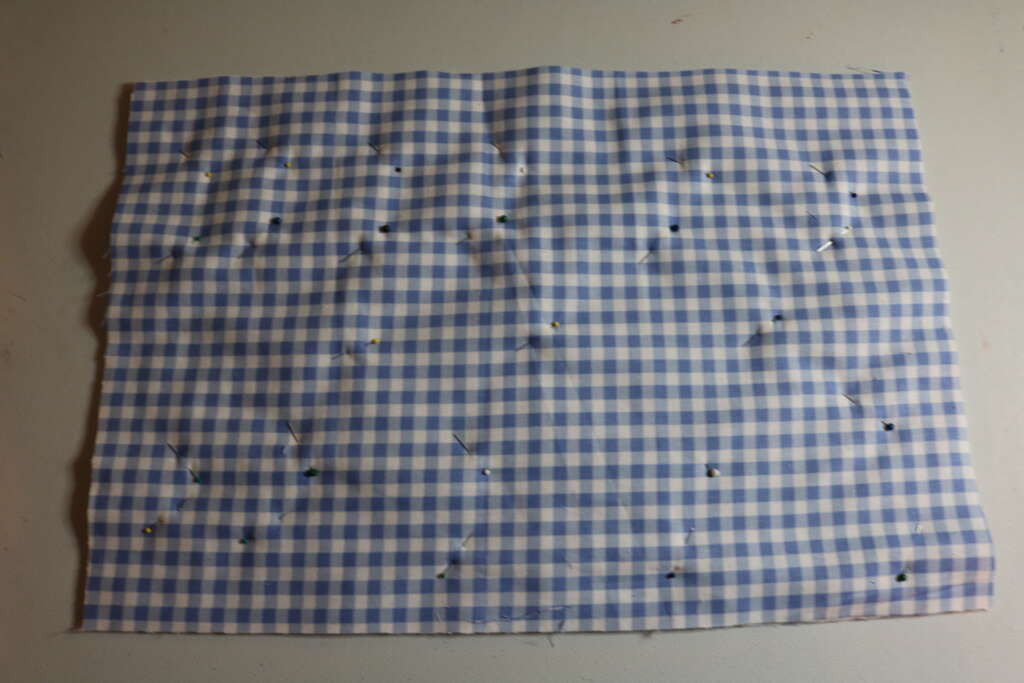
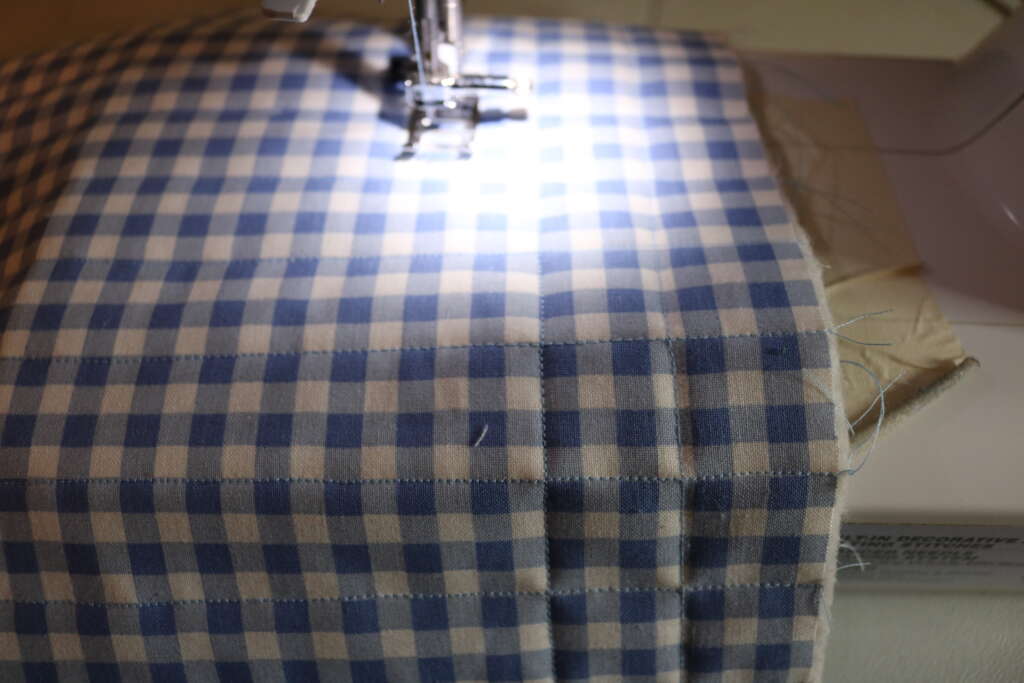
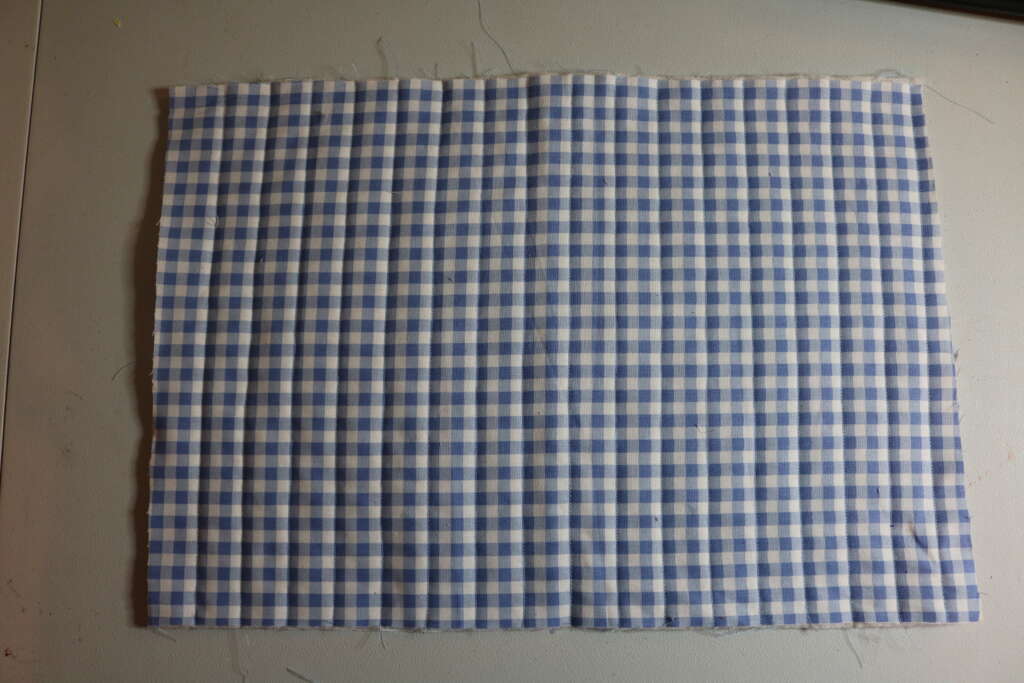
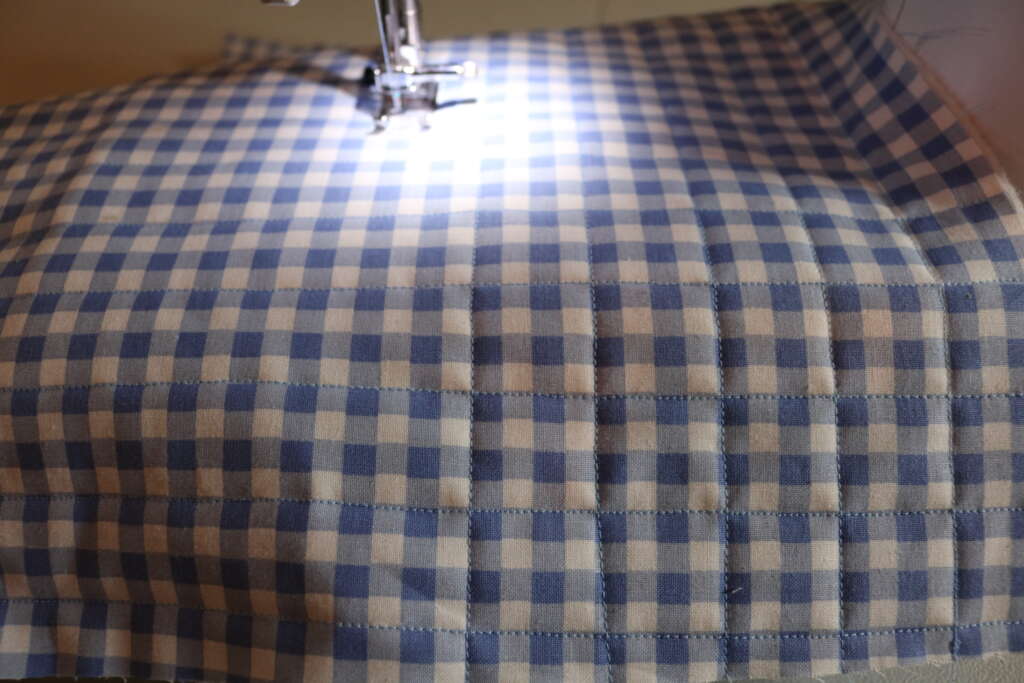
(optional step) Using a fabric marker of choice, draw a grid/desired pattern, and sew over the lines (I used the pattern on the fabric as my quilting guide).
Attaching Pocket
NOTE: Things to take into consideration for your pocket placement:
- If the main person using this is right/left handed.
- Pattern matching
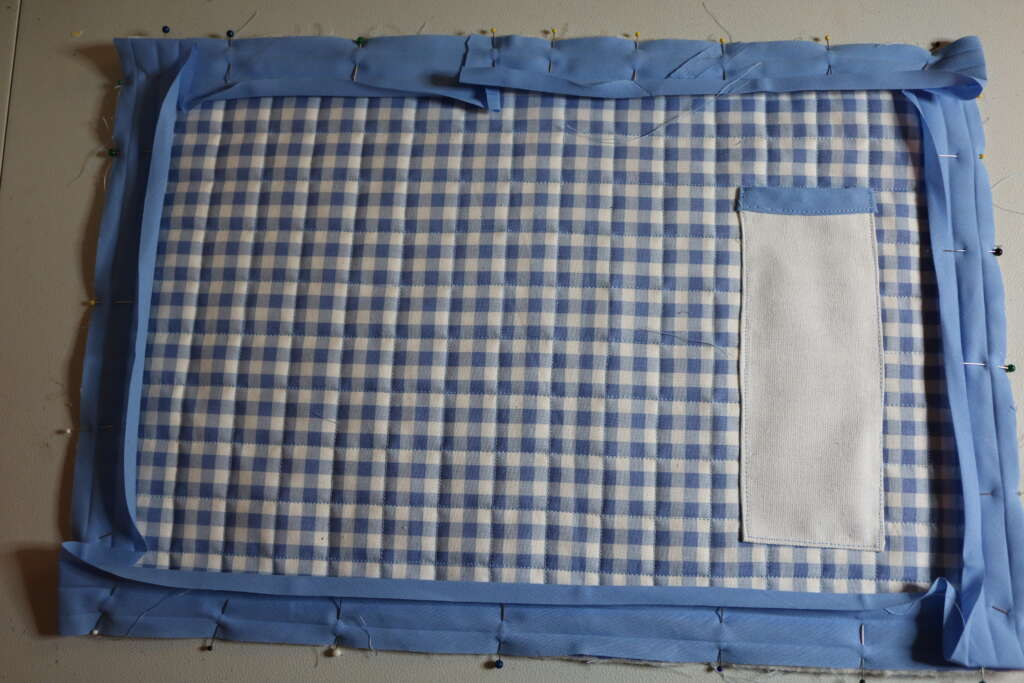
I placed my pockets on the right side of the placemat, 2 inches from the bottom, and 2 inches from side.
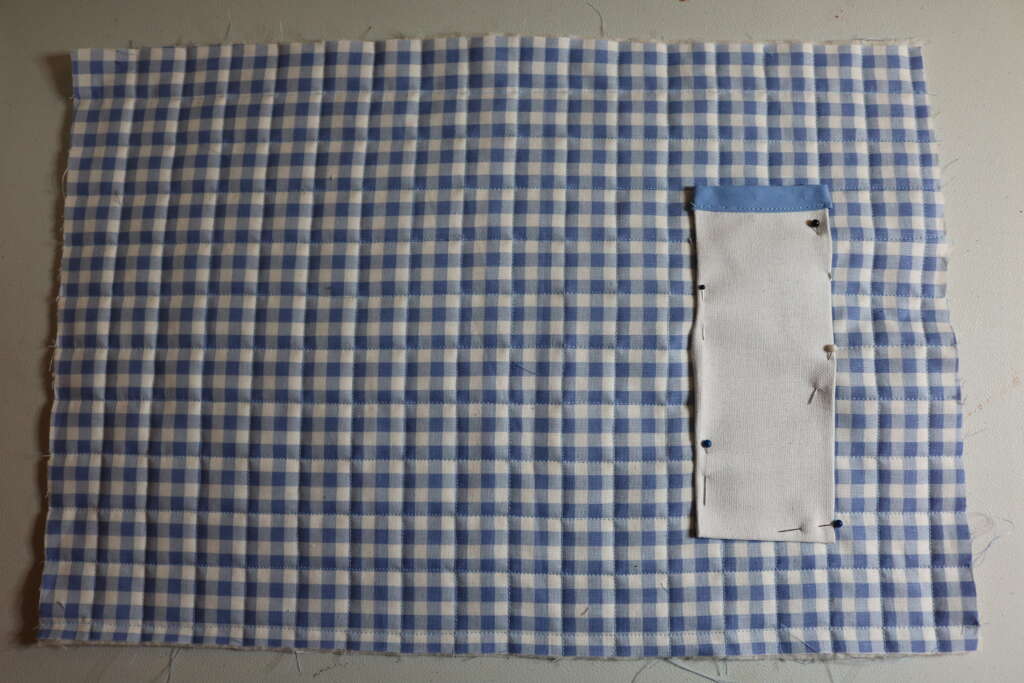
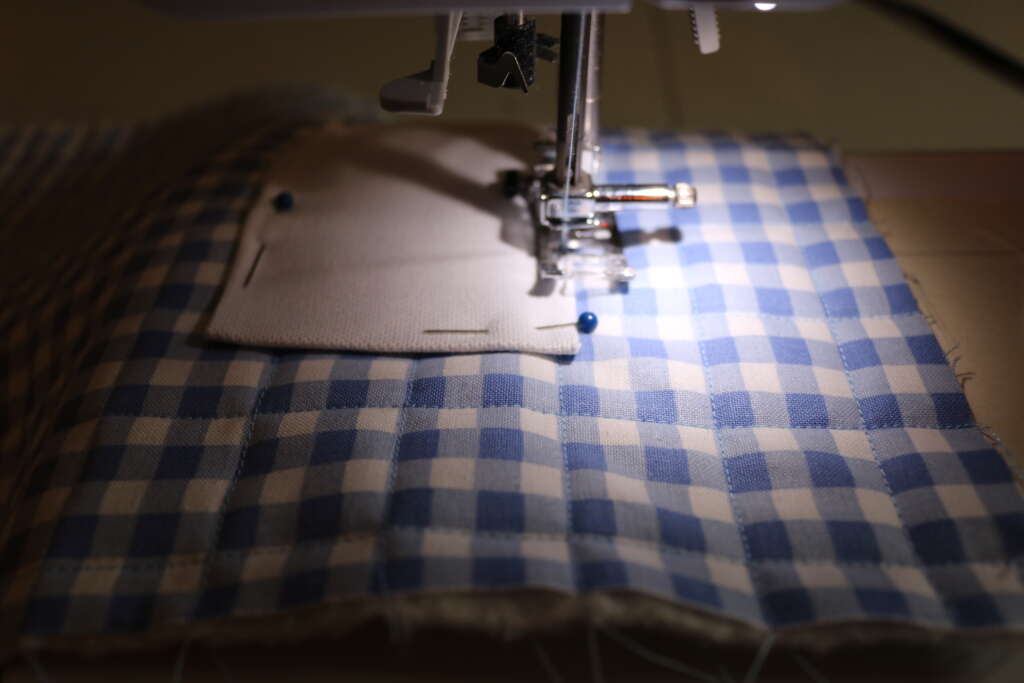
Once happy with pocket placement, pin in place.
Sew as close to the edge as possible..
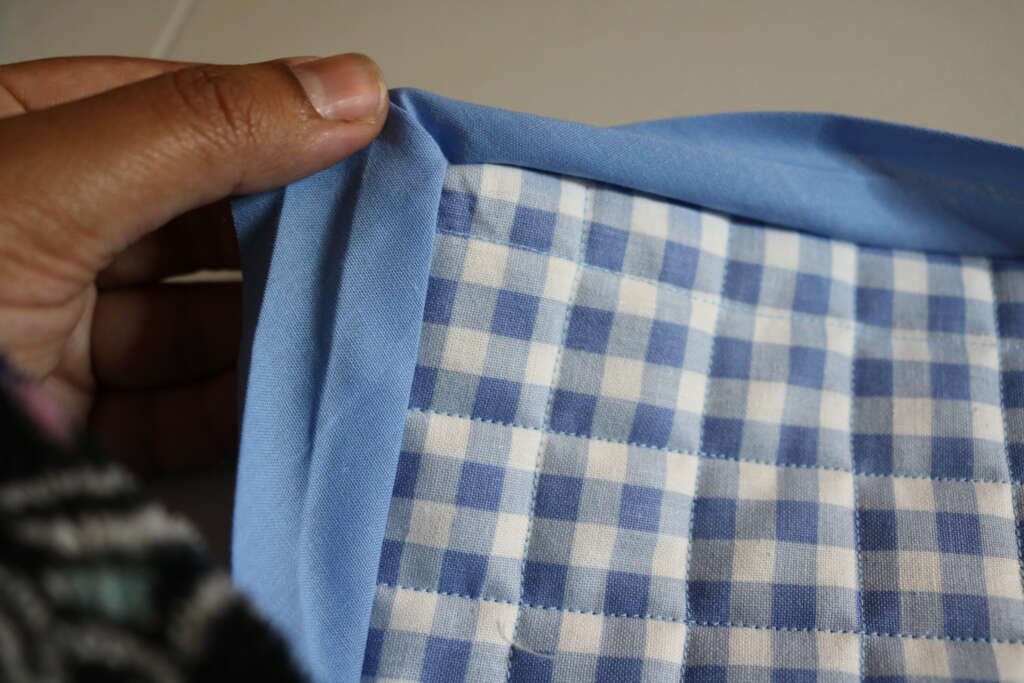
Attaching Bias Tape
Open up the double fold bias tape, and pin so the raw edges of the bias tape and placemat are aligned. Fold the raw end of the bias tape to neaten the look.
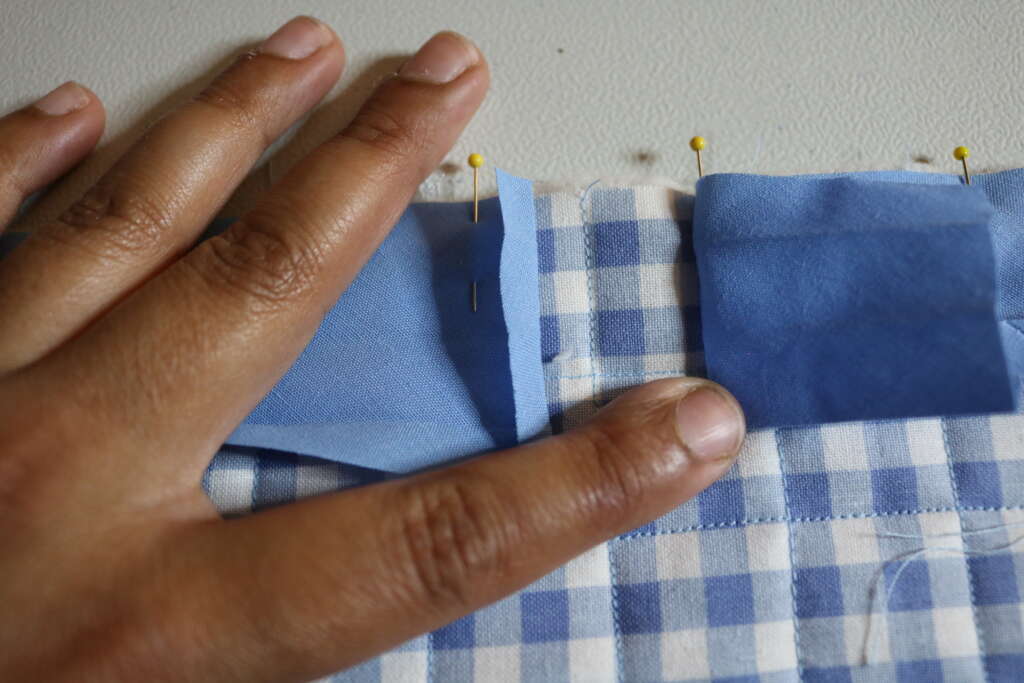
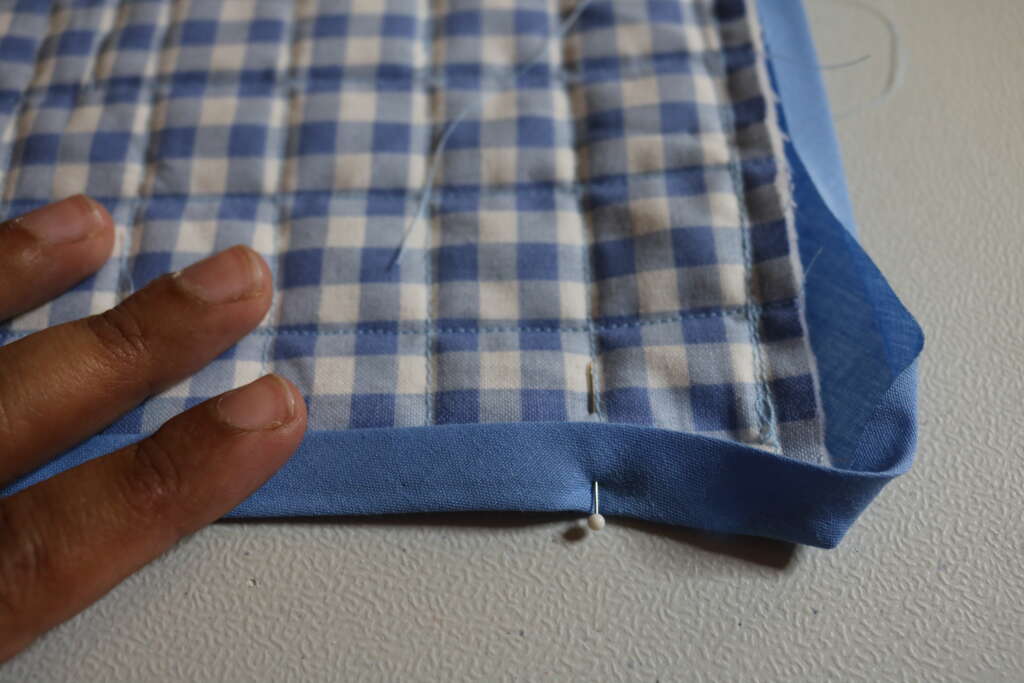
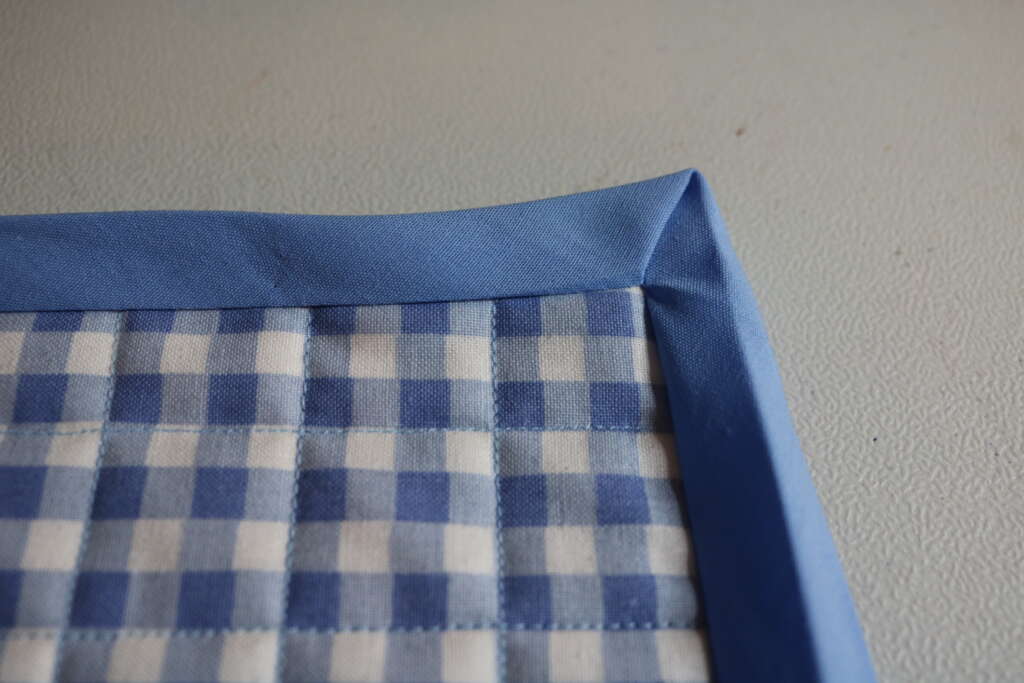
When applying bias tape to corners, lift the bias tape up, as shown below.
Then bring the bias tape down, so there is a flap left. Then pin in place.
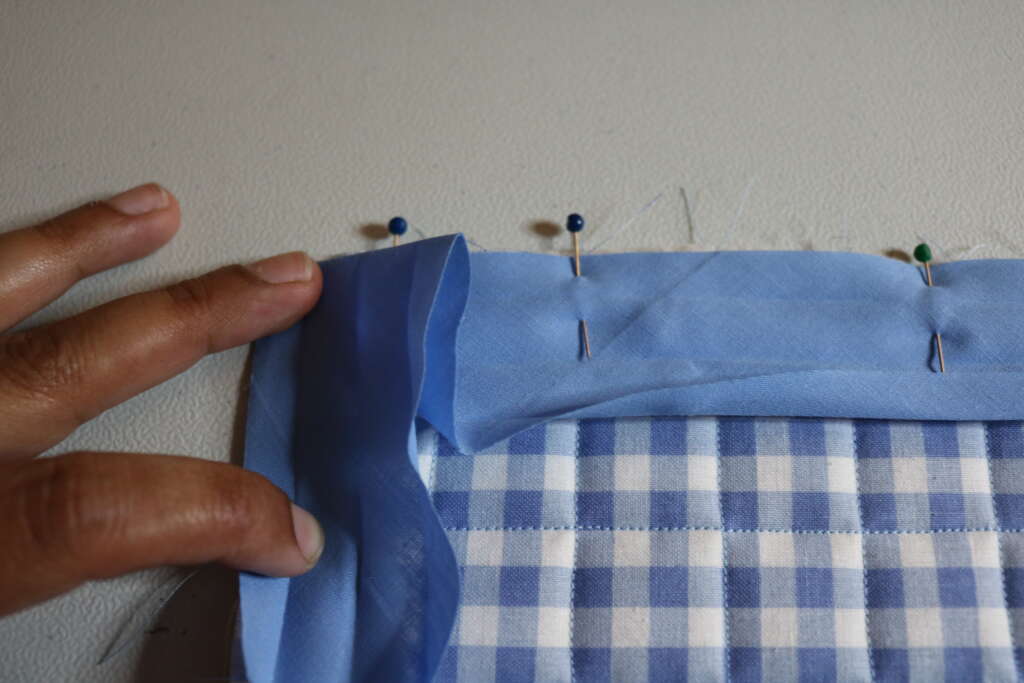
Repeat for all corners.
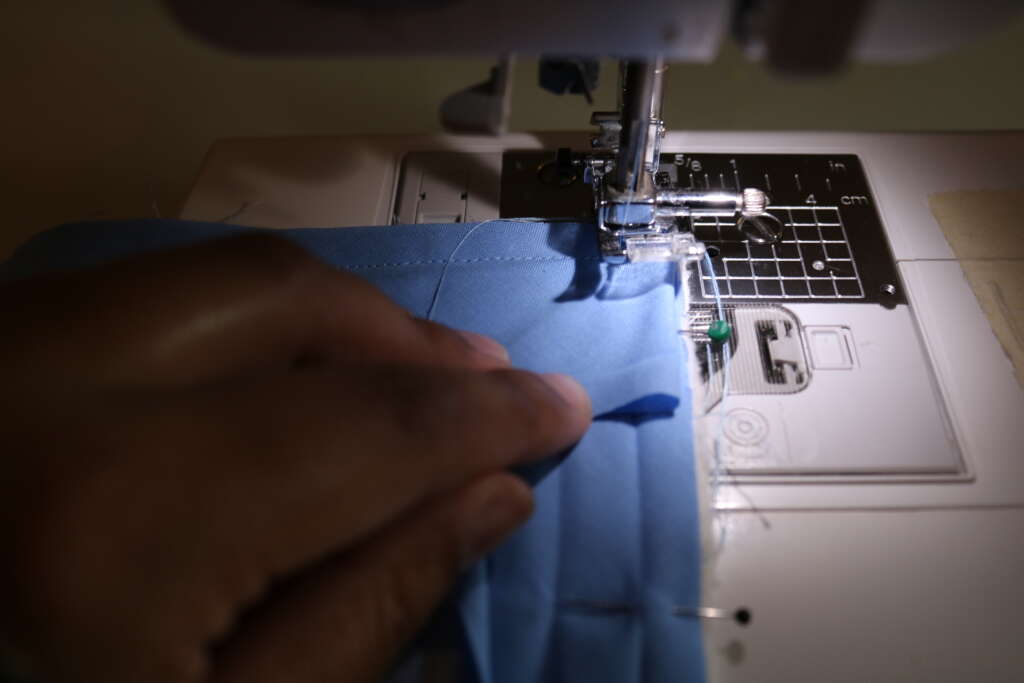
Sew at the crease of the bias tape.
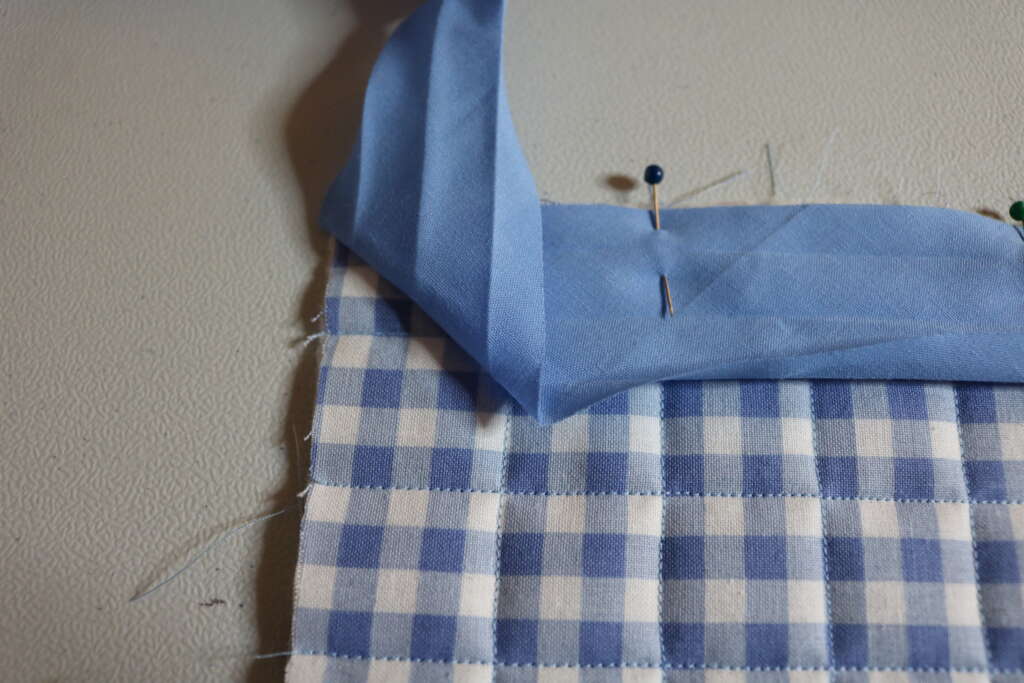
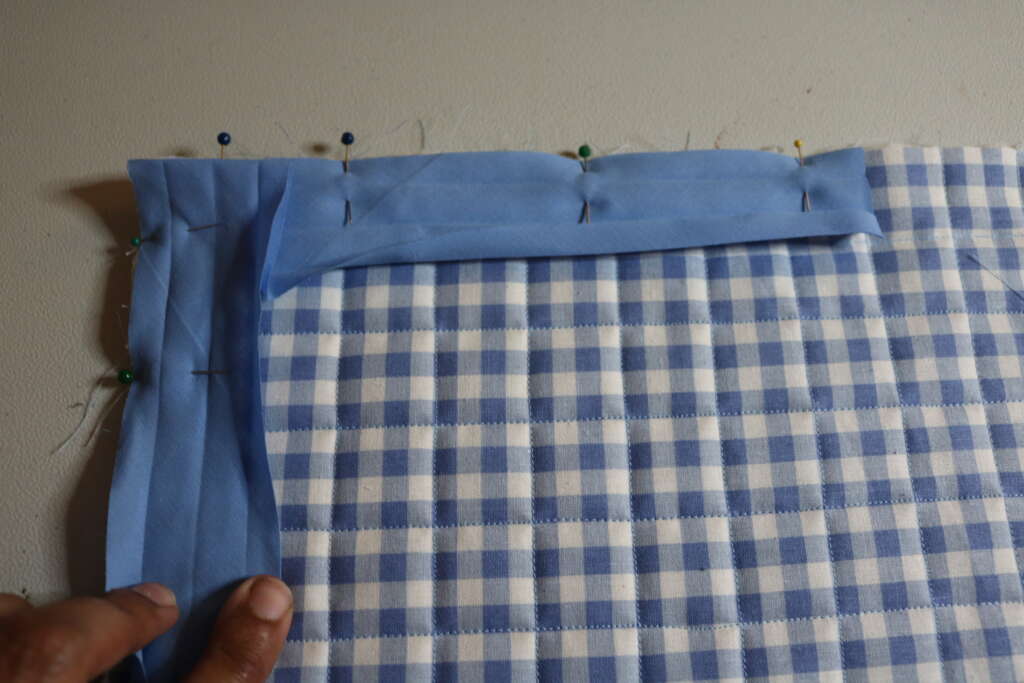
When approaching a corner, lift the presser foot up, turn your fabric, and move the flap as shown below:

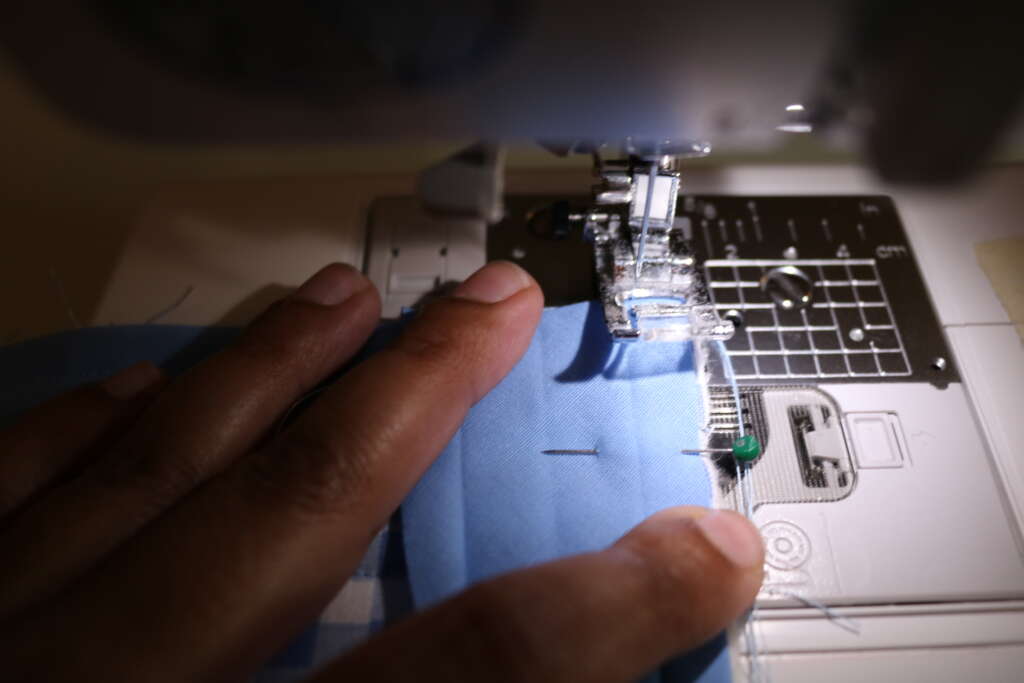
Neaten up so all edges are appropriately aligned before starting to sew again.
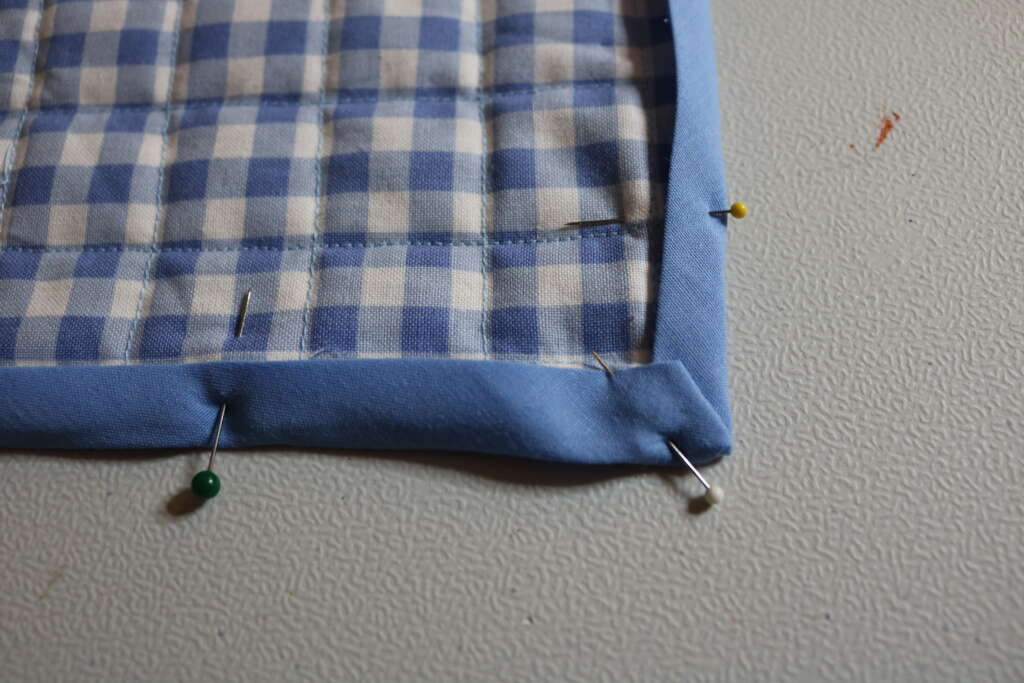
Repeat above instructions for all corners.
When getting to back to the original start point, make sure the end of the bias tape will be overlapped by the folded end of bias tape.
Fold bias tape towards the back of the placemat, and pin in place. You may need to play around with the corners to neaten them up.
Pin in place, and sew as close to the open edge as possible.
Congratulations! You’ve just a pocketed placemat!

If you enjoyed this project, consider checking out my post on how to make fitted tablecloths. It’ll help keep make meal time messes a little easier to clean and protect your dining table!
Are you planning on making this? I would love to see your spin on it. You can email me at [email protected] or find me on Facebook, Instagram, TikTok or YouTube. Use hashtag #cozymagichome so I can find you easily!
Until next time, I hope the coziest, magical day.
Blessed Be,
Amrita
xo