Sew Your Own Tote Bag
Personally, I like using a tote bag instead of a handbag/purse for everyday use. If I’m going somewhere where I need to carry a traditional handbag, I like being able to tuck in a tote bag, just in case I accidentally fall into a fabric store and end up bringing stuff home (it happens)!
So today, decided to use some of my fabric stash and make it one today. It is based off the design of my favorite tote bag, and I think this would be a good project for an experienced beginner.
I wanted to something that was a little sturdier, so I have used duck canvas cotton for this project. You could probably use quilting cotton, though it won’t hold the shape as well. I imagine an old, sturdy curtain would work well too.
This bag is versatile. You could use it as your emergency shopping bag, use it for storage, or even use it for Trick or Treating.
It’s a simple, unlined bag take can be made in under an hour.
Happy Sewing!!
Items I used for this project
Iron
Ironing Surface
Scissors
Sewing Machine
Coordinating Thread
Washable Fabric Marker
Seam Gauge Ruler
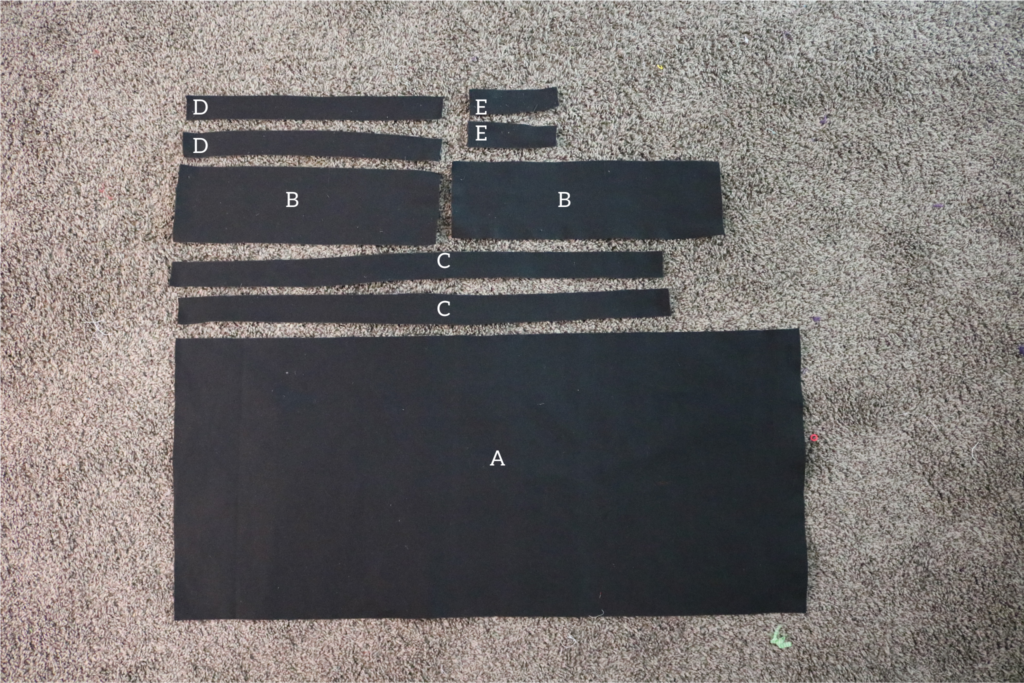
Fabric (Cotton Duck Canvas)
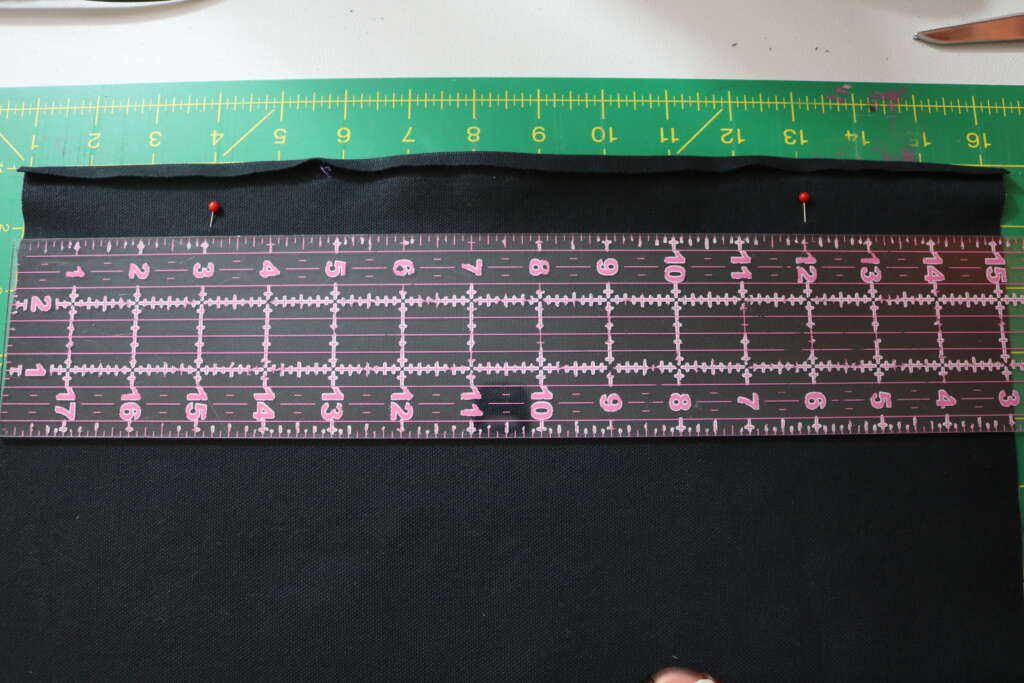
- (a) Main body of bag 15 inch by 33 inch
- (b) Side panels of bag 4.5in by 15 in (x2)
- (c) Handles 4in by 27 in (x2) (cut incorrectly in picture)
- (d) Main body upper raw edge cover 1.5in by 15 in (x2)
- (e) Side panel upper raw edge cover 1.5 in by 5 in (x2)
Optional Items
Iron on Adhesive
Fabric for appliqué
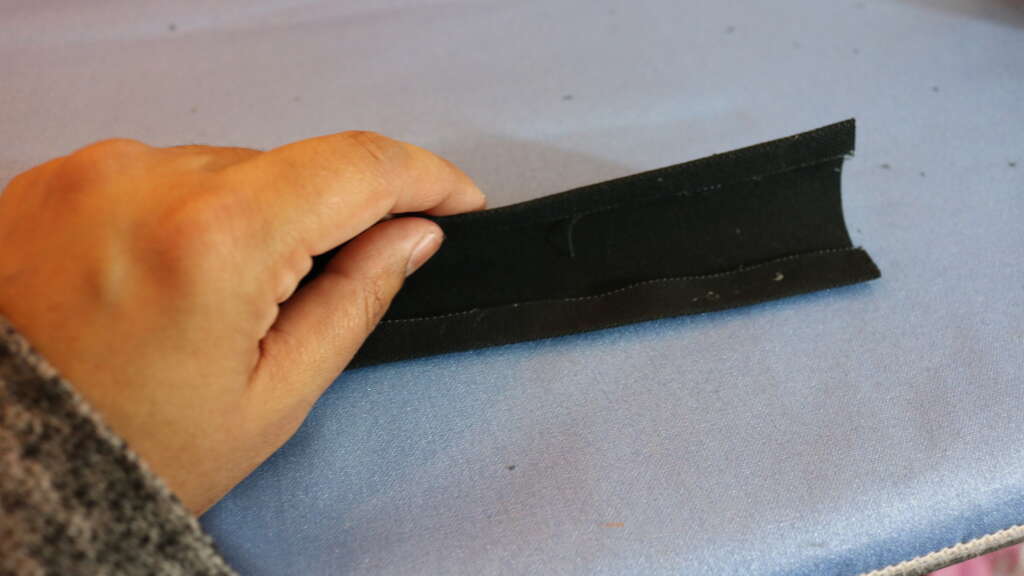
Preparing Raw Edge Covers
- Press a 0.25in fold on the longer sides of the fabric, with the folds facing the inside of the fabric
- Repeat for the other 3 cover pieces
- Set aside.
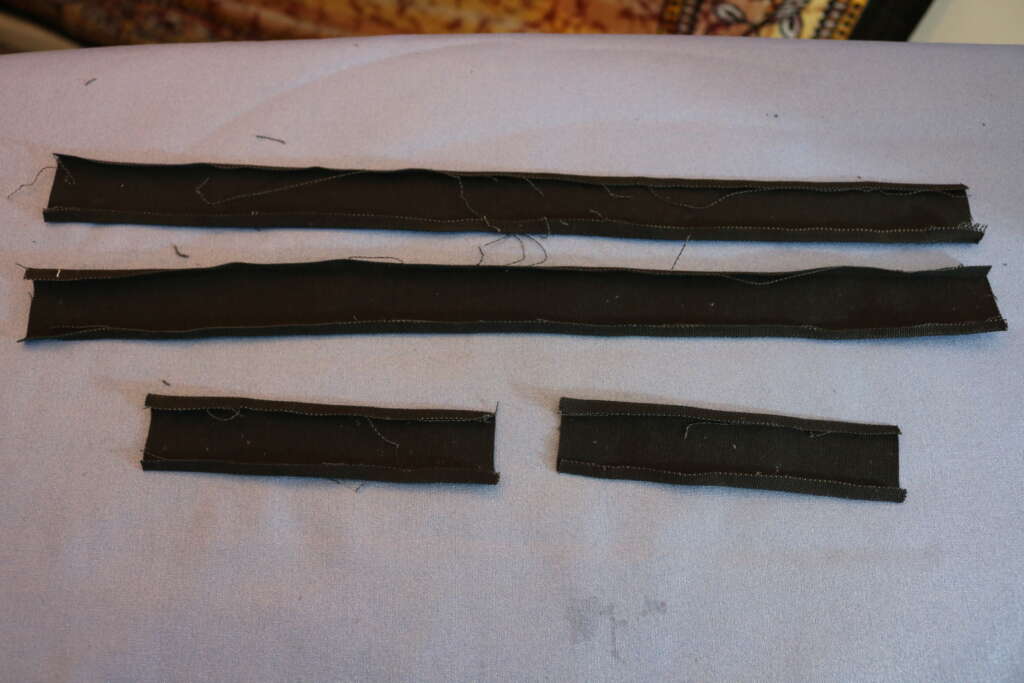
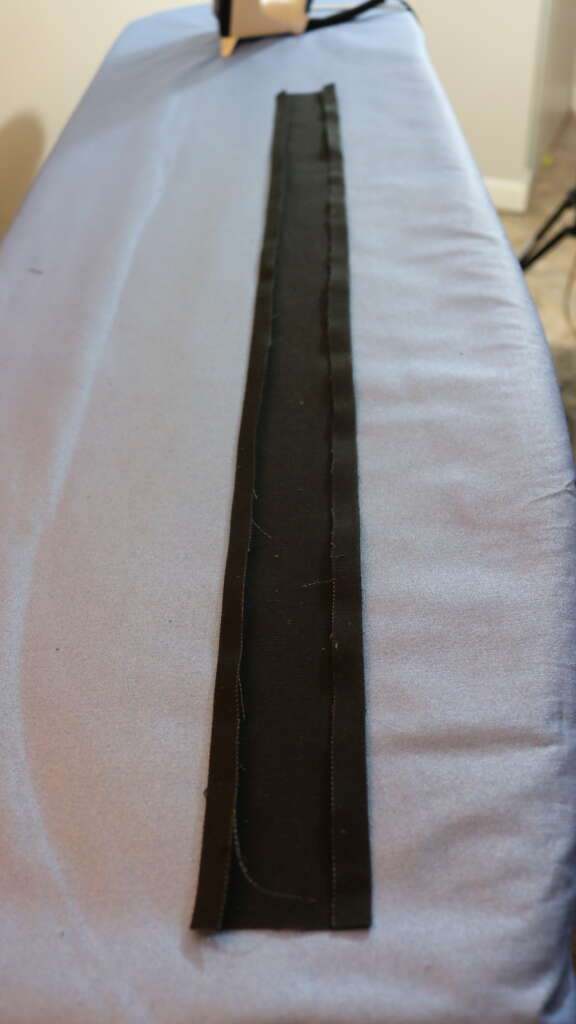
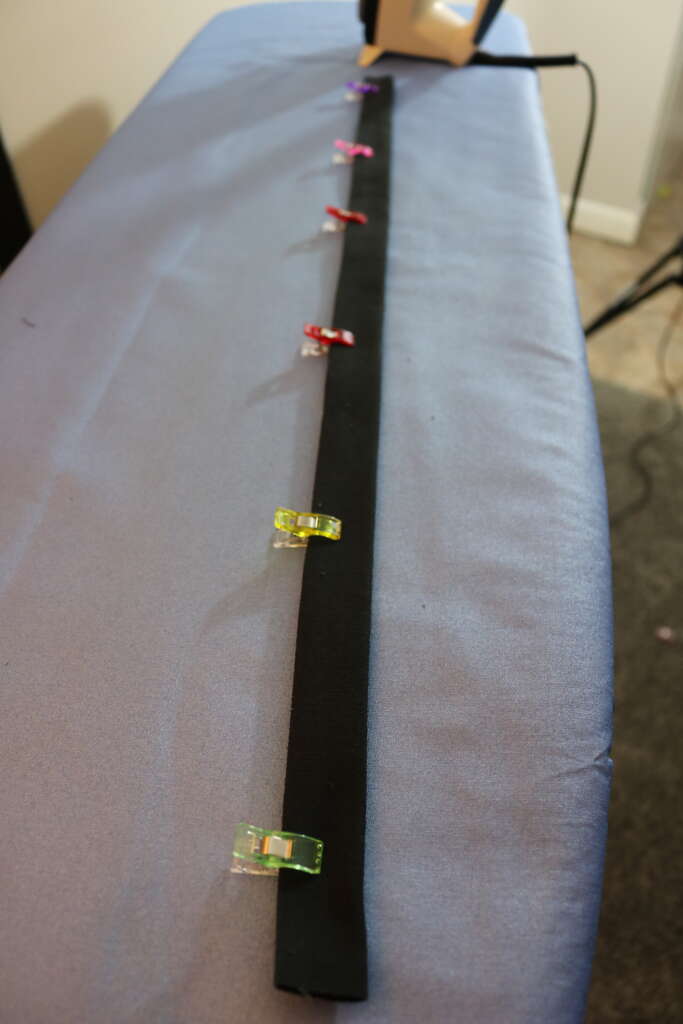
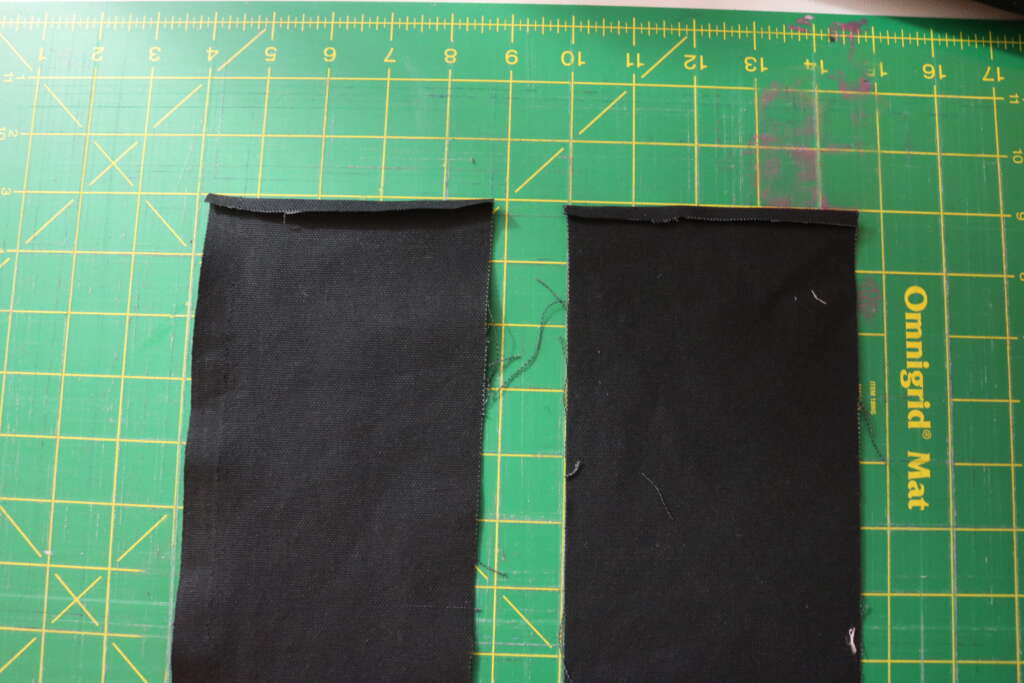
Making Handles
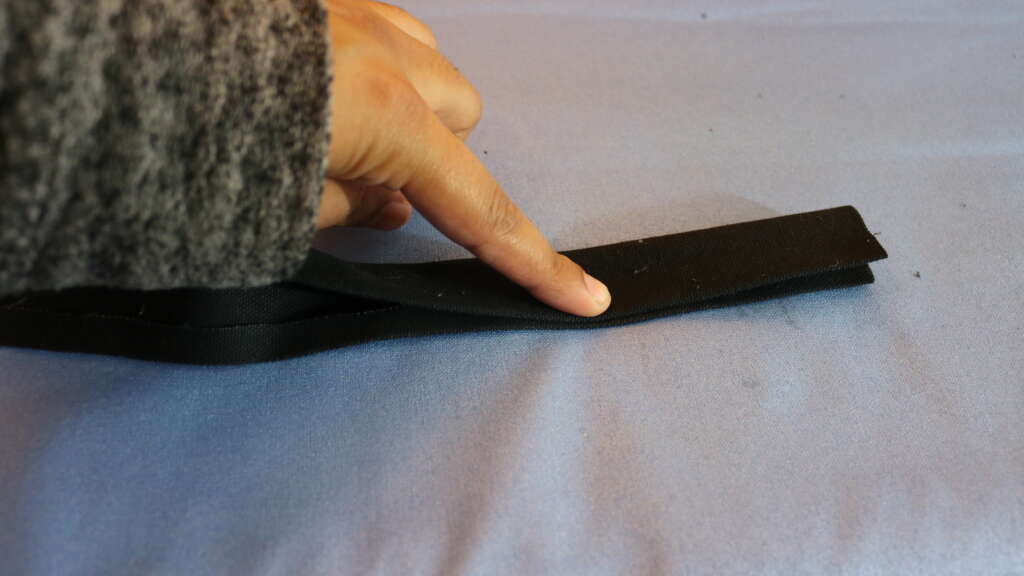
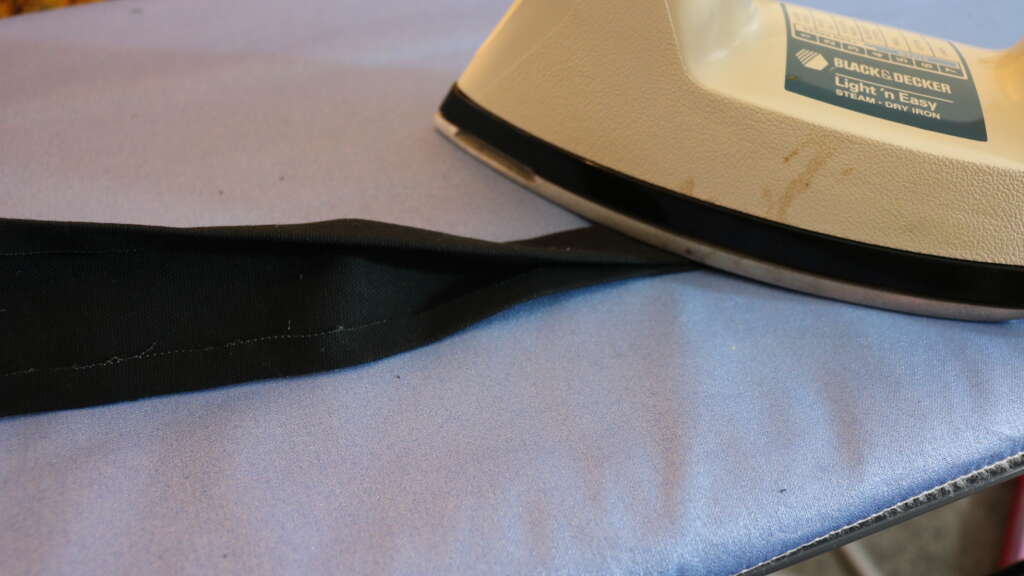
- On both of the long sides of the handle pieces, press a 0.25in fold, with the fold facing toward inside of the fabric.
- Fold the fabric in half (with the wrong side on the inside) and press.
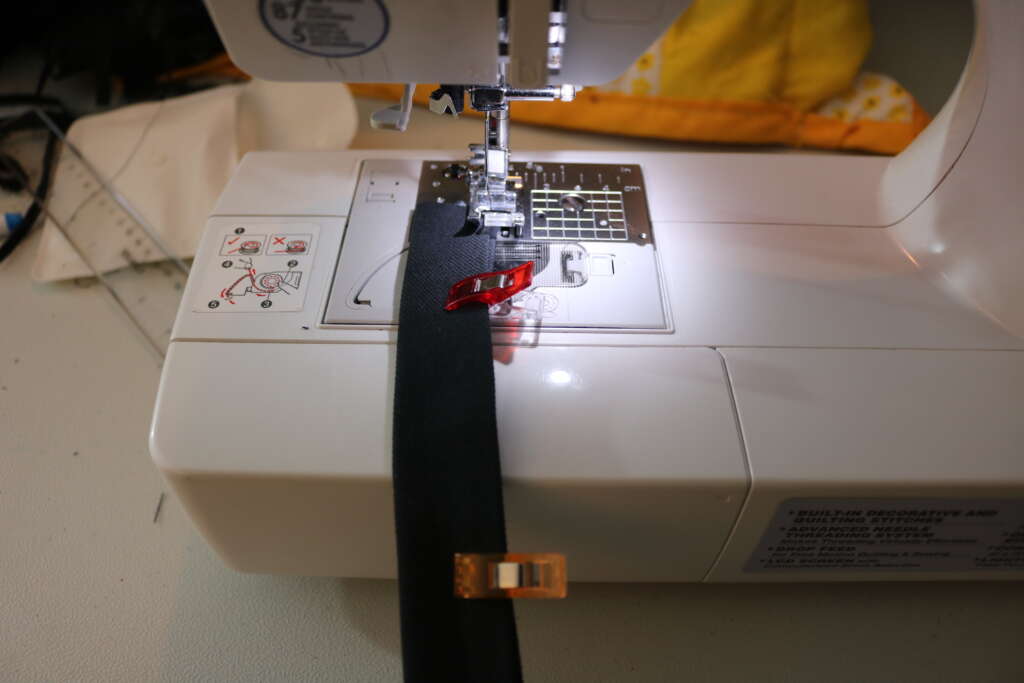
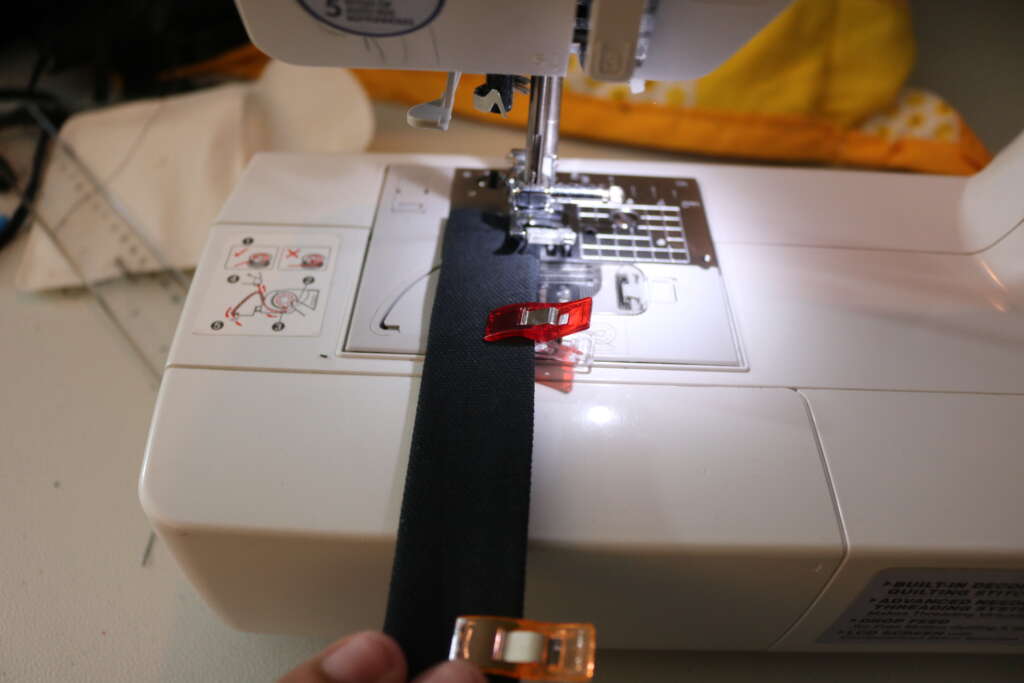
- Using a 0.25in seam allowance topstitch over the open side to close.
- For a more even look, topstitch over the folded edge
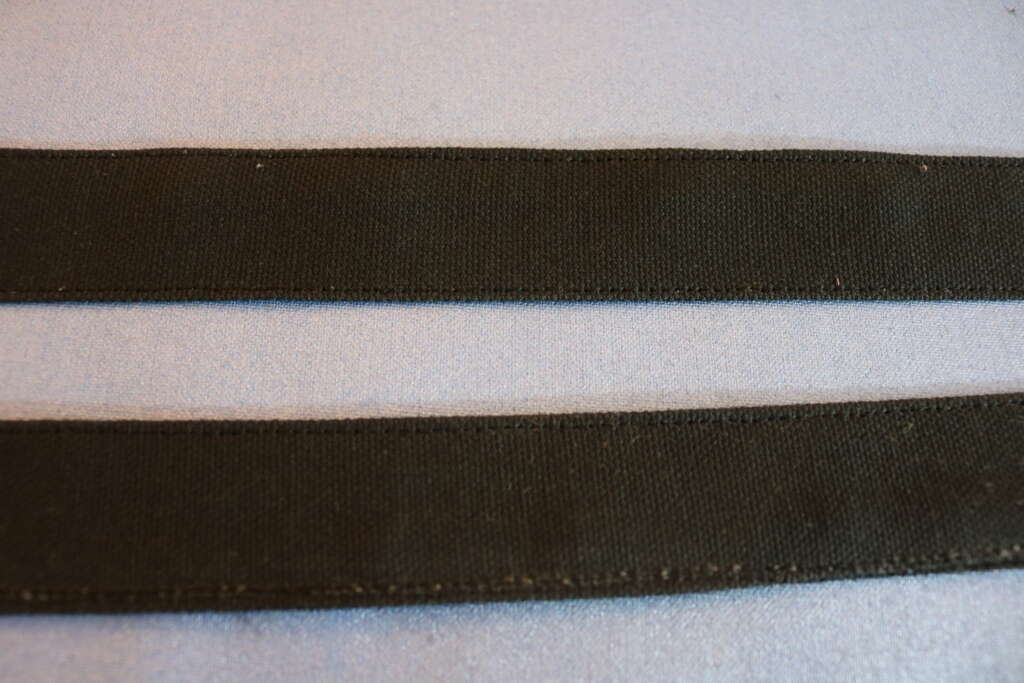
- Press and set aside.
- Repeat above instructions for second handle.

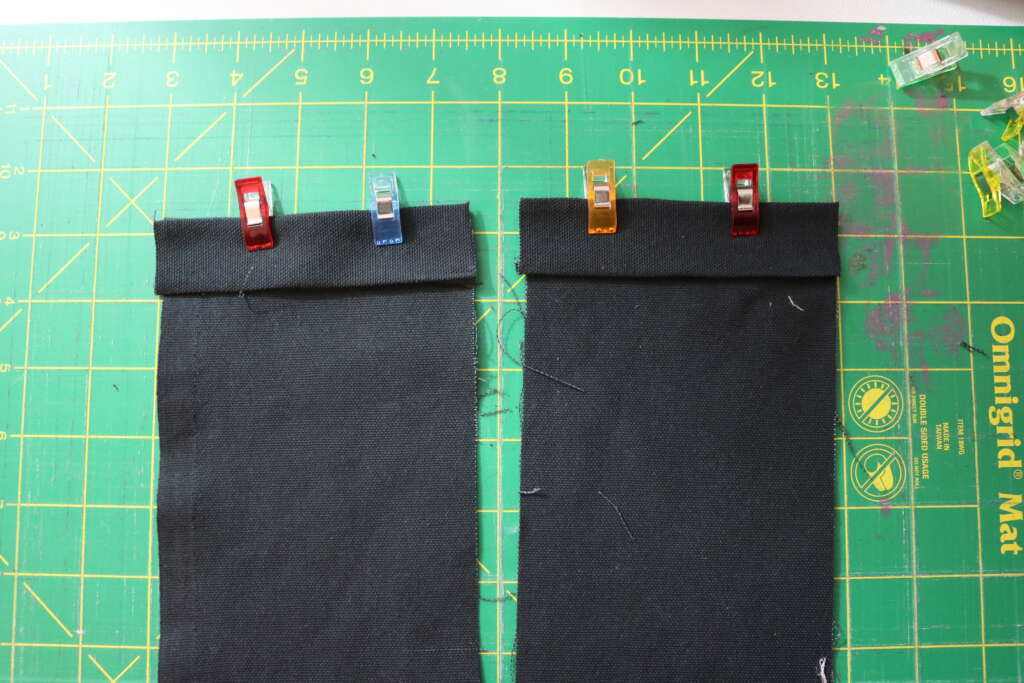
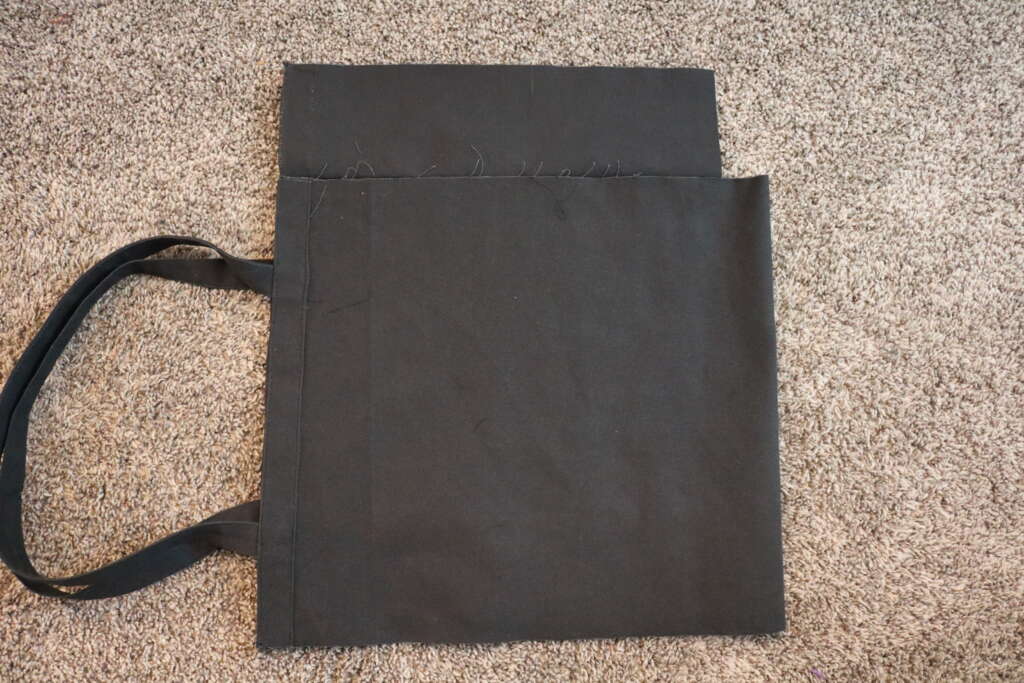
Attaching Handles to Main Body of Bag
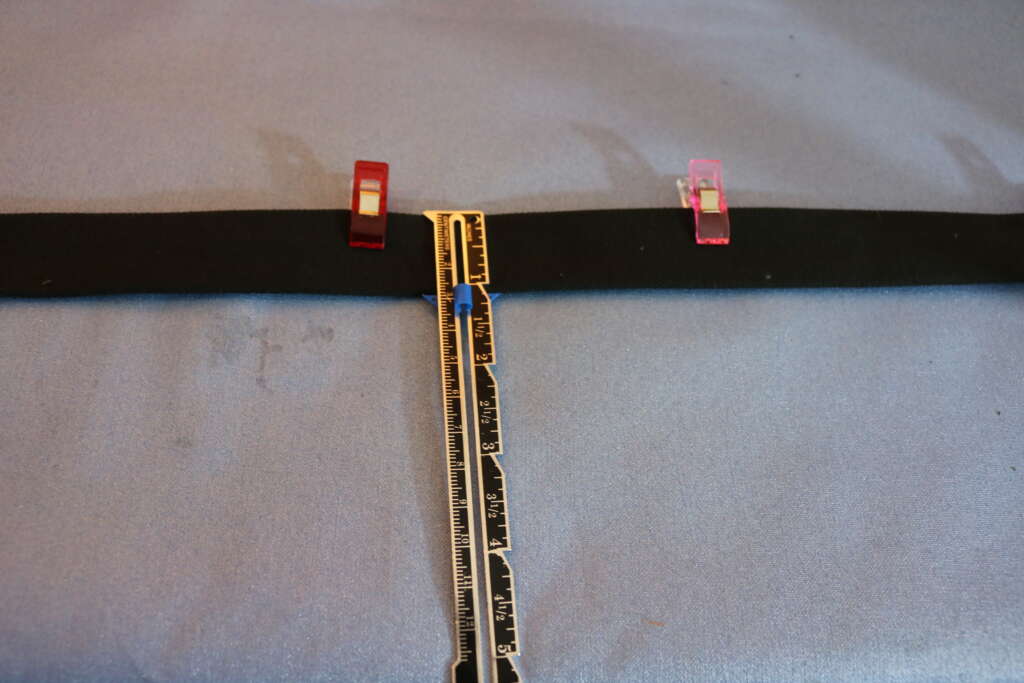
- Press a 0.25in fold on the smaller end of the fabric, with the fold facing toward the wrong side/inside of the fabric.
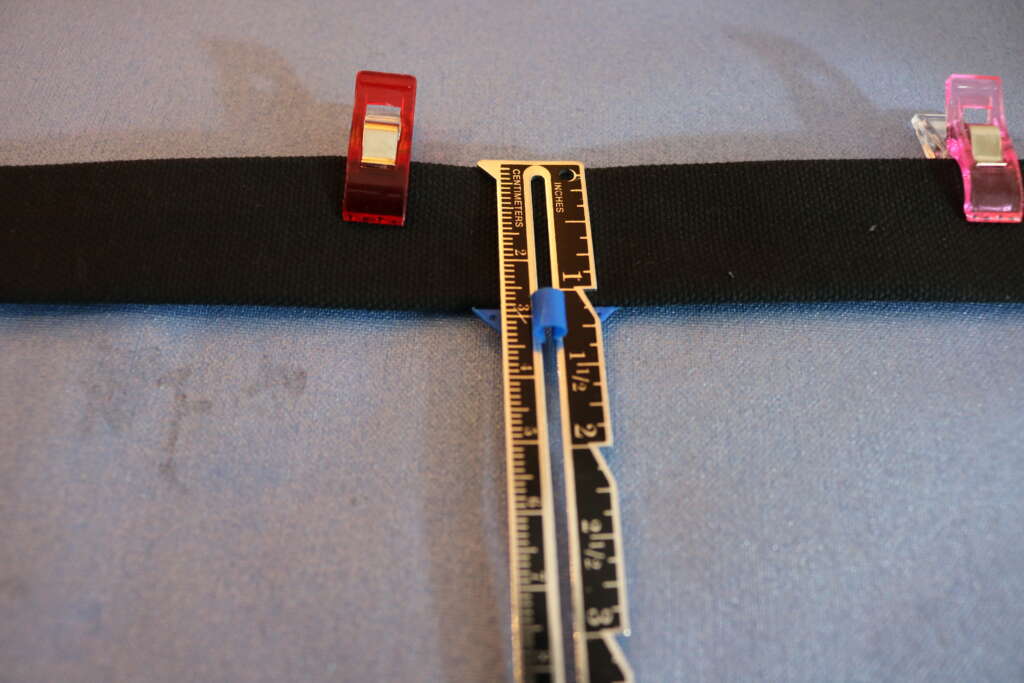
- Measure 3 in across from end of fabric, and make a mark.
- Measure 1 in down from that mark.
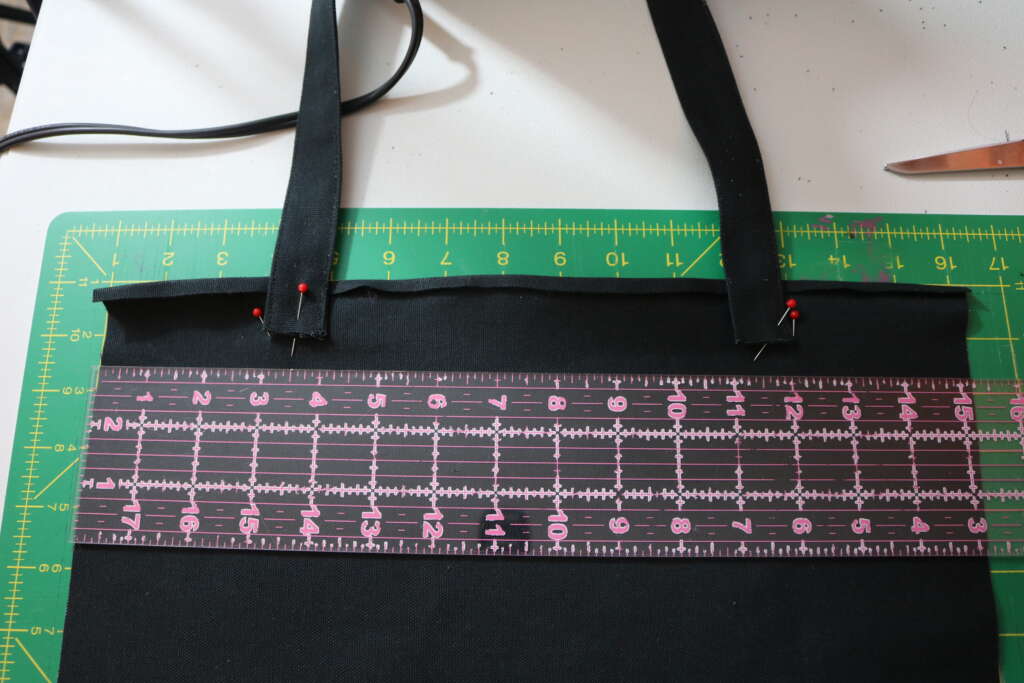
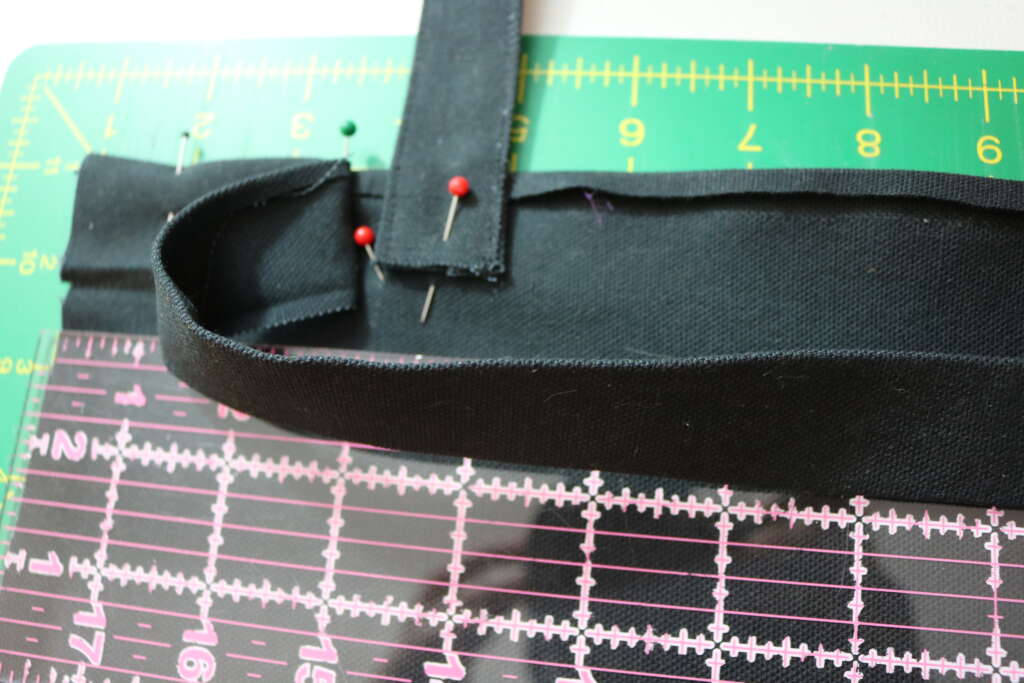
- Place end of the handle at this point.
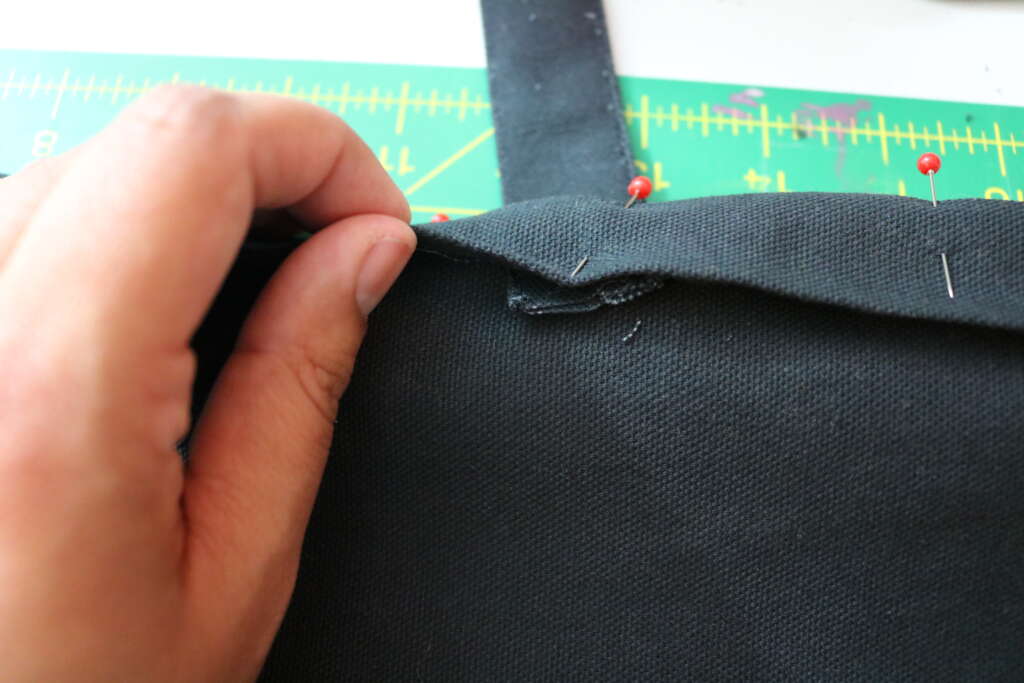
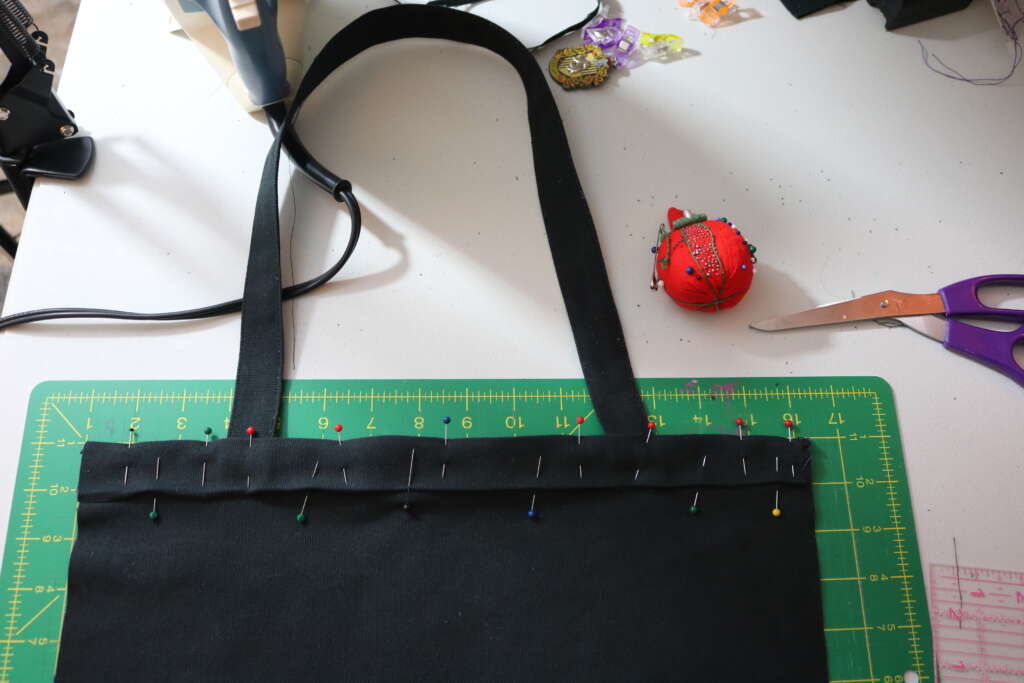
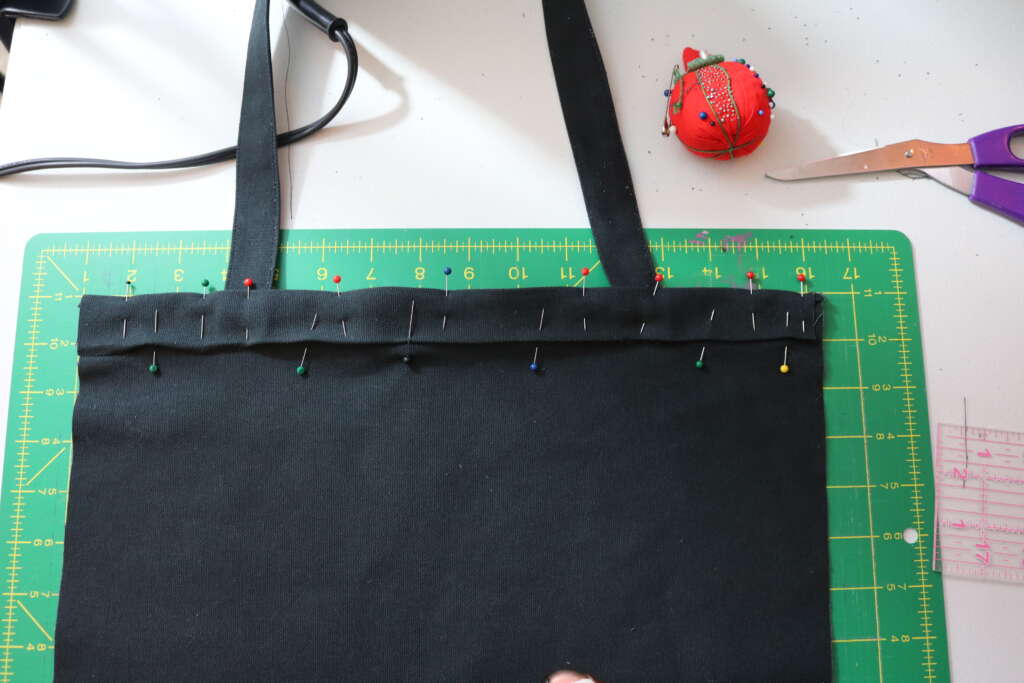
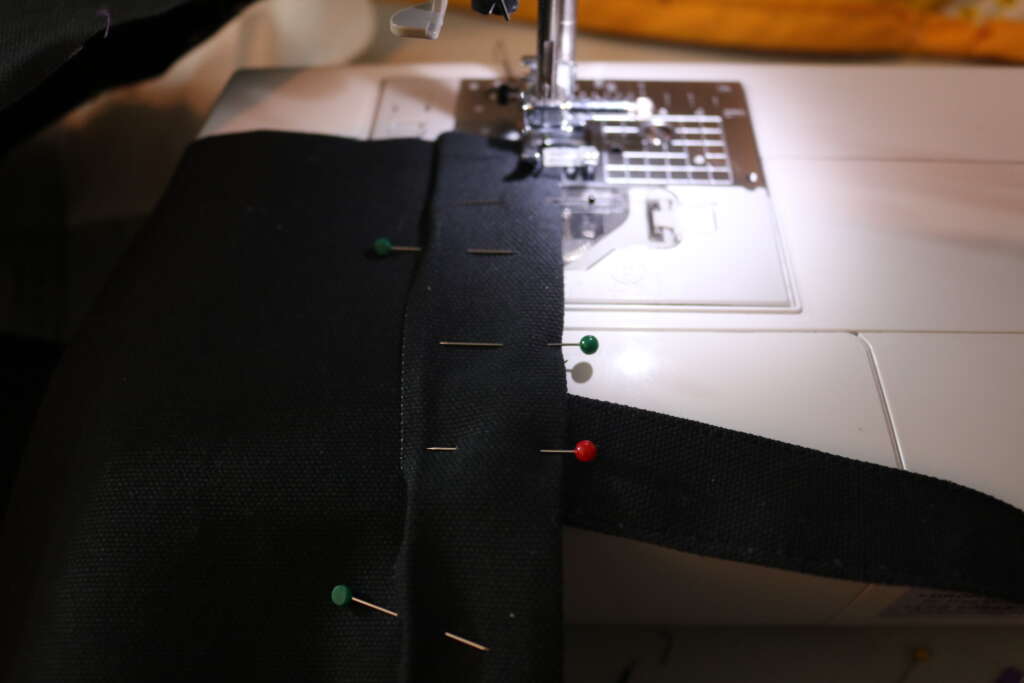
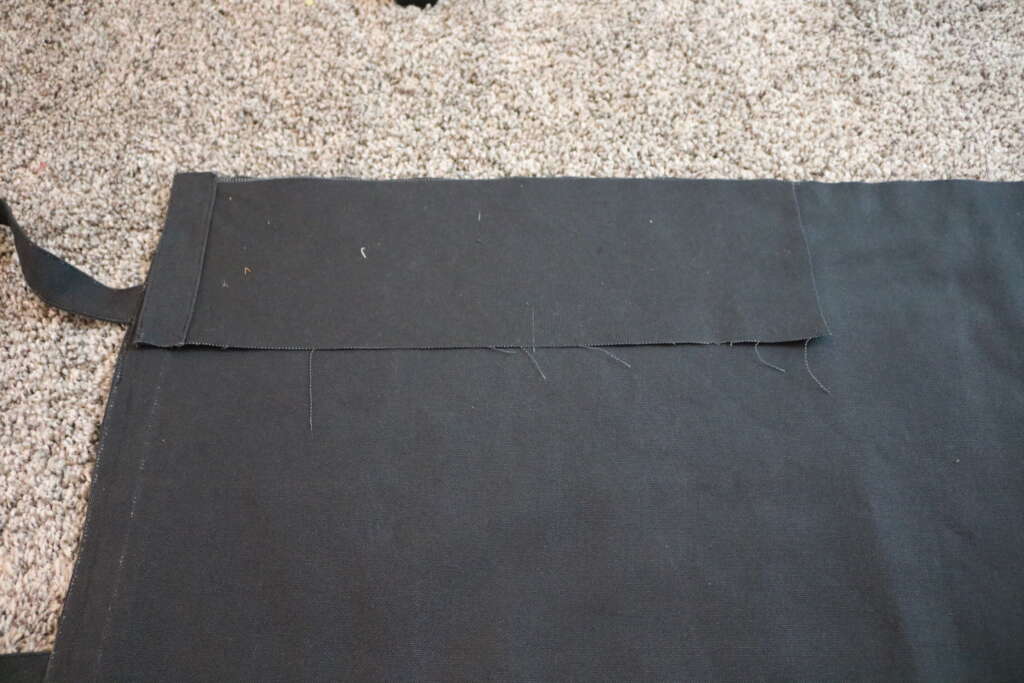
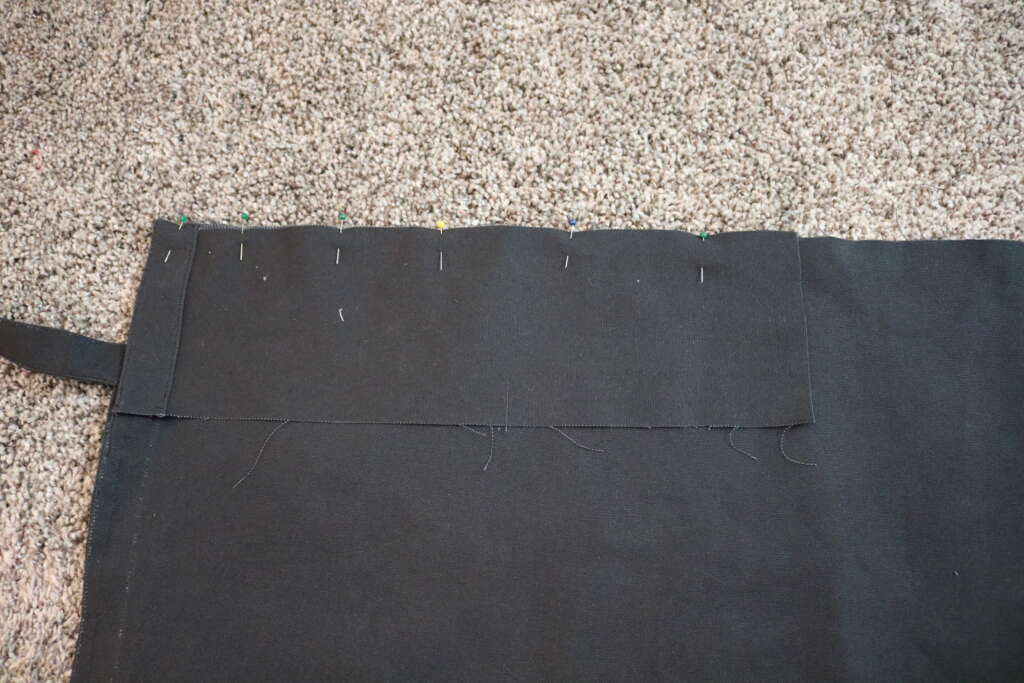
- Place earlier prepared raw edge covers on top, so the handle is sandwiched between the main body and the raw edge cover, and the top edges and corners are aligned
- Pin in place.
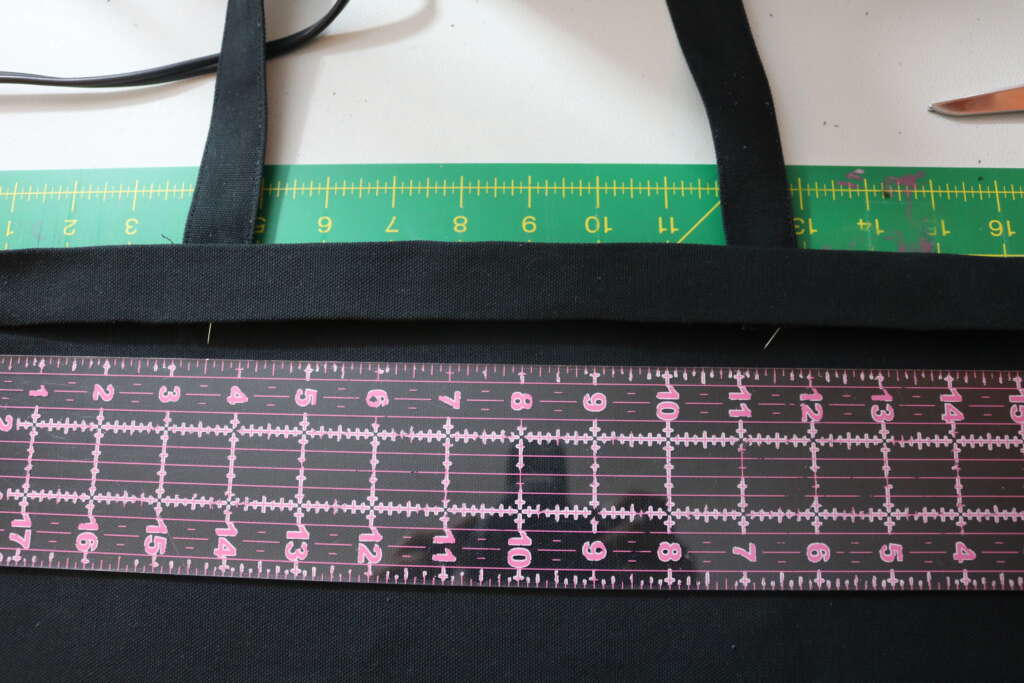
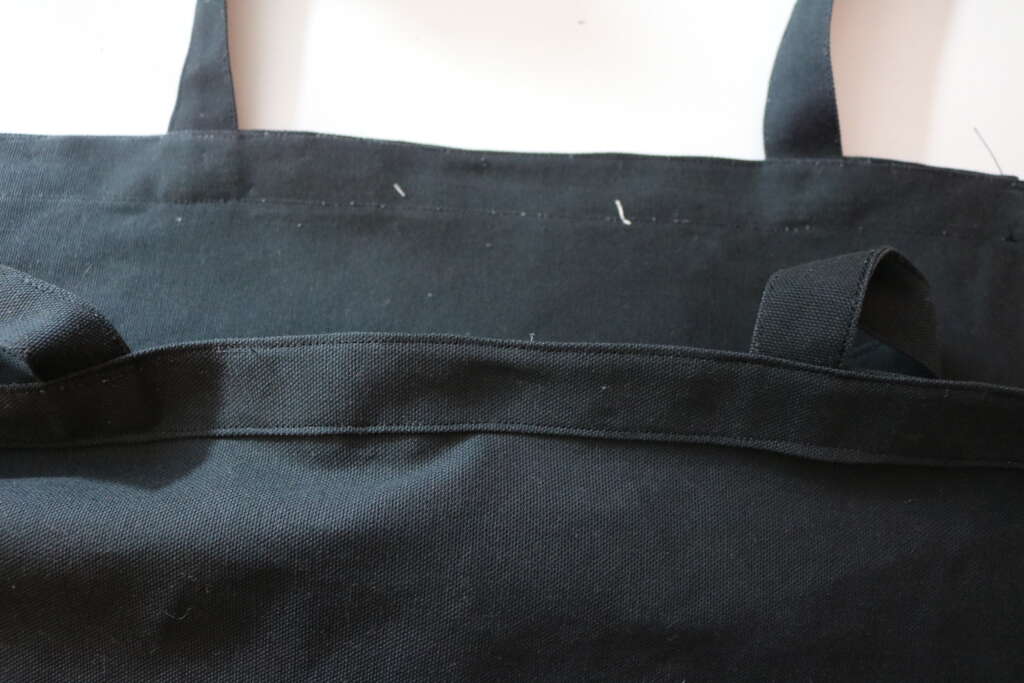
- Sew at the 0.25in point along both of the long edges.
- Repeat on the opposite end of bag.
- Set aside.
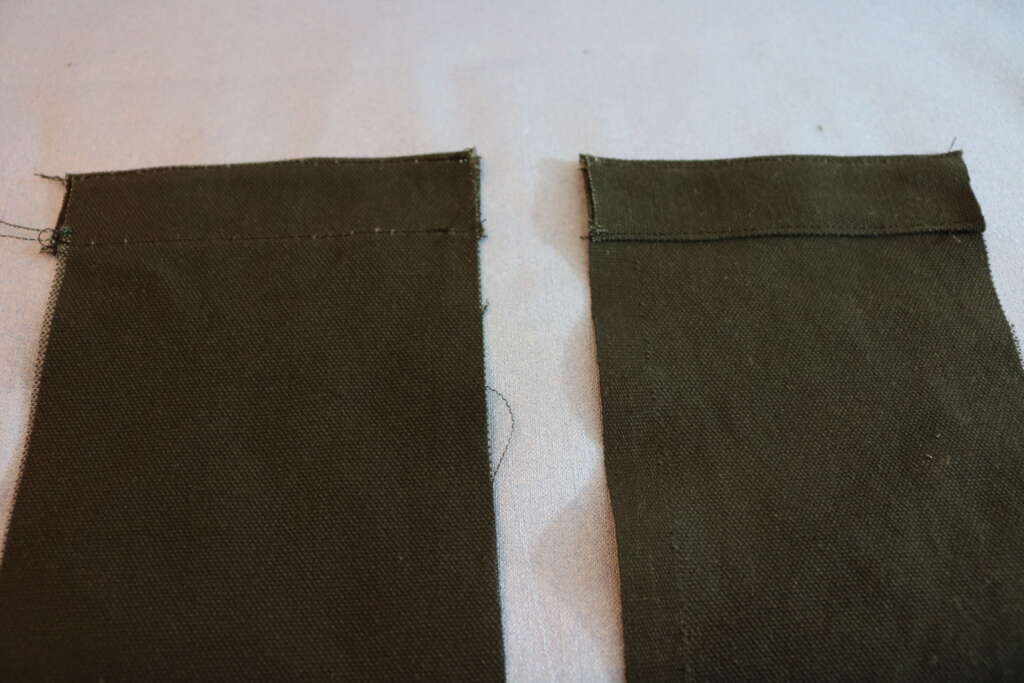
Attaching Raw Edge Covers to side panels
- On the side panel, press a 0.25in fold on one end of the smaller end of the fabric, with the fold facing toward the wrong side/inside of the fabric.
- Align the top and side edges of the smaller raw edge cover panel cover the just pressed edge.
- Sew at the 0.25in point along both of the long edges.
- Repeat above steps for other side panel.
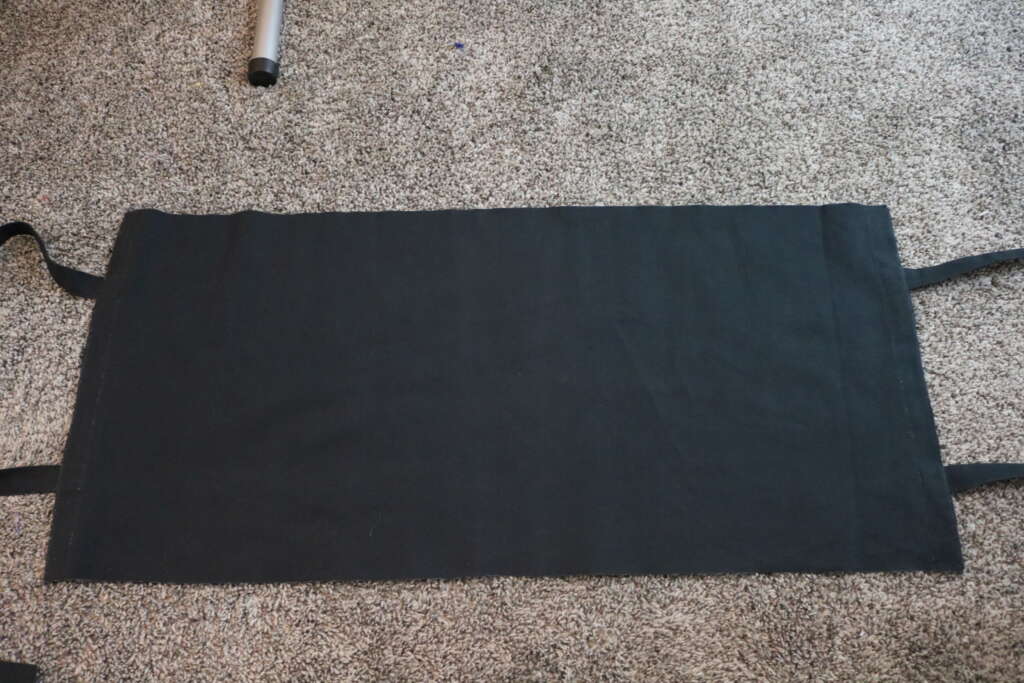
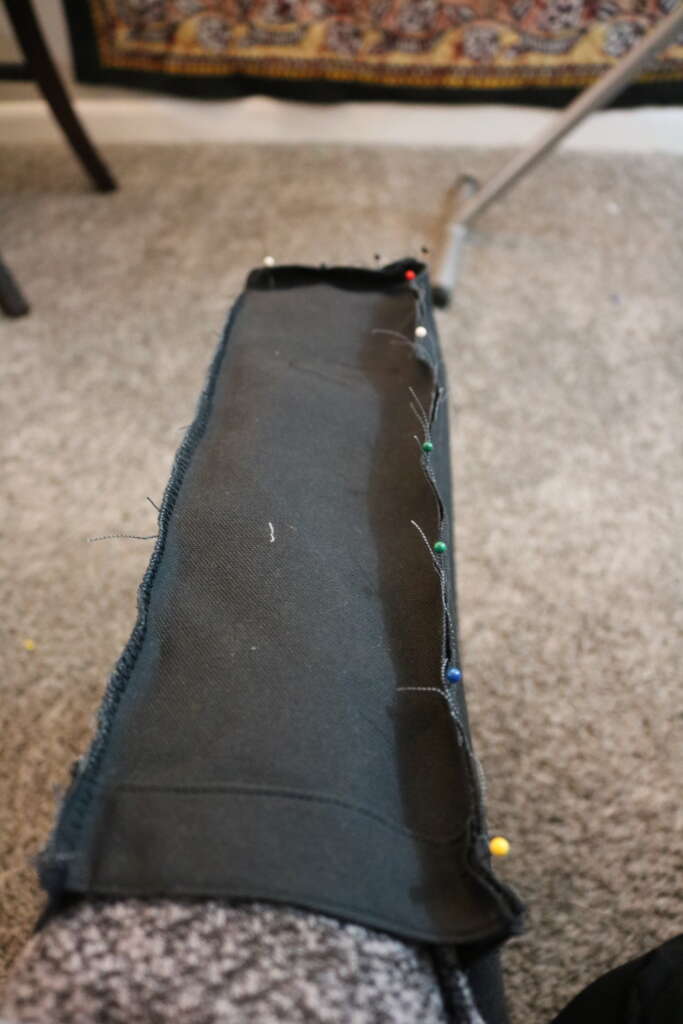
Attaching Side Panels to Main Body of Bag
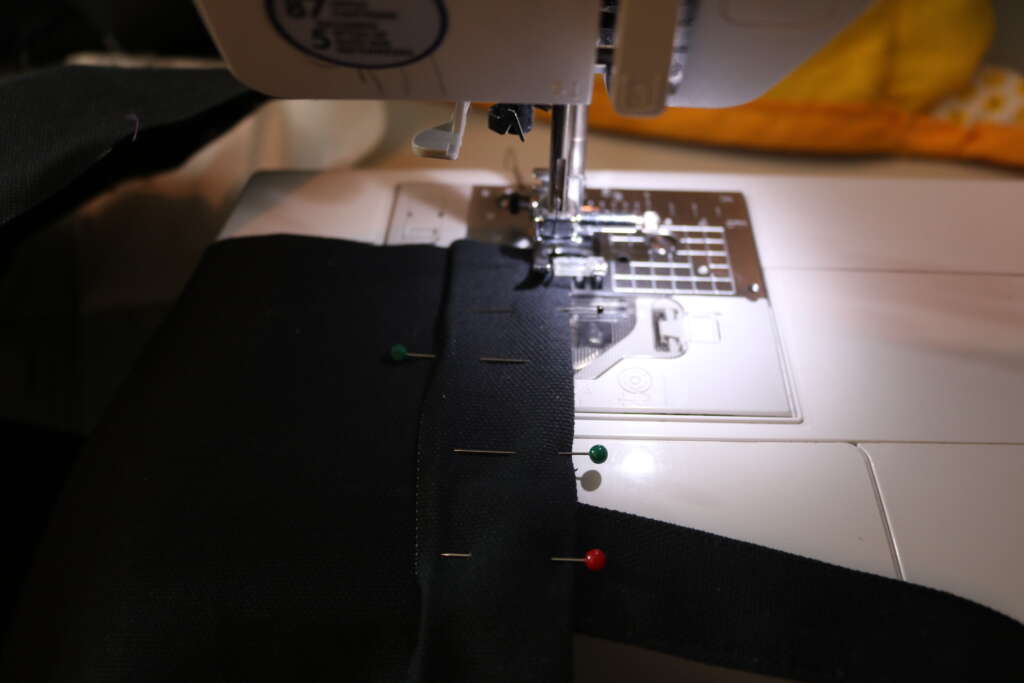
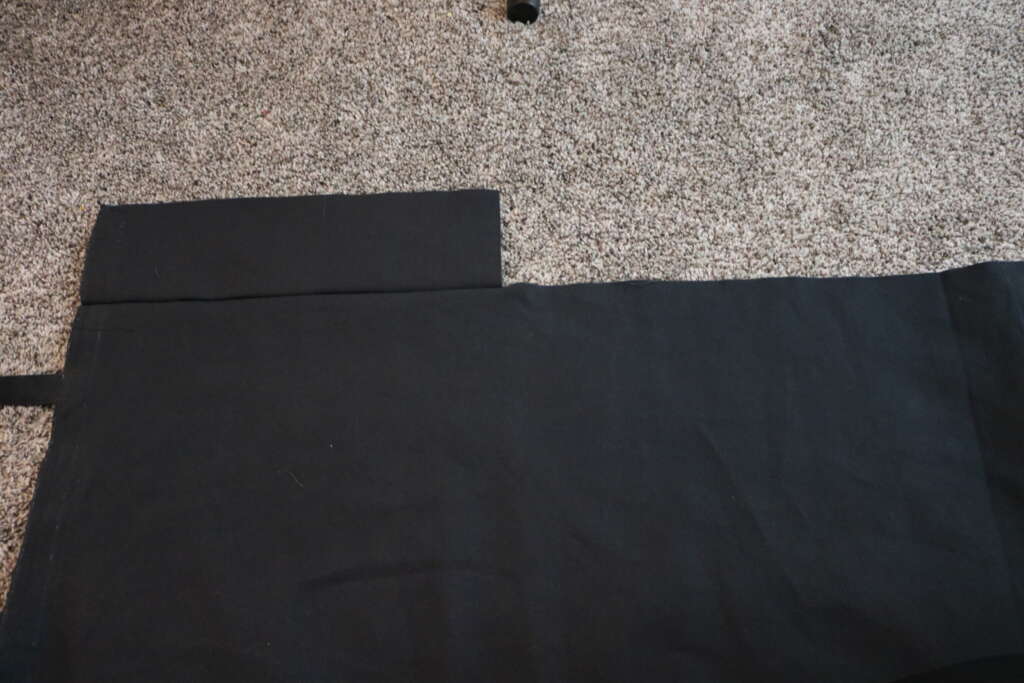
- Ensuring the tops of the fabrics are aligned, pin the side panel to the main body of the bag as shown in the below picture, with the wrong side facing up.
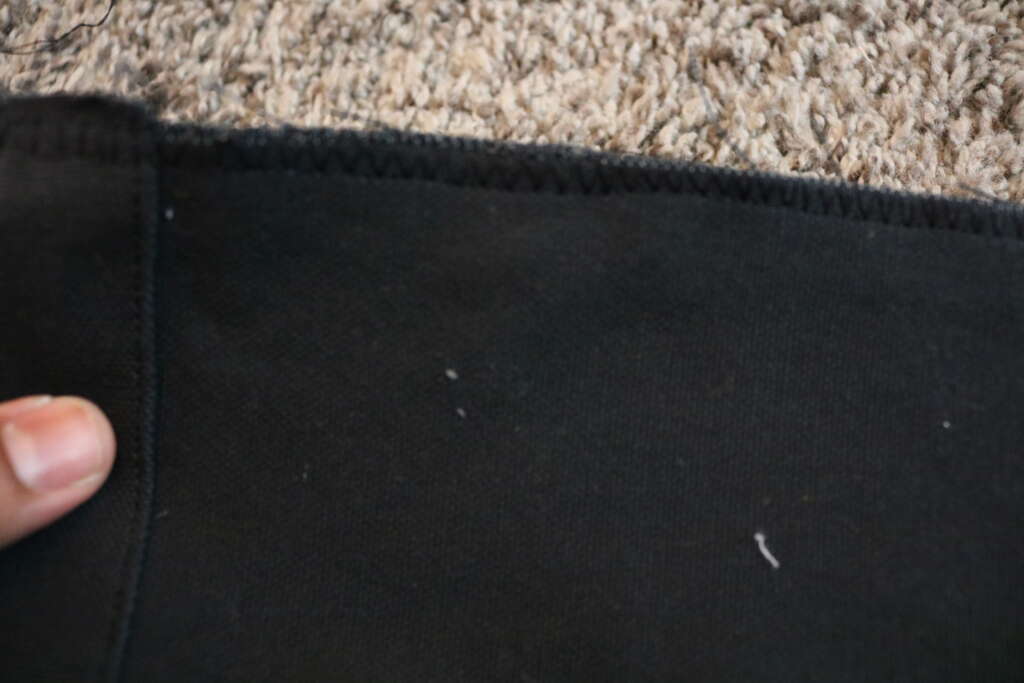
- Sew with a 0.25in seam allowance. I used an overcast stitch as it is available on my machine, but a straight stitch will work too. If you use a straight stitch, you may need take some extra steps to protect your raw edges from fraying.
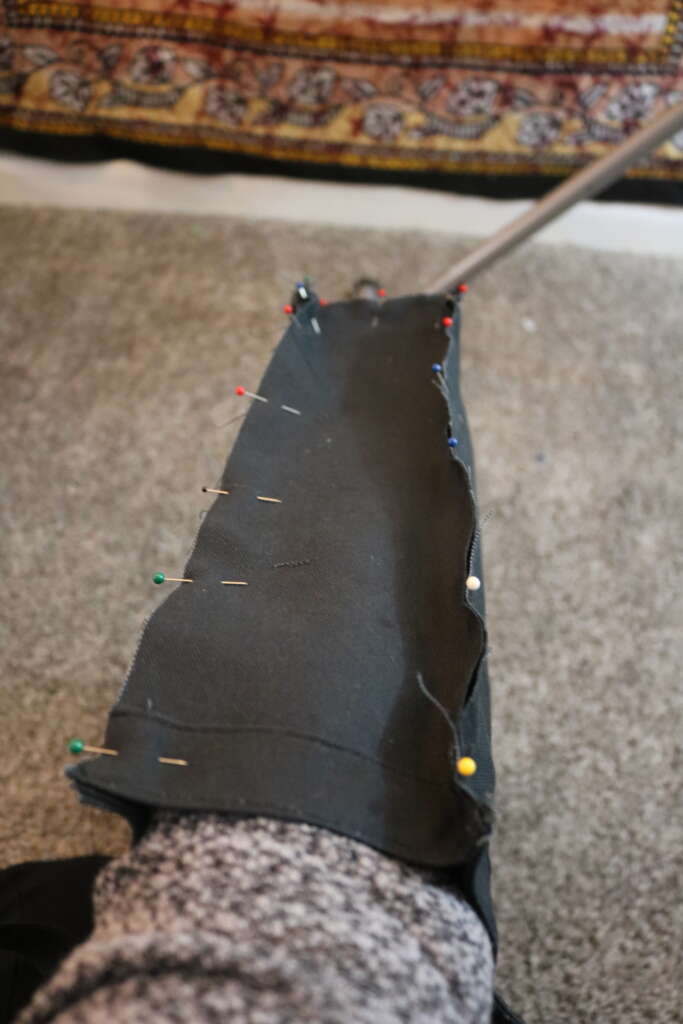
- Ensuring the tops of the fabrics are aligned, pin the side panel to the main body of the bag as shown in the below picture, with the wrong side facing up.
- Sew with a 0.25in seam allowance. I used an overcast stitch (pictured below) as it is available on my machine, but a straight stitch will work too.
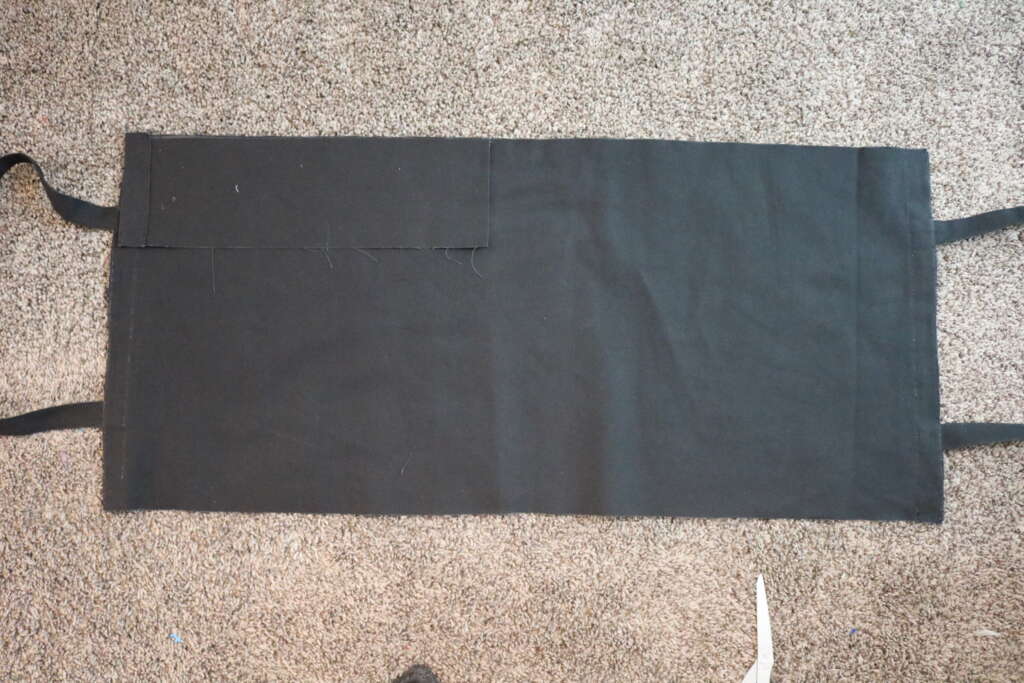
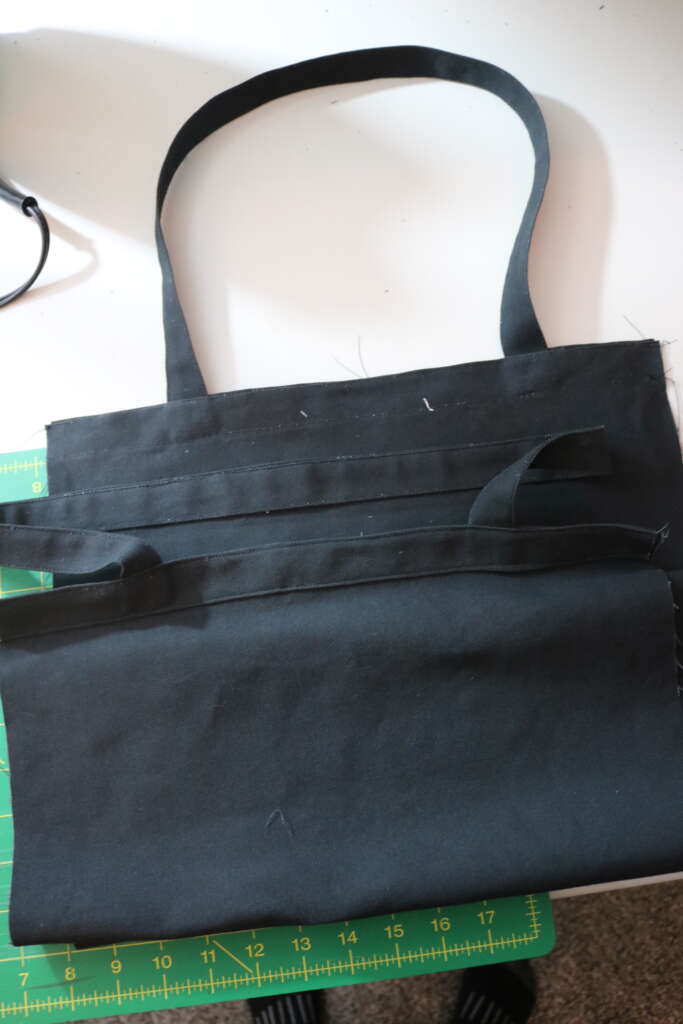
Ta-dah! You just made a tote bag!

I found my bag to be a bit plain looking, so I decided to use some Everyday Iron-On Vinyl by Cricut. Honestly, I found the process a little bit tedious, mostly because I was using my regular iron, and it seemed like it took forever for the vinyl to stick.
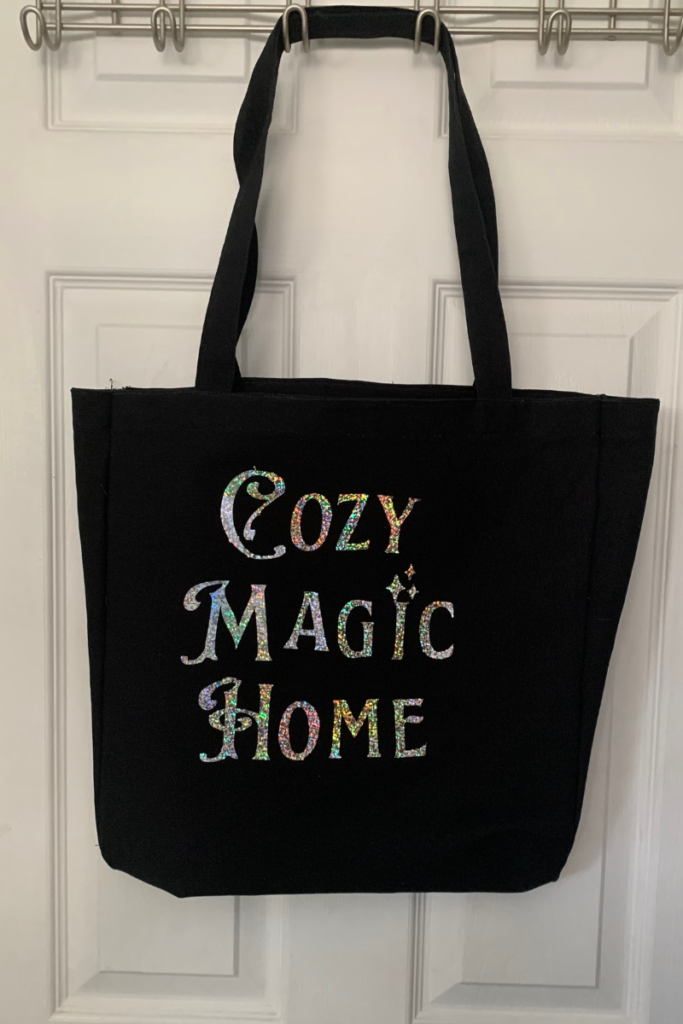
It was also the first time I was using the Cricut for this (I’ve only really used it for cutting cardstock), so I didn’t take any proper pictures, but here is Cricut’s written tutorial for using Everyday Iron-On Holographic Sparkle.
What would you use to jazz up this bag? Let me know below!
If you would like to watch a video of me making this project, follow at the following places:
Incidently, you can also share your version of this project with me on there! Just use my tag @cozymagichome and use the tag #cozymagichome.
I can’t wait to see your version of this project!
Until next time!
Blessed Be!
Amrita
If you would like to watch a video of this project, follow at the following places: