Making this Halloween Bean Bag Toss game has been one of the easiest and fun crafty projects to date. I got the idea for it when I was looking for something completely unrelated, and came across this Bluely Bean Bag toss game
I just took the idea for this game and added some Halloween to it!
It turns out this is a pretty popular game, there are so many fun versions of it! This is my take on it.
To add a Halloween (kinda) spin, instead of making a bean bag toss board, we decided to to use our Halloween candy bowls. I thought it would be fun to do as it would give us the flexibility to change the target area, and maybe add it to some future obstacle course I have planned for my kiddo. Mostly importantly, I have a stinking cold and just didn’t have the energy to make a board.
Well, without further ado, here is the Bean Bag Toss game I made for my little one!
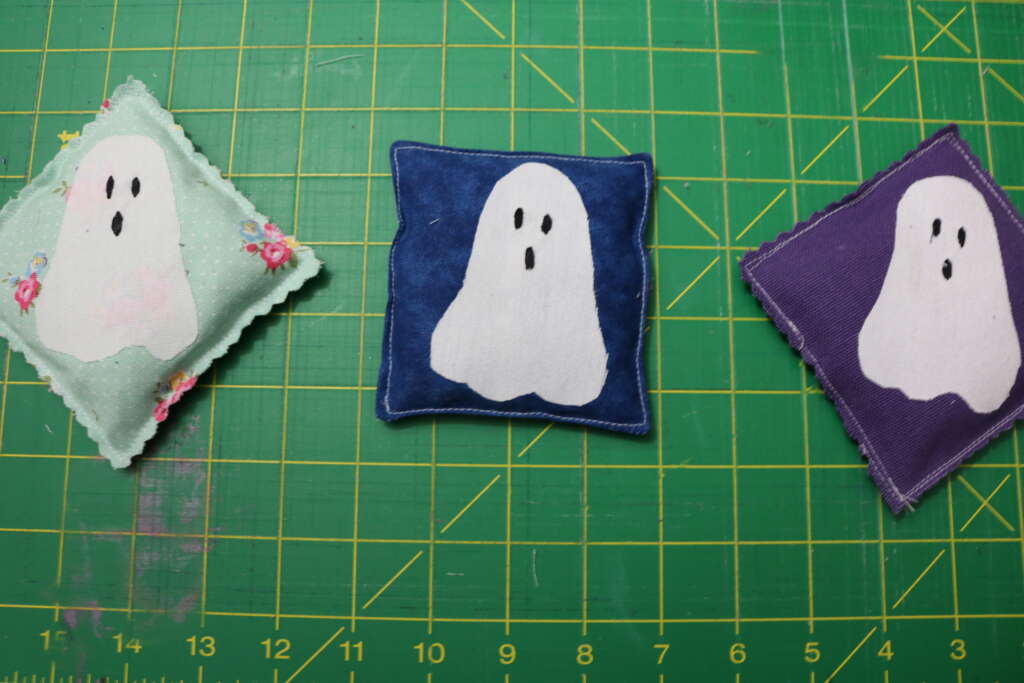
Constructing Bean Bags
Making Ghost Appliqués
Items I used for this project
– Washable fabric marker
– Scrap fabric (I used an old linen tablecloth)
– Embroidery Ring
– Embroidery Floss
– Embroidery Needle
– Scissors
*NOTE: This is how I prepared my ghosts. You can choose on whatever design you want.
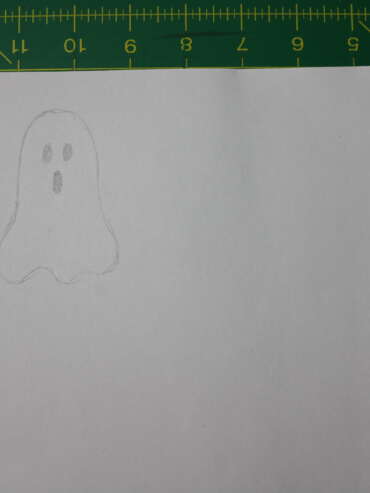
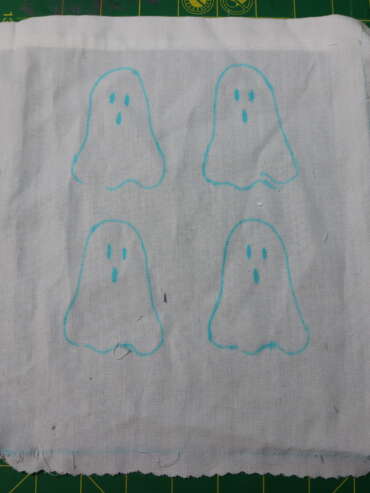
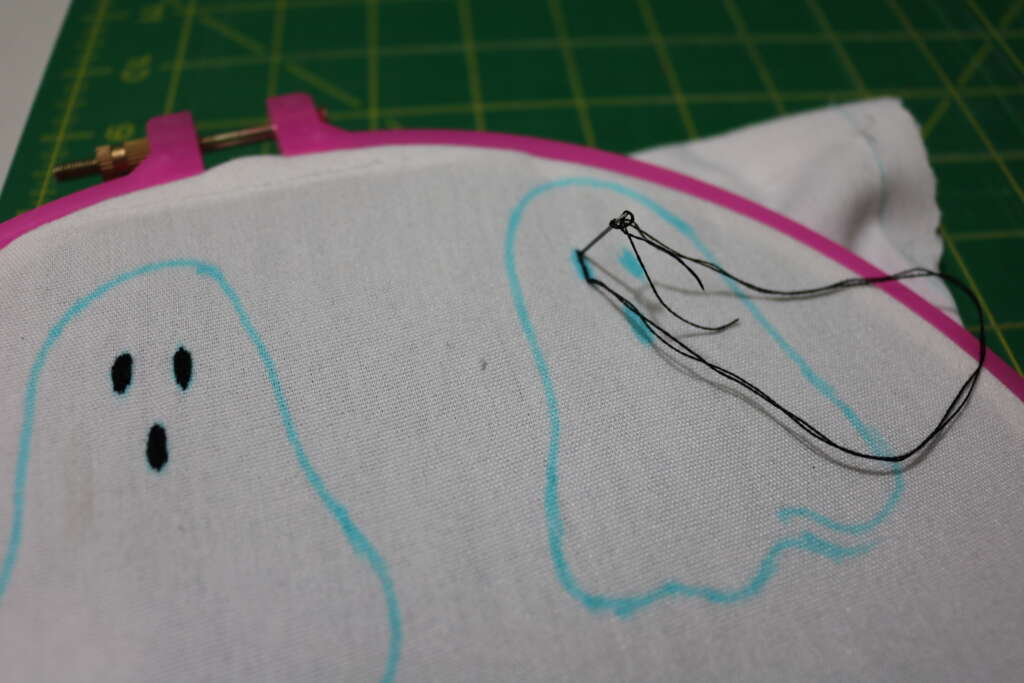
1. Using a washable fabric marker, draw your ghost on your scrap fabric. Draw 1 ghost for each bean bag you make.
2. Use an embroidery ring to secure fabric.
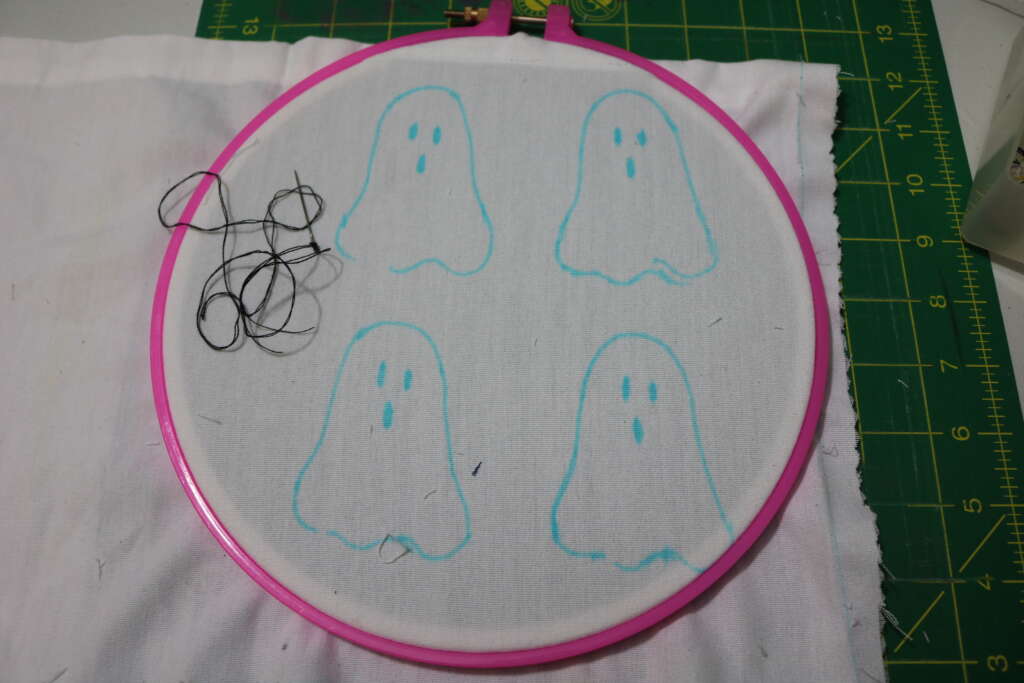
3. Using 2 strands of embroidery floss (I used DMC 310 – Black), embroidery eyes and mouth
(I started in the centre and worked my way out, as it appeared to give a more even finish).
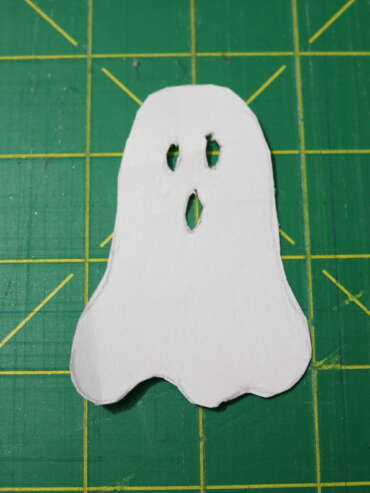
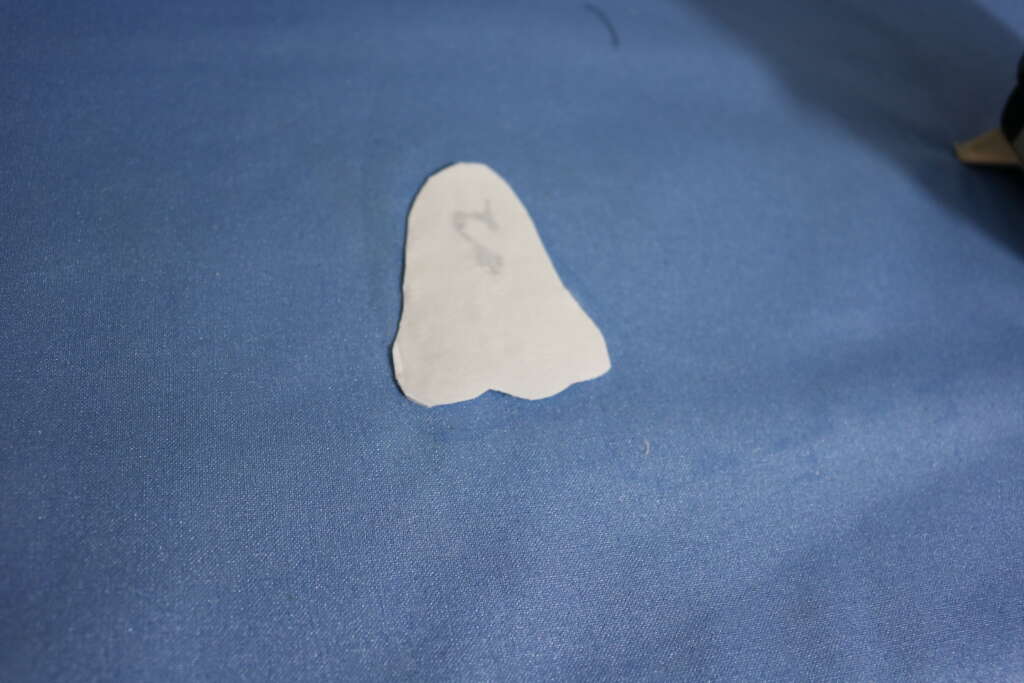
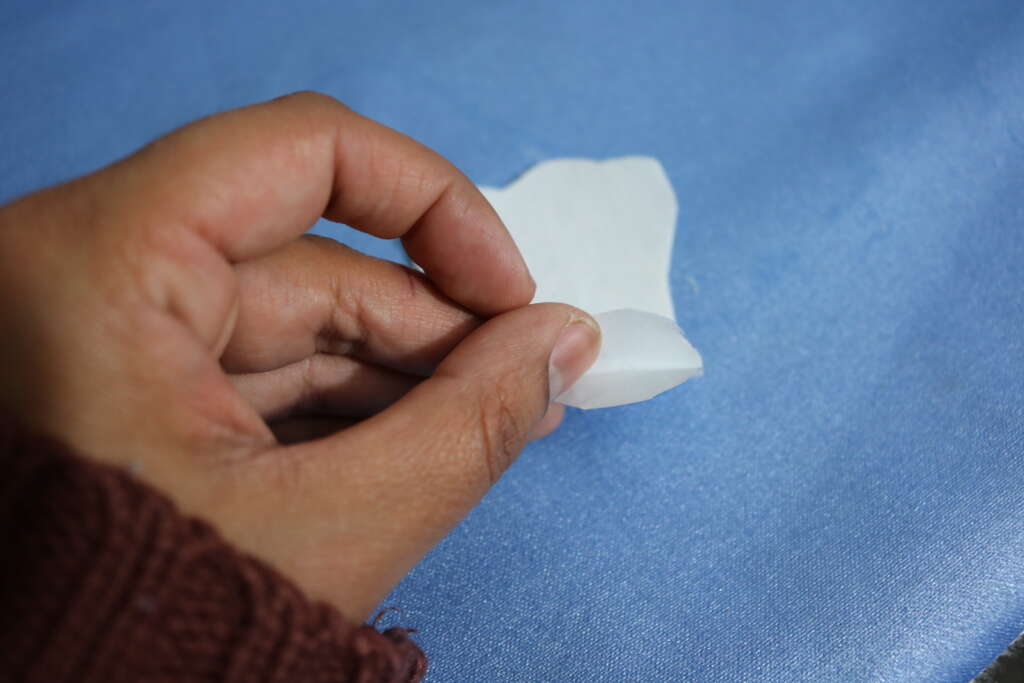
4. Cut out ghosts
5. Rinse off the marker, wait for ghosts to dry
Making Bean Bags
Items I used for this project
- Heat N Bond Iron on Adhesive
- Scissors
- Iron
- Ironing Surface
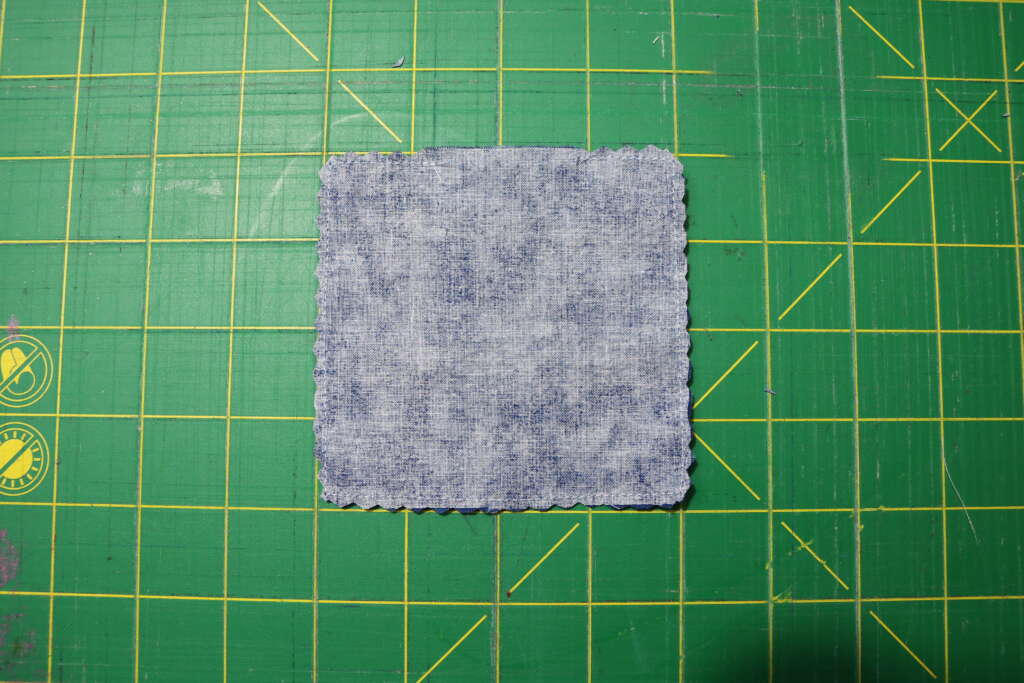
- 4in by 4in fabric squares (ideally quilting cotton). You will need x2 per bean bag.
- Pins
- Sewing Machine
- Coordinating Thread
- Chopstick/Blunt Pencil
- Funnel
- 0.5 cup rice per bag
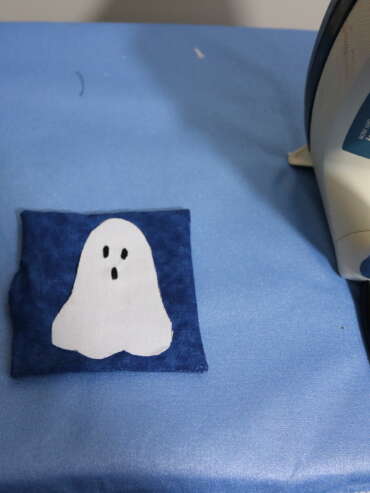
Follow instructions for appliqué to attach a ghost to one square of a bean bag on the right side of the fabric.
Once ghosts are attached, take another square and pin them together, with the wrong sides facing up (ghosts should be on the inside).
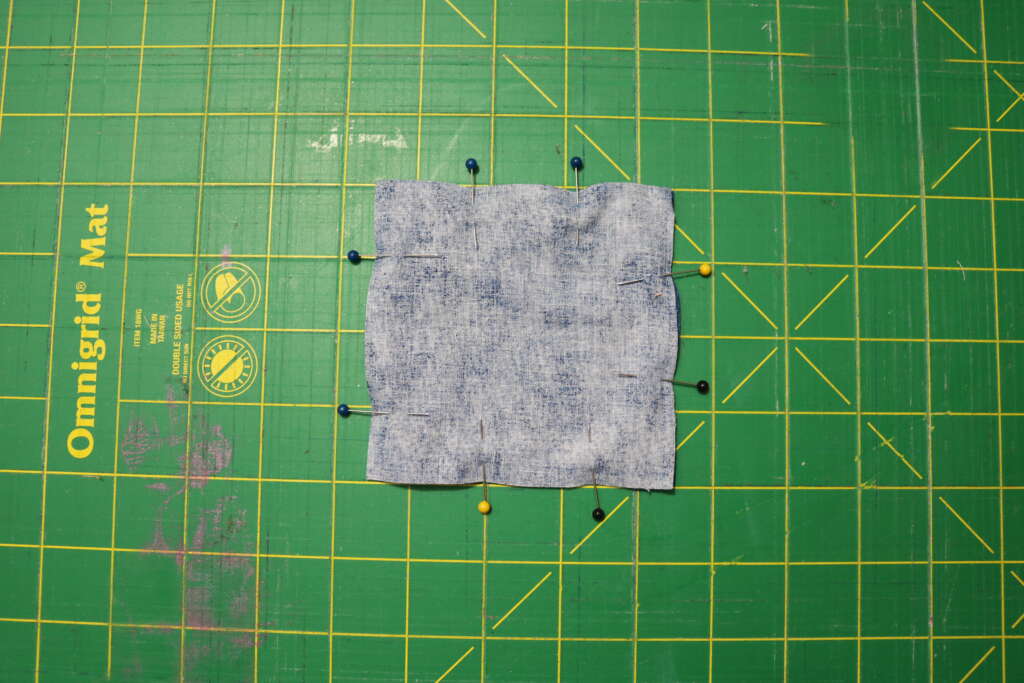
Sew with a 0.25 in seam allowance, leaving a 2-3in gap

Clip the corners
Turn the bean bag cover the right way round through the gap
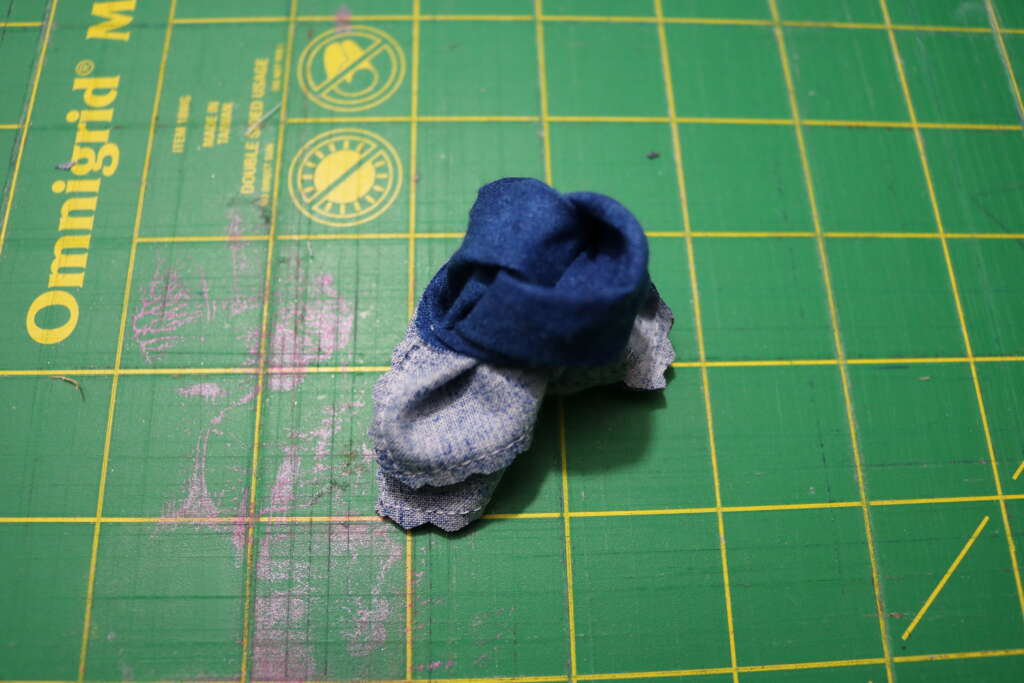
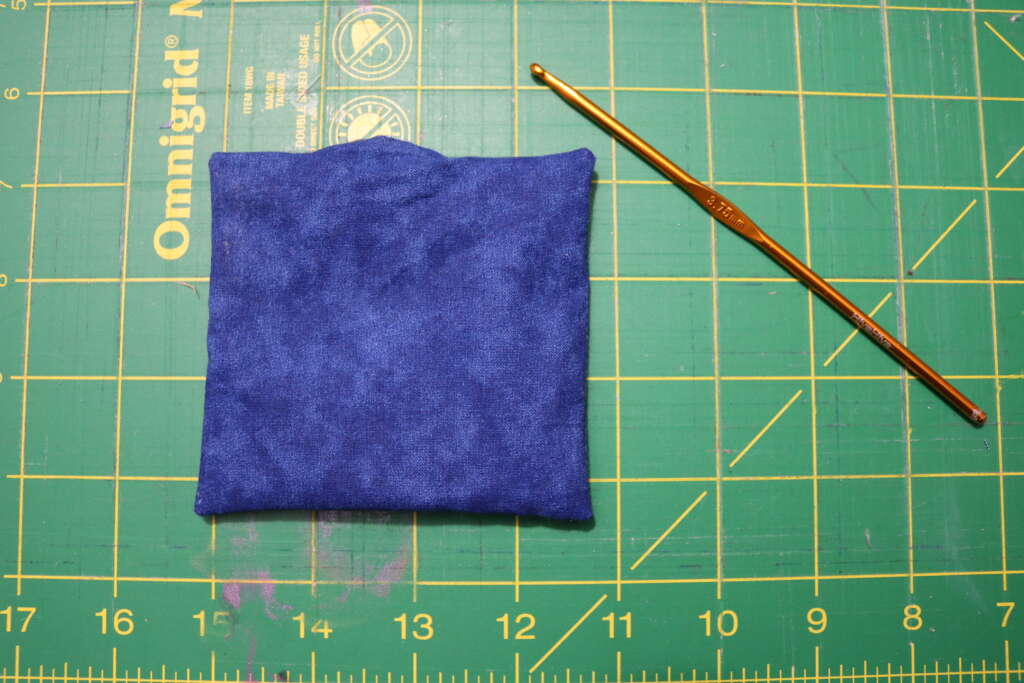
Use a chopstick or blunt pencil to push out corners (a very small crochet hook works too).
Tuck in excess fabric and iron to hold seam in place
Using a funnel, pour in 0.5 cups of rice/desired bean bag filling
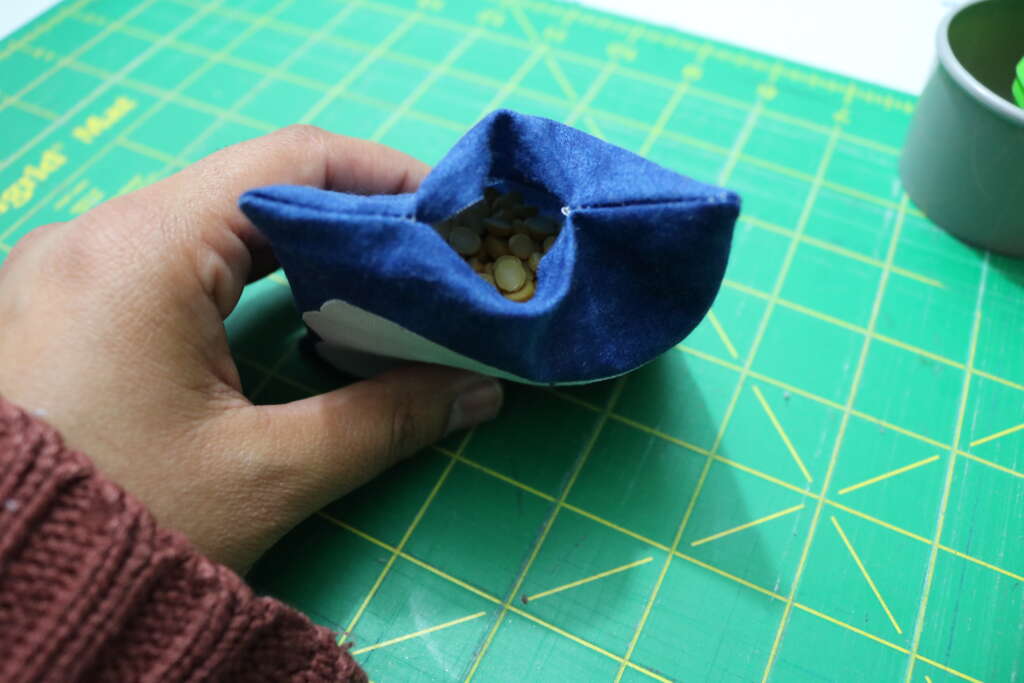
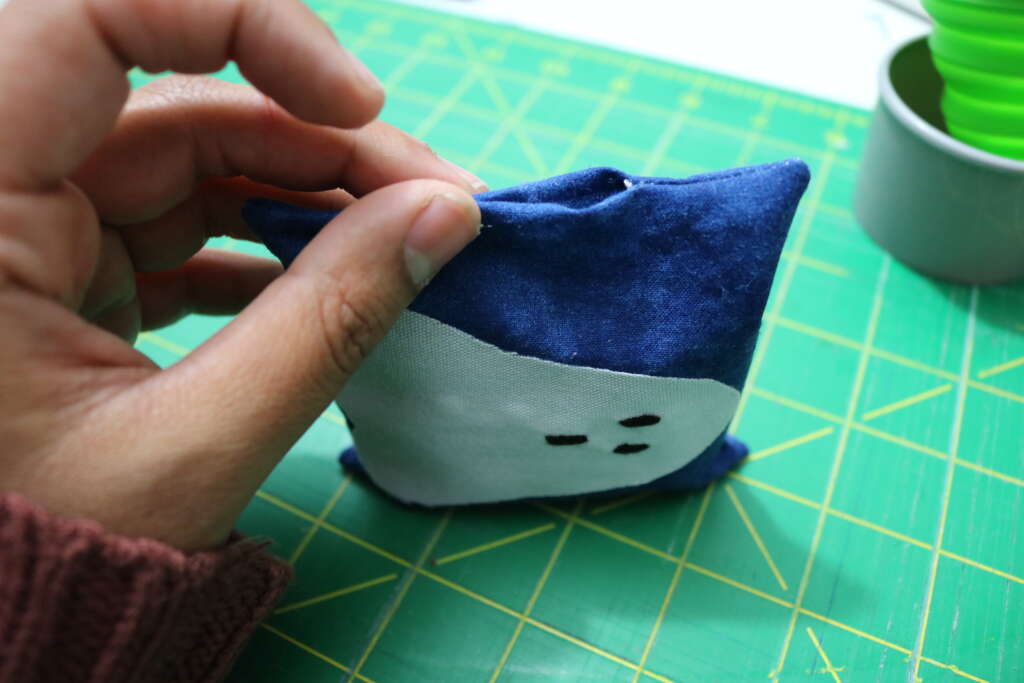

Pin in place
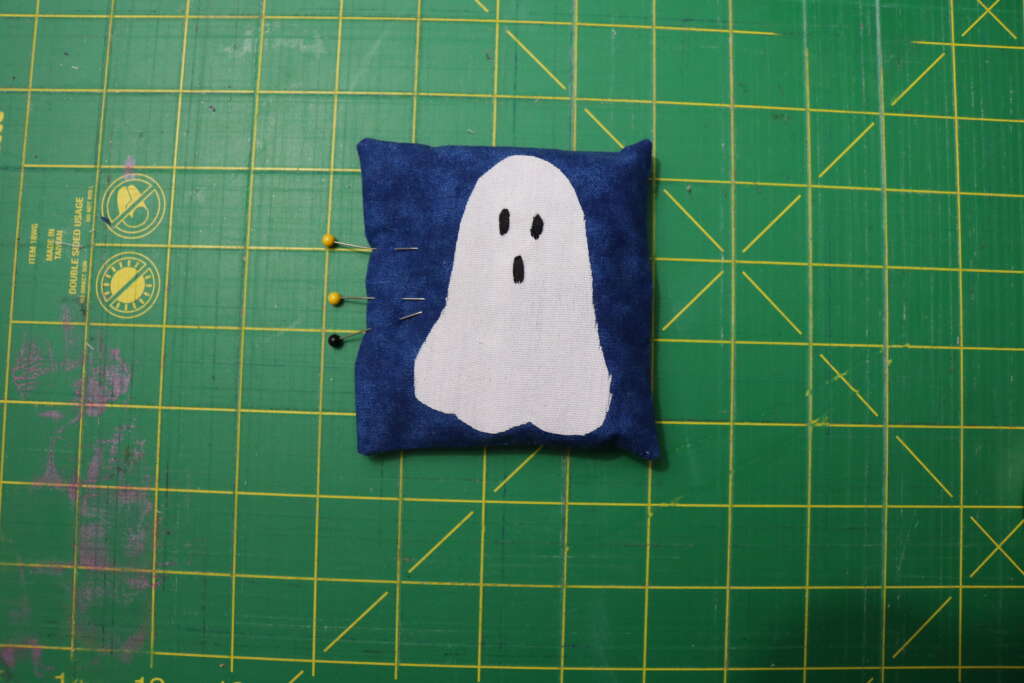
Top stitch using a 0.25in seam allowance, being careful to push any rice out of the way.
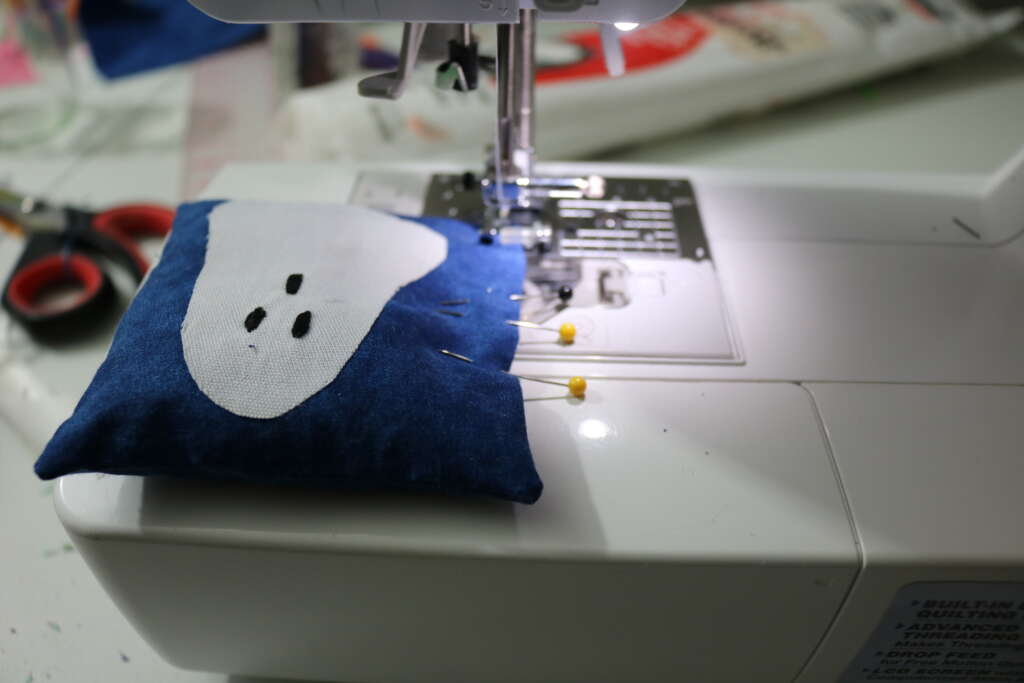
Your bean bag is finished!
*Care instructions: spot clean only. Do not machine wash/get wet.
Repeat if desired.
Congratulations! You’ve made your bean bag toss game and are ready to play!
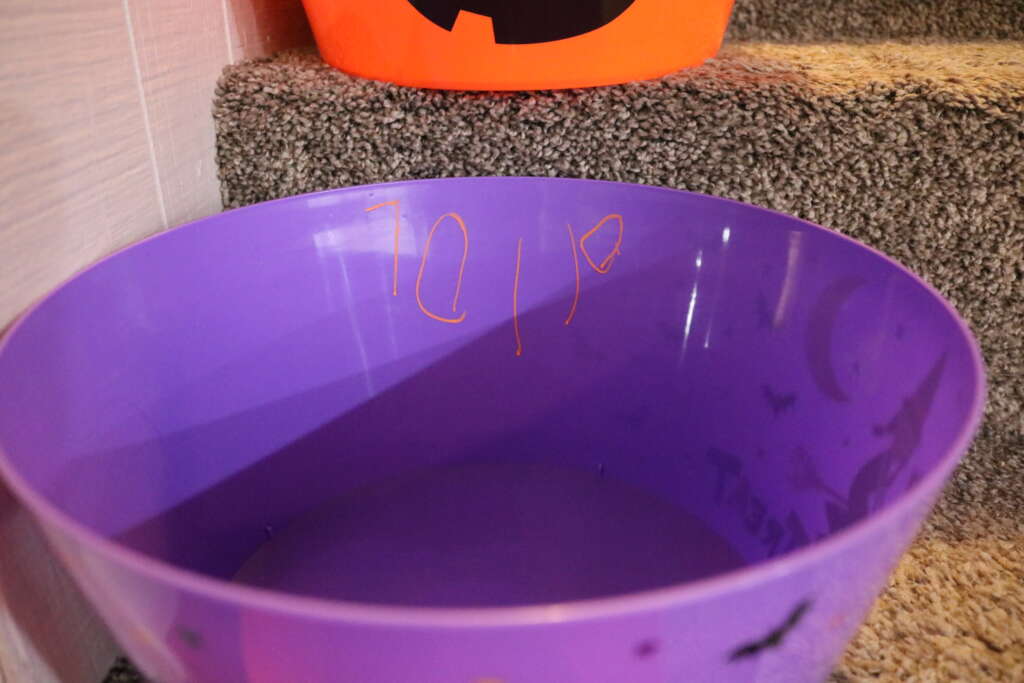
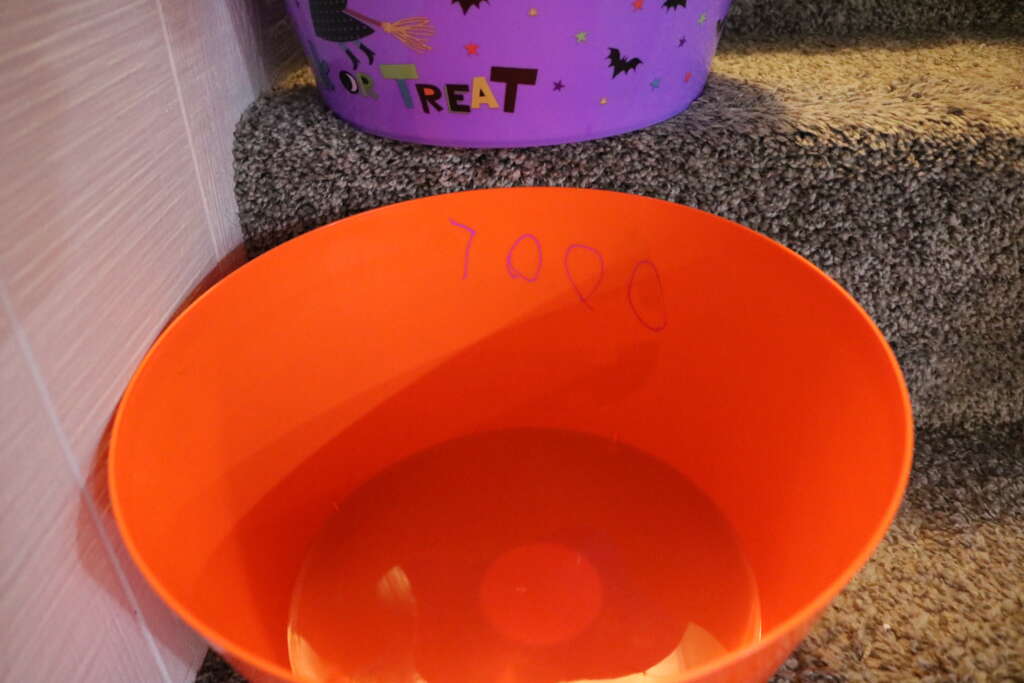
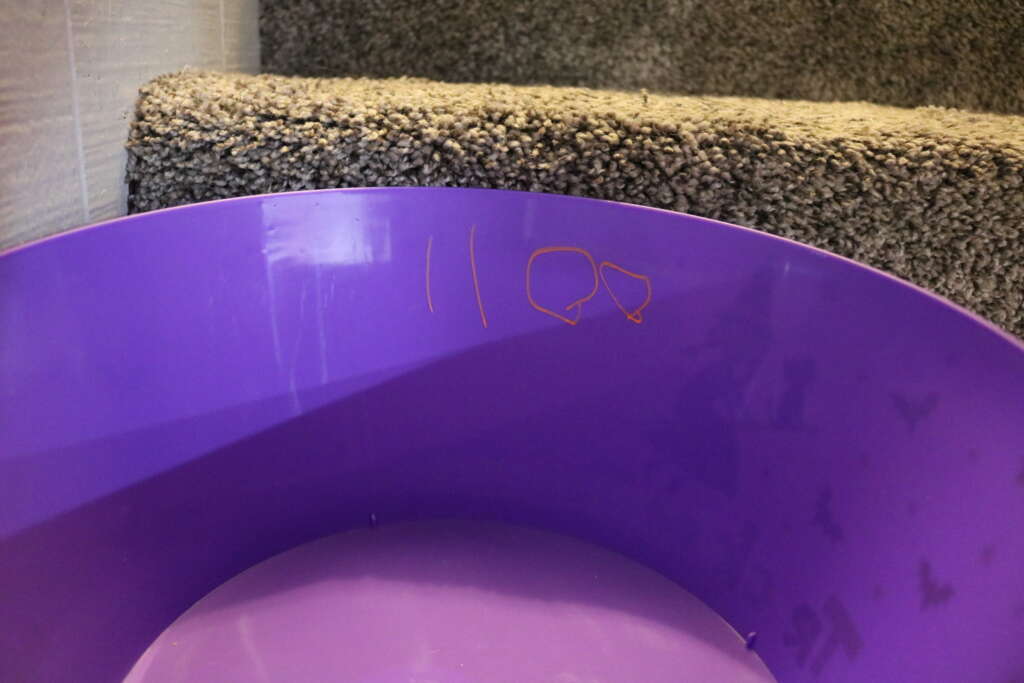
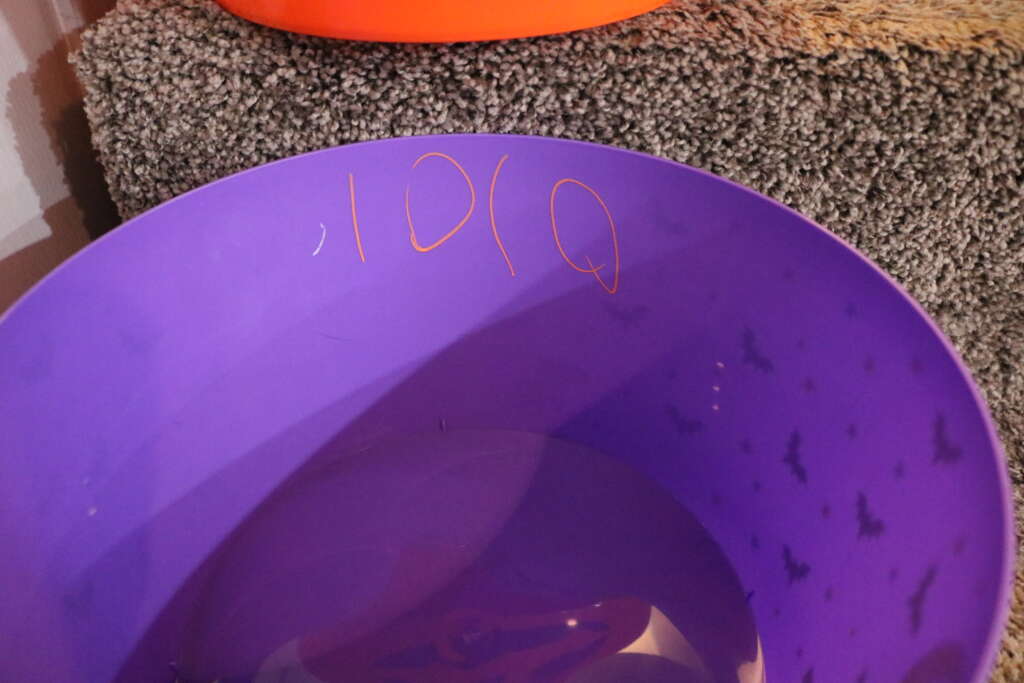
We decided to set up our game on the stairs. Our daughter was in charge of the points system. I asked her the logic behind it, and she said ‘it’s just my favorite numbers’…

We had a lot of fun playing this, even though my aim is pretty crap and the point system made no sense.

If you would like to watch a video of this project, follow at the following places:
Incidentally, you can also share your version of this project with me on there! Just use my tag @cozymagichome and use the tag #cozymagichome.
I can’t wait to see your version of this project!
Until next time!
Blessed Be!
Amrita