My first foray into the crafting world was via cross stitching. And as it has been a while since I have done a cross stitch project, I decided to try my hand at cross stitching on card!
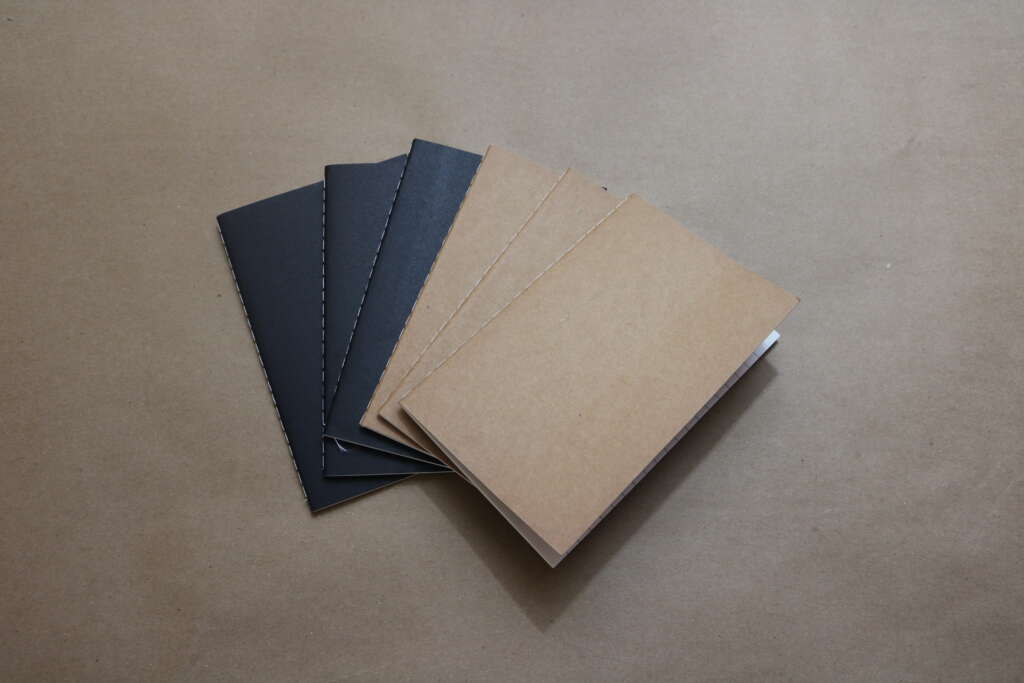
I’ve had these little notebooks for a while, and while they are handy, they are not the most exciting things to look at. It was time for a makeover!
Cross stitching on card was easier than I expected, but I found myself cross stitching slightly differently than I do when stitching on Aida cloth. I would usually start from the center of a project, but I found it easier to work from top to bottom.
If you are an experienced cross stitcher and you try this project out, by all means, stitch the way you prefer! In fact, no matter what your skill level, make this project work for you. I feel like there are so many ‘rules’ when it comes to cross stitching, but as long as you are happy with the project, the rules can be broken (as far as I am concerned).
Without further ado, here is how I cross stitched on card (a notebook in this case), and you can too!
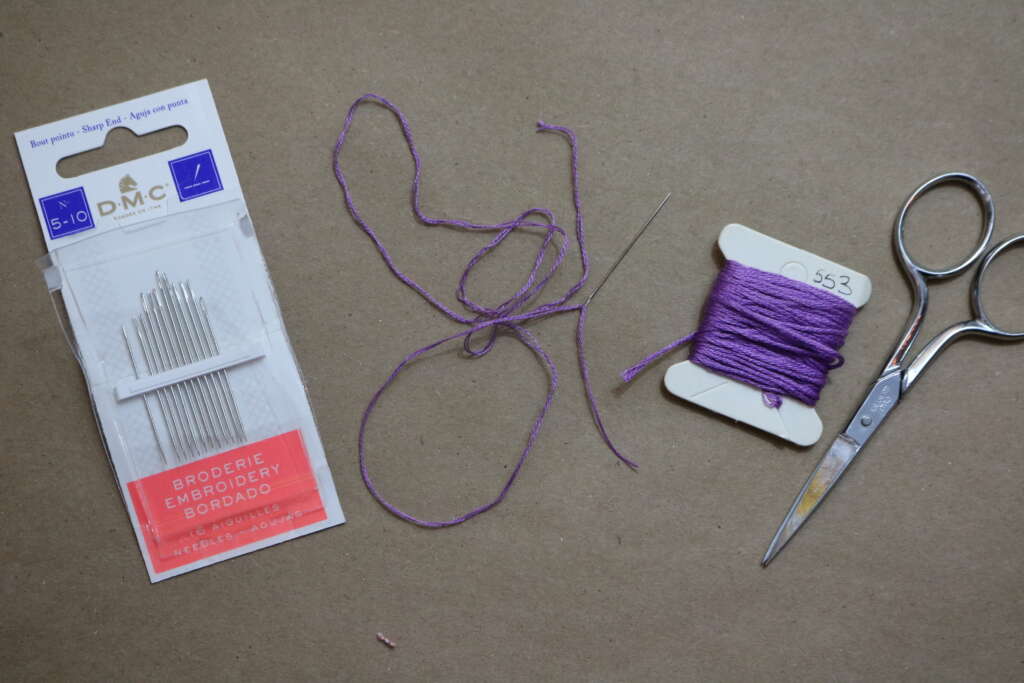
Items needed
- Card (I used these notebooks , I bought them in bulk a while ago)
- Some sort of soft surface you don’t mind getting holes in (I used a foam yoga block)
- Pin (I used an sewing pin like this one)
- Painters Tape
- Cross Stitch Design (I got mine from the DMC website)
- (optional) Graph Paper and Pen/Pencil
- Embroidery Needle
- Embroidery Thread
- Scissors
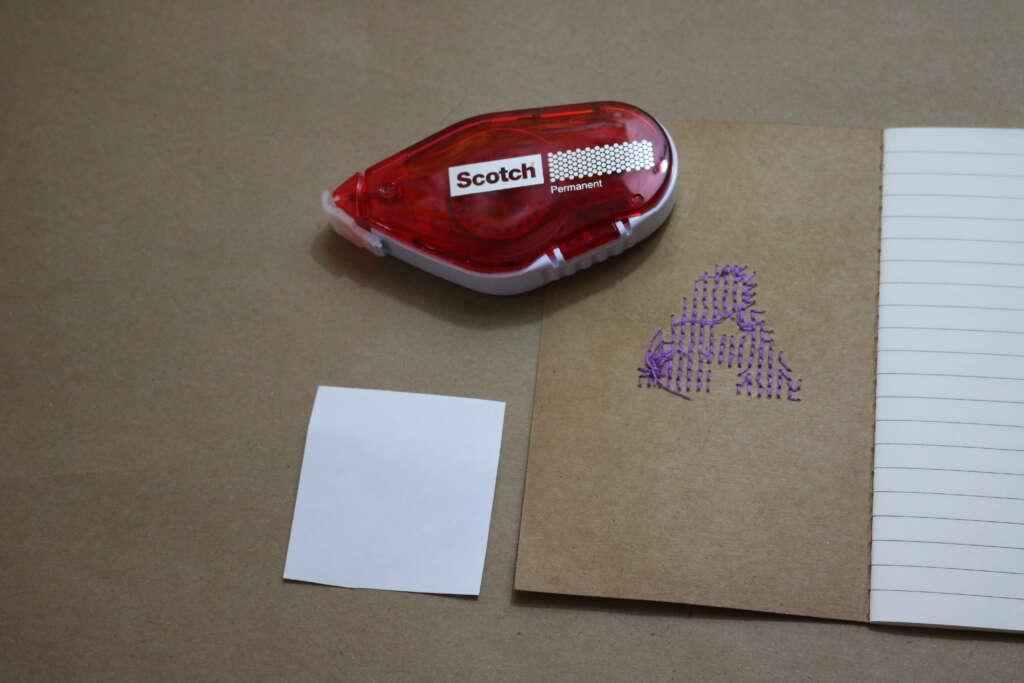
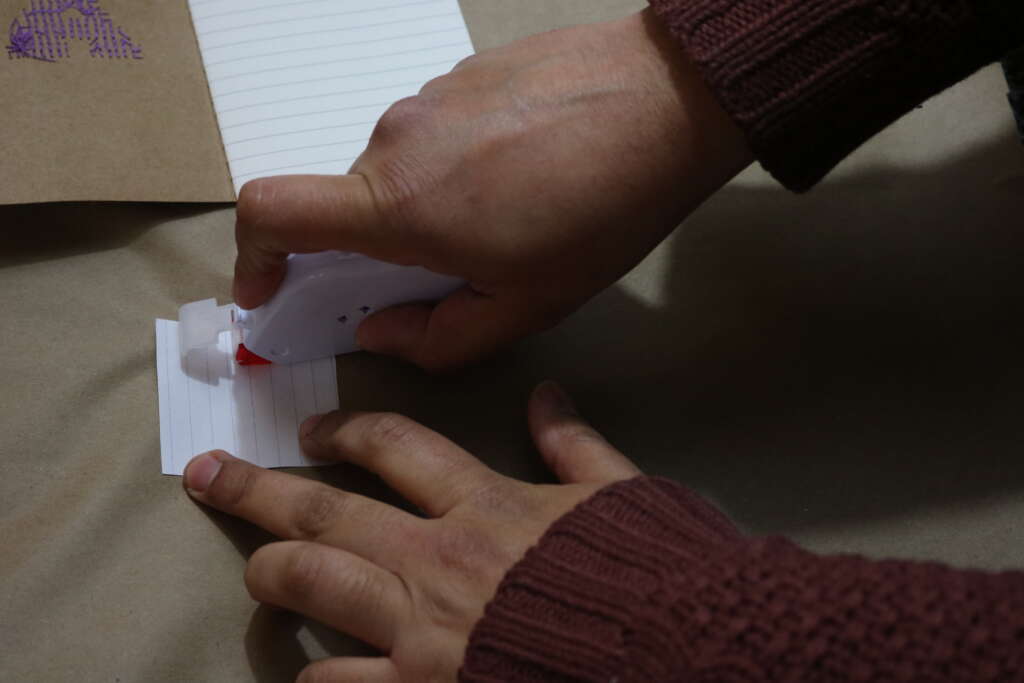
- Small piece of card (I used an index card)
- Glue/tape
- (optional) Cardstock stickers
Instructions
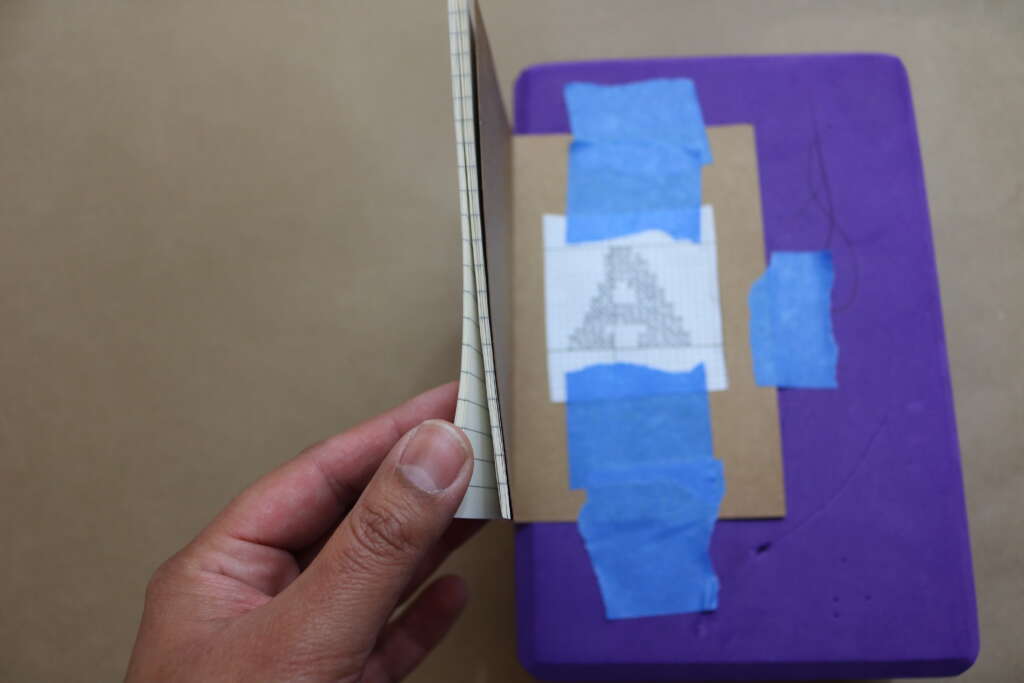
Measure your design and notepad to make sure it will fit.
Either print your design out, or copy it on to the graph paper (found here), and cut to an appropriate size.

Secure on to your notepad with painters tape. NOTE: I used regular masking tape when I first tried this, and it kind of ripped the first layer of the cover. So, just be mindful of the tape you are using!
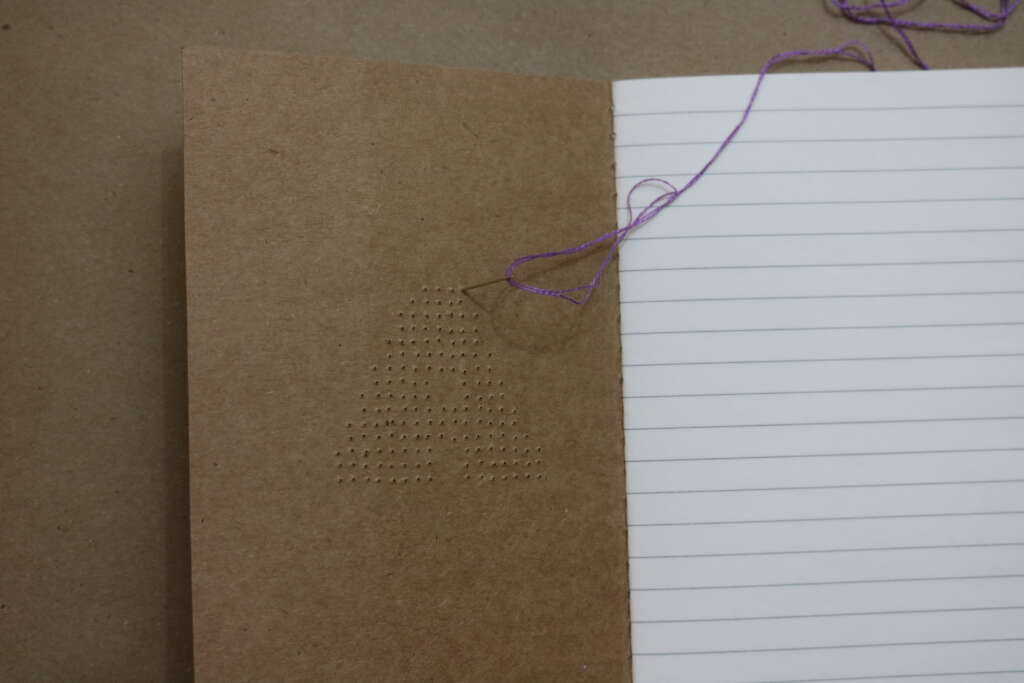
Ensuring all the pages are turned away from the front cover, tape the front cover on to your soft surface (I used a yoga block).
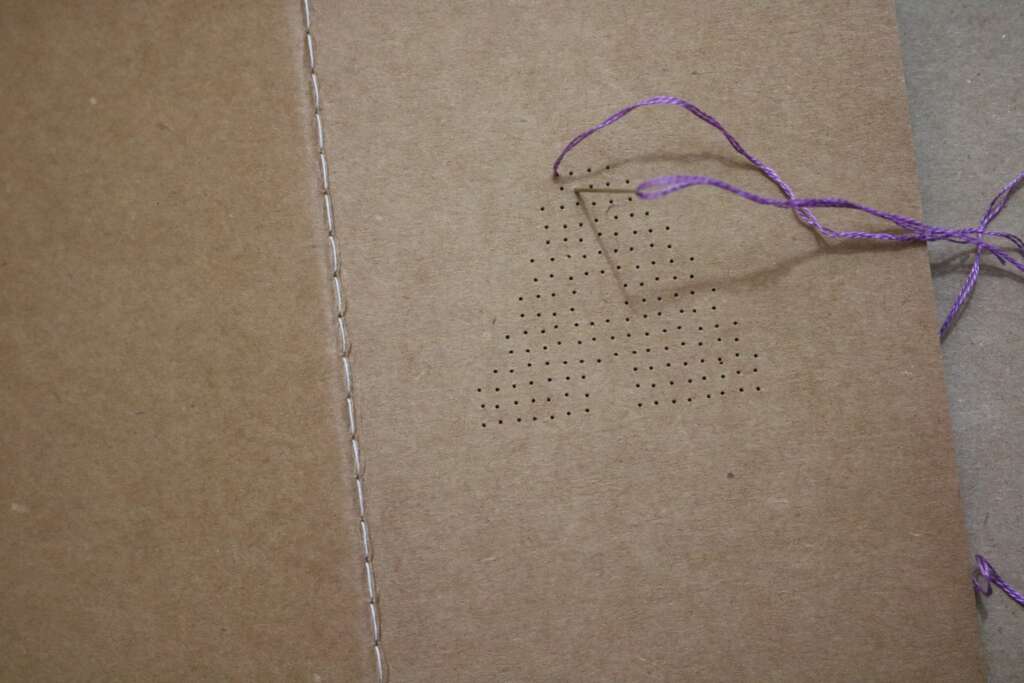
Using a pin, poke holes to cover the entirety of your design.
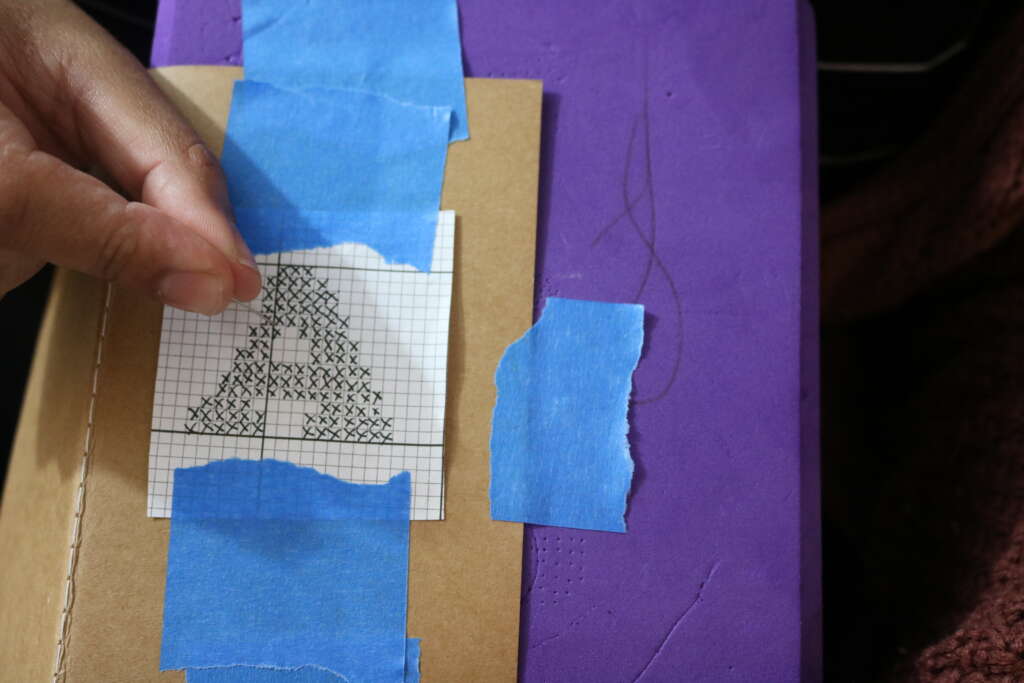
Before taking off your design of the front cover, check the back of the notepad to make sure all the required pin holes are there.
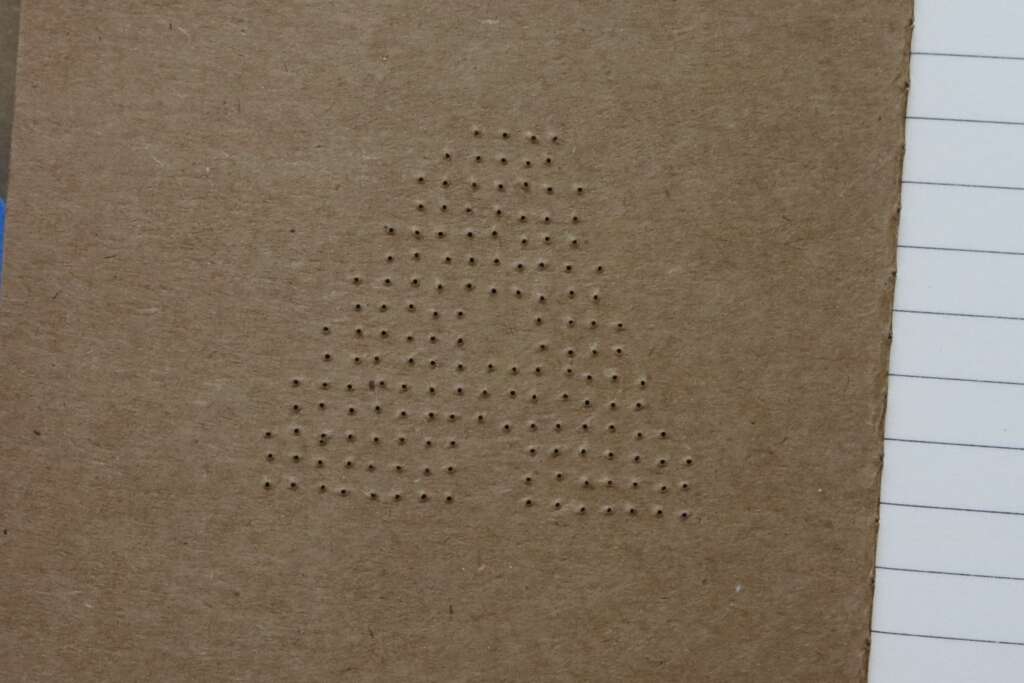
When happy with the above step, remove the design from the front cover.
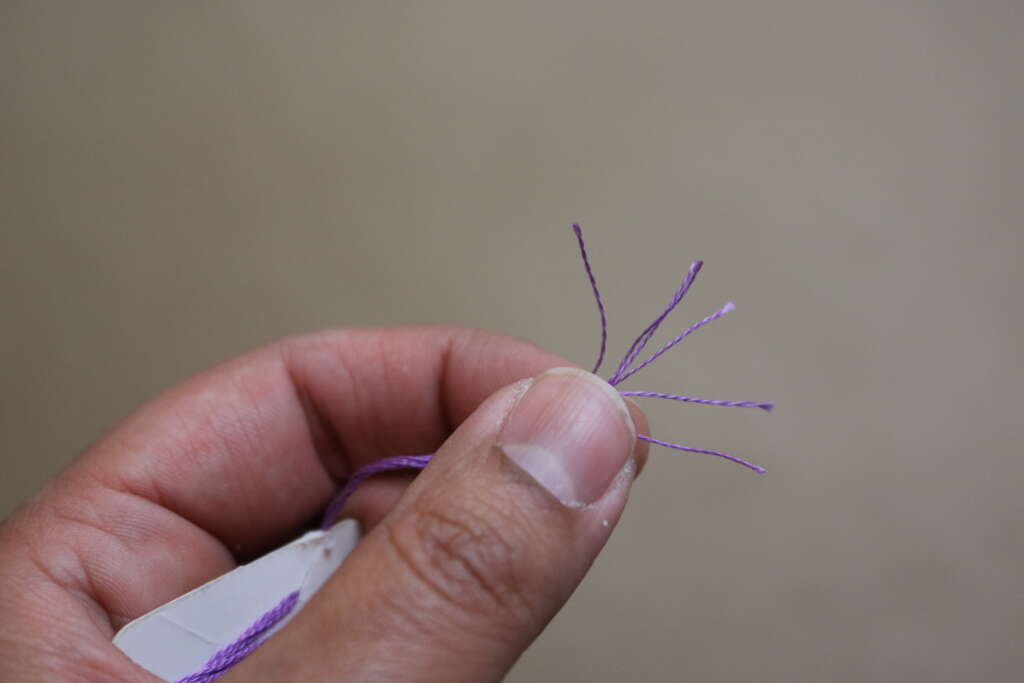
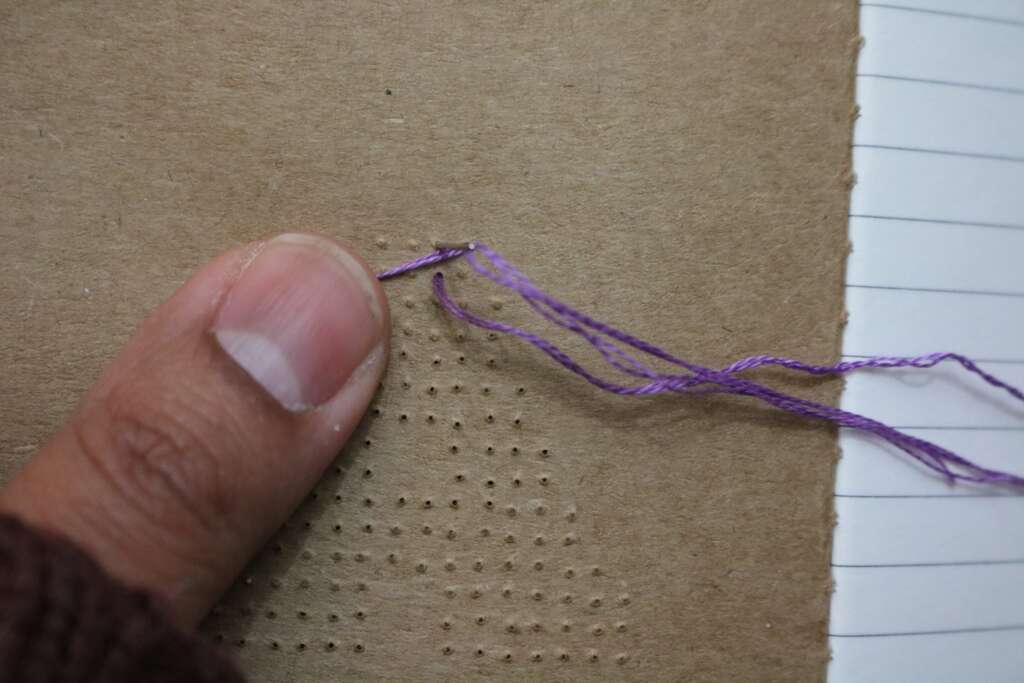
Thread two strands of embroidery floss on to your embroidery needle. Cut an arm span’s length of thread, and do not knot it! Just leave a short tail on one side.
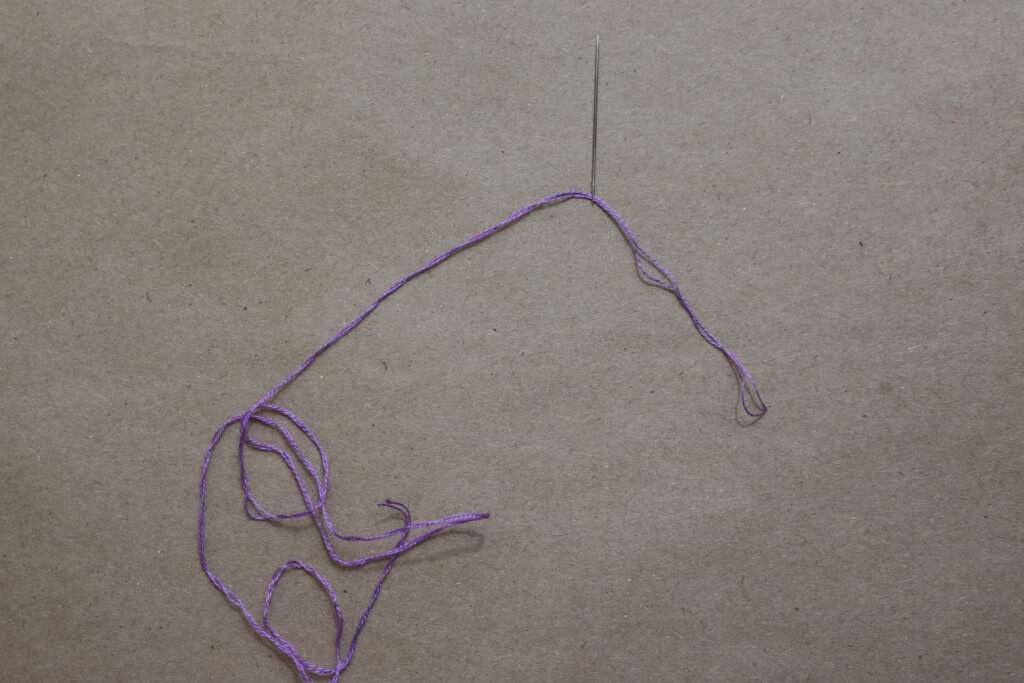
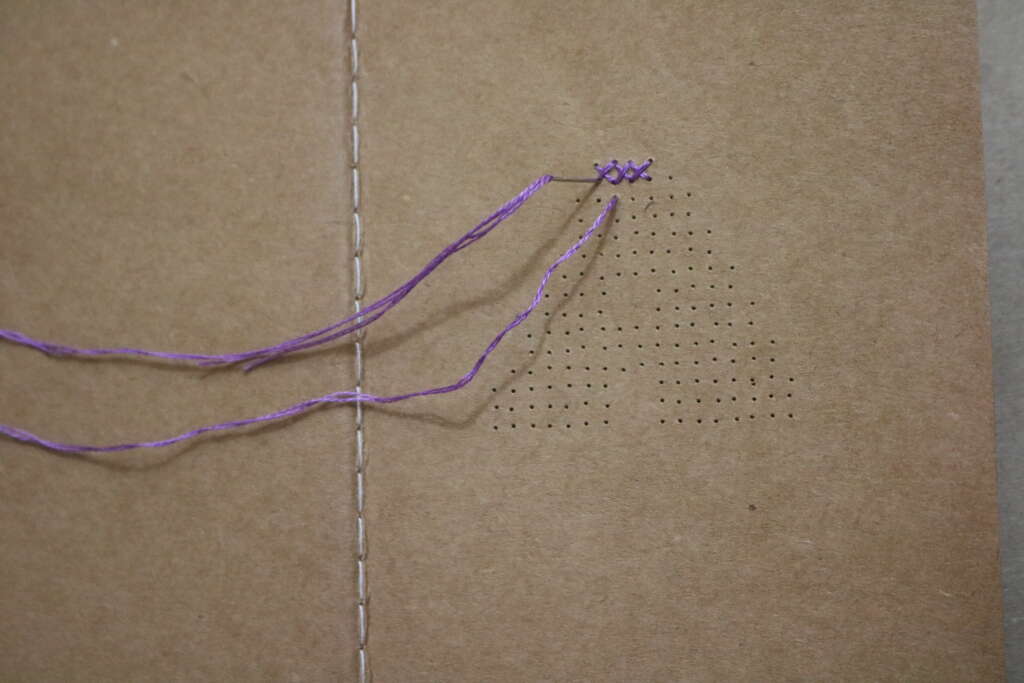
Working the needle from the back of cover, pass the needle through the top left hand hole, and bring it across to the bottom right hand hole.
Hold/position the excess thread/tail at the back so as you stitch, you hold the excess thread in place. It should look something like this:
Insert the needle (from the back) in the hole directly above the hole you just sewed through.
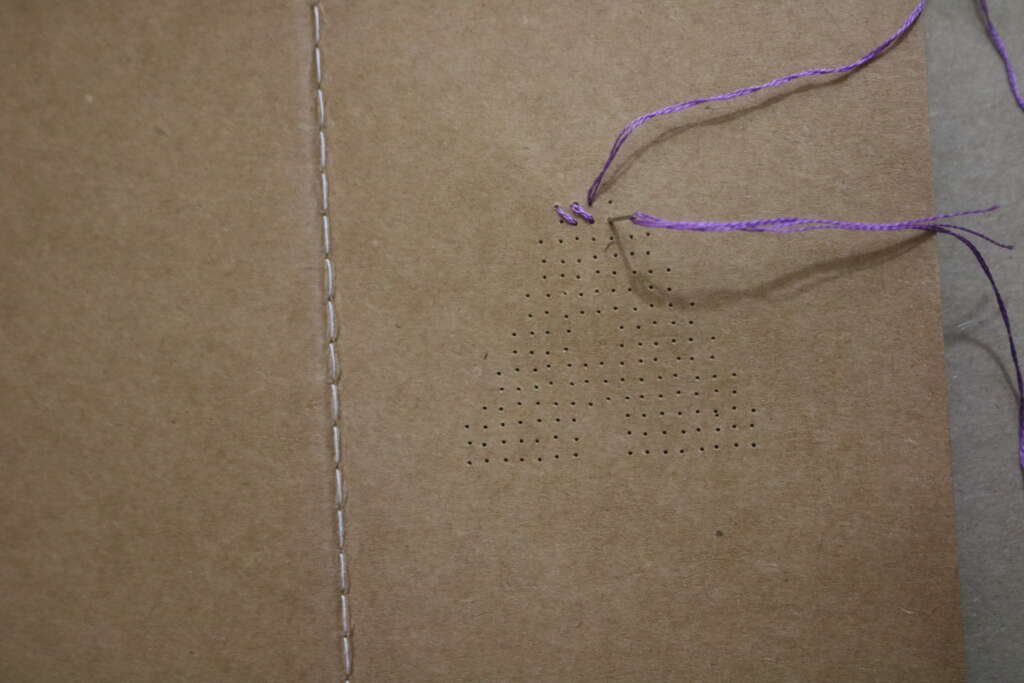
Keep repeating this method of sewing until you have a completed row has dashes all going in the same direction.
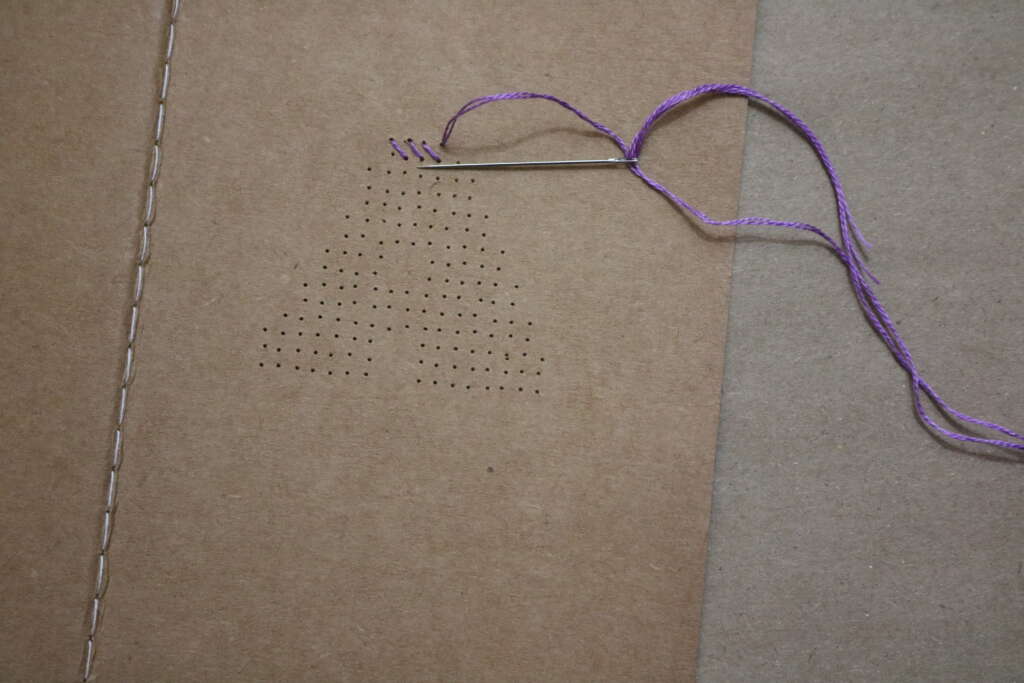
Now putting your needle through the hole above the last hole you just sewed through, start sewing in the opposite direction, until you have got a row of crosses.
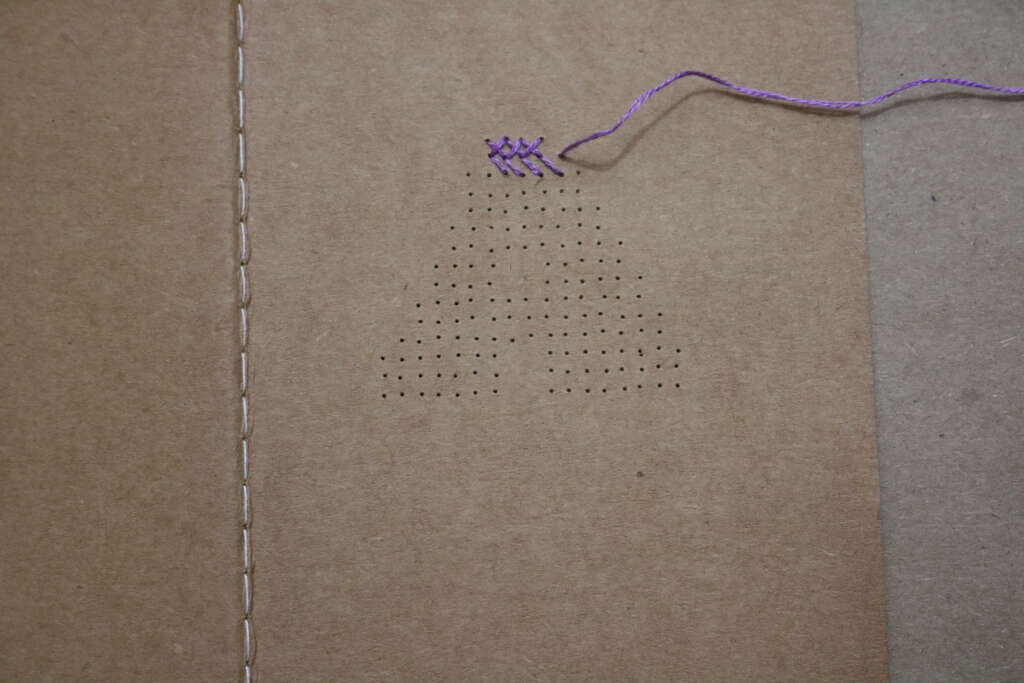
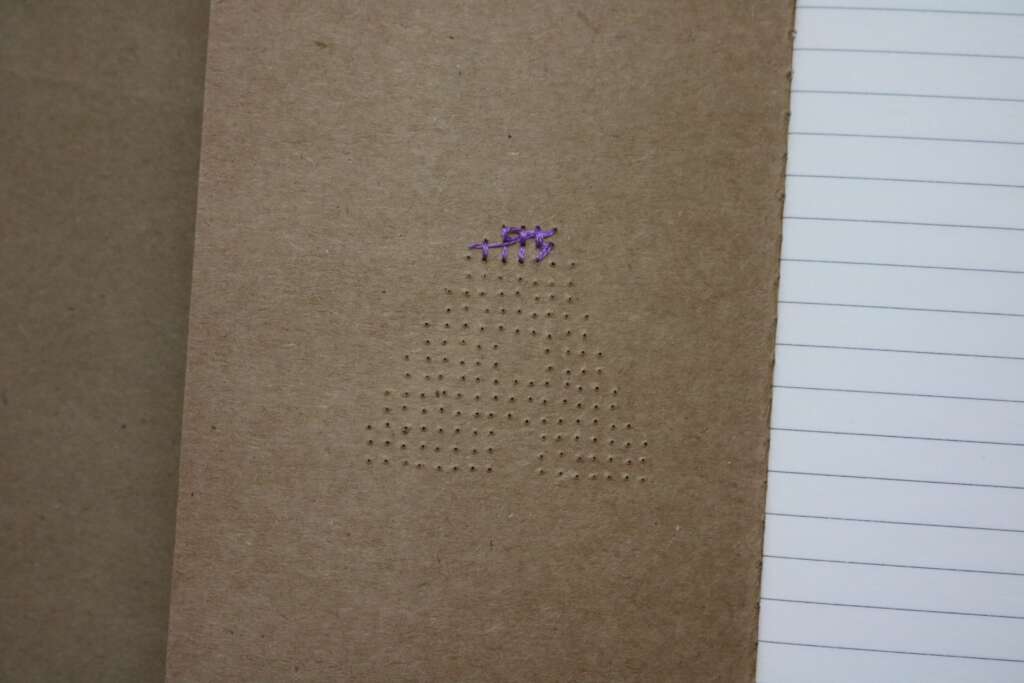

Repeat as your design requires.
When you get to the end of your project, stitch the needle through the last few stitches in the back to hold in place.
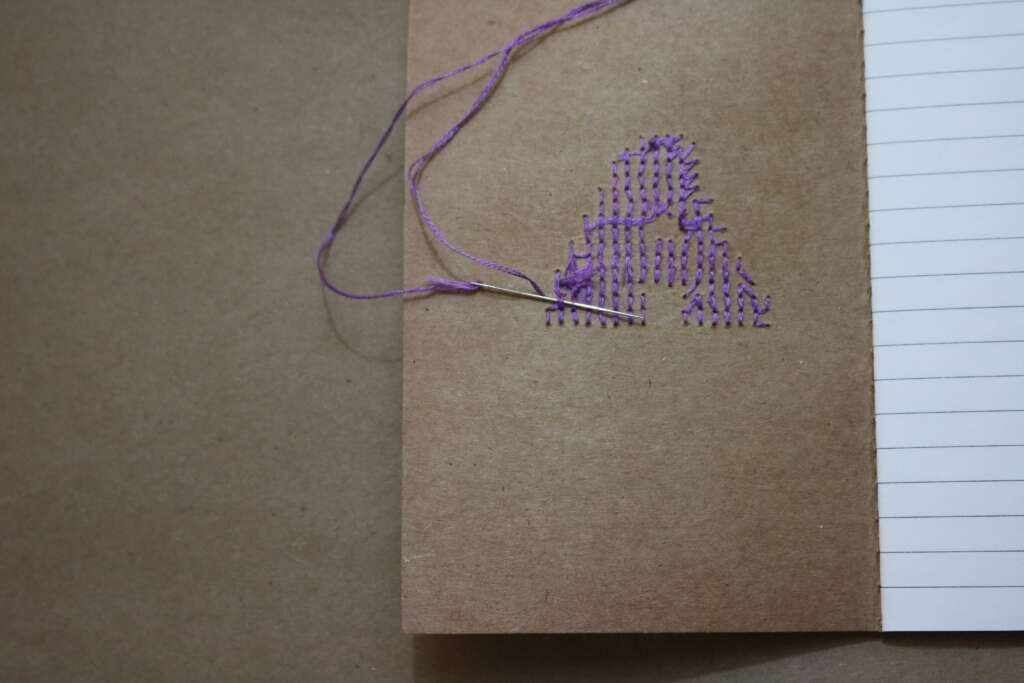
Trim any large thread ends. Ideally you wouldn’t be cutting them too short, just to ensure any future issues can be easily rectified.
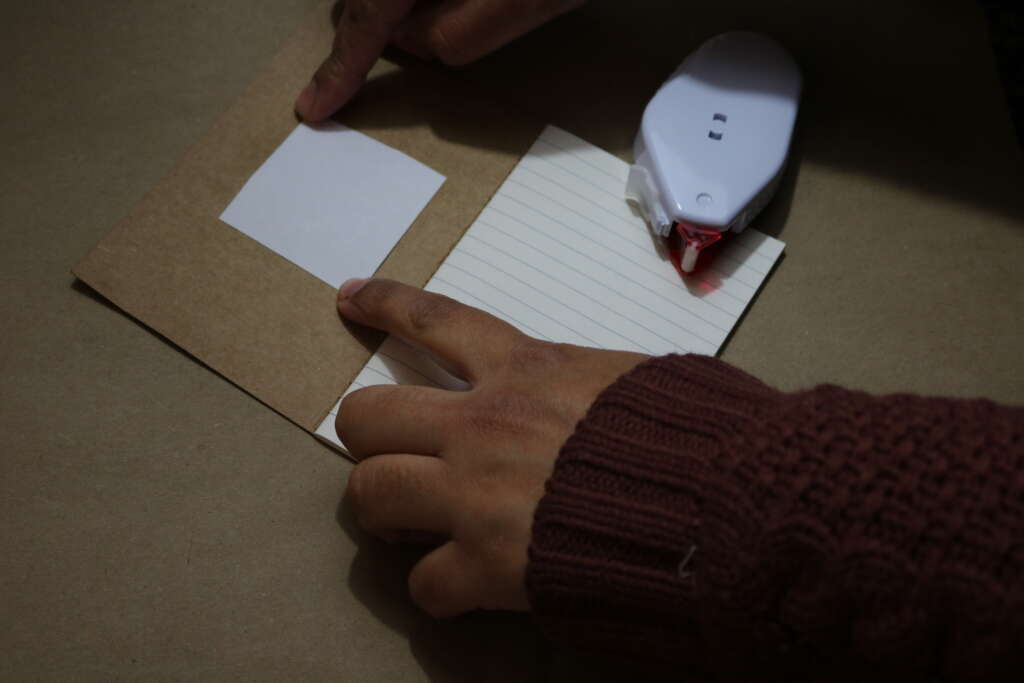
If you are happy with your design, stick a thin piece of card over the design on the back. It will help ensure a smoother writing surface for your pages.
(Optional Step) Continue to decorate your notepad cover with whatever embellishments you desire. I ended up using some cardstock stickers on this notepad as I wanted to cover up the parts the tape had ripped off.
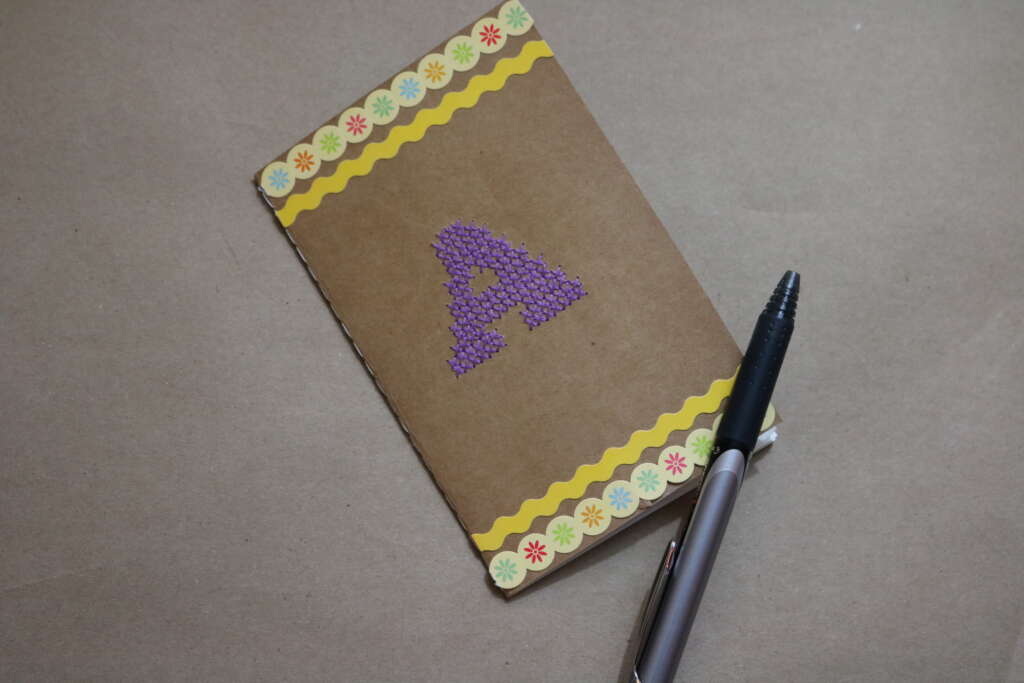
And you are done! You have just personalized a notepad with cross stitching!
If you do decide to make this project, I would love to see your spin on it! You can email me at [email protected] or find me on Facebook, Instagram, TikTok or YouTube. Use hashtag #cozymagichome so I can find you easily!
Until next time, I hope the coziest, magical day.
Amrita
xo
Amrita
xo